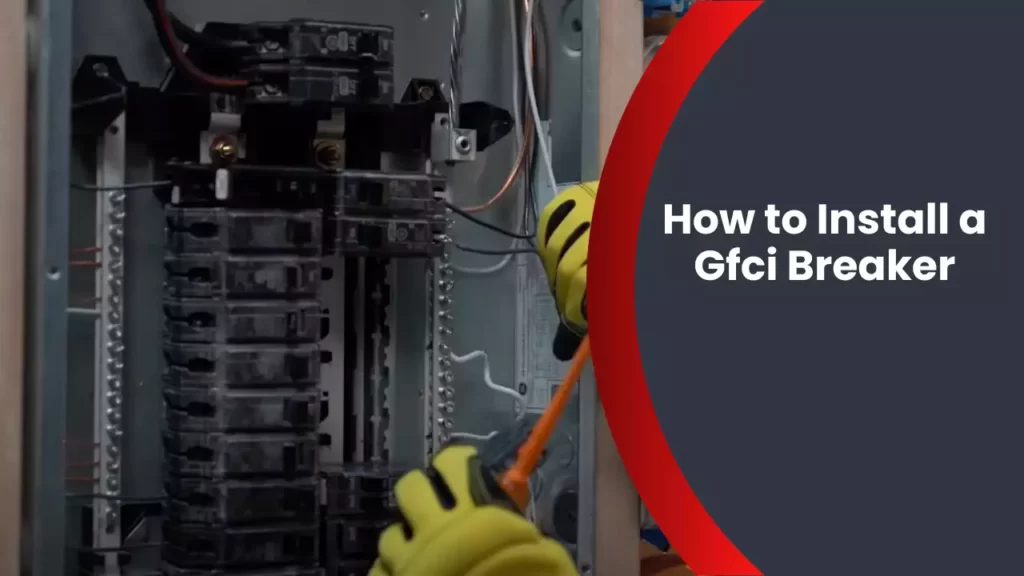
To install a GFCI breaker, you need to turn off the power, remove the panel cover, disconnect the wires from the old breaker, connect the wires to the new GFCI breaker, and replace the panel cover. Installing a GFCI breaker is a relatively simple process that can help protect against electrical shocks and overloading.
By following the steps below, you can ensure a safe and effective installation.
Understanding The Importance Of Gfci Breakers
What is a GFCI breaker and why is it important?
A Ground Fault Circuit Interrupter (GFCI) breaker is a crucial component of your electrical system. Its primary function is to protect you and your loved ones from electrical shocks by quickly shutting off power in the event of a ground fault. A ground fault occurs when the electrical current deviates from its intended path and flows through an unintended conductor, such as a person or water.
Installing GFCI breakers in your home or workplace is essential to ensure the safety of everyone who comes into contact with electrical outlets or appliances. Whether you’re a homeowner, a business owner, or a renter, understanding the importance of GFCI breakers is vital when it comes to electrical safety.
How does a GFCI breaker work?
Now that you understand the importance of GFCI breakers, let’s dive into how they actually work. GFCI breakers monitor the flow of electrical current in a circuit. They compare the current entering the circuit with the current leaving the circuit. If there is a difference, as little as 5 milliamperes, it means that some of the current is leaking, potentially causing a ground fault.
When a ground fault is detected, the GFCI breaker acts swiftly, interrupting the flow of electricity within milliseconds. This immediate response helps prevent the occurrence of severe electrical shocks, which can be life-threatening. By shutting off power when it detects a ground fault, the GFCI breaker minimizes the risk of electric shock, making it an essential safety device for your electrical system.
The benefits of using GFCI breakers in your electrical system
Using GFCI breakers in your electrical system comes with several benefits that go beyond safety. Let’s take a closer look at these advantages:
- Protection against electrical shock: The primary benefit of GFCI breakers is their ability to protect against electrical shocks. Their quick response time significantly reduces the risk of severe injuries.
- Prevention of electrical fires: GFCI breakers not only detect ground faults but also help prevent electrical fires. By interrupting power in the event of a ground fault, they eliminate the potential for electrical arcs and sparks that could ignite flammable materials.
- Compliance with electrical codes: Many electrical codes and regulations require the use of GFCI breakers in specific areas of a building, such as kitchens, bathrooms, and outdoor outlets. By installing GFCI breakers, you ensure that your electrical system meets the necessary safety standards.
- Easy installation and maintenance: Installing a GFCI breaker is relatively simple, and they require minimal maintenance once installed. This makes them a convenient safety measure that can be easily integrated into your existing electrical system.
By understanding the importance of GFCI breakers and their benefits, you can make informed decisions when it comes to electrical safety in your home or workplace. Whether you’re embarking on a new construction project, updating your electrical system, or simply looking to enhance the safety of your living environment, installing GFCI breakers is a wise choice.
Necessary Tools And Materials
Essential Tools for Installing a GFCI Breaker
When it comes to installing a GFCI (Ground Fault Circuit Interrupter) breaker, having the necessary tools is essential. These tools will enable you to complete the installation process smoothly and safely. Make sure you have the following tools on hand:
- Screwdriver: A screwdriver is needed to remove and install screws in the electrical panel. It’s important to use the correct type and size of screwdriver to ensure a secure connection.
- Wire stripper: A wire stripper is required to remove the insulation from the electrical wires. This allows for proper connections to be made.
- Voltage tester: A voltage tester is used to determine if there is electrical current present in the wires. It ensures your safety by helping you identify live wires before working on them.
Required Materials for the Installation Process
Aside from the tools mentioned above, you will also need specific materials to successfully install a GFCI breaker. These materials are crucial for achieving a secure and functional installation:
- GFCI breaker: The GFCI breaker itself is the main component of the installation. It is designed to protect you from electrical shocks by quickly shutting off power when it detects a ground fault.
- Electrical tape: Electrical tape is used to insulate electrical connections and prevent any exposed wiring. This added layer of safety ensures that the connections remain secure and protected.
- Wire nuts: Wire nuts are used to connect electrical wires together. They securely join the wires and prevent any loose connections that could lead to electrical hazards.
- Electrical panel cover: The electrical panel cover is essential for protecting the electrical panel and its components. It ensures that the panel remains secure and minimizes the risks of accidental contact with live wires.
By having the essential tools and materials ready, you can confidently proceed with the installation process of a GFCI breaker. Remember to prioritize safety and follow the manufacturer’s instructions for a successful installation.

Step-By-Step Installation Guide
Installing a Ground Fault Circuit Interrupter (GFCI) breaker is an essential safety measure for your electrical system. It protects against electrical shocks and reduces the risk of electrical fires. In this step-by-step guide, we will walk you through the installation process, ensuring that your breaker is properly installed and functioning. Follow these instructions carefully to ensure a successful installation.
Strip the insulation from the wires
Before you begin the installation, make sure the power supply to the circuit is turned off. Use a voltage tester to confirm that there is no electricity flowing through the wires. Once you have ensured your safety, follow these steps to strip the insulation from the wires:
- Starting with the hot wire, use a wire stripper to remove approximately 3/4 inch of insulation from the end of the wire. Be careful not to damage the wire itself.
- Repeat the process for the neutral wire and the ground wire, ensuring that the same amount of insulation is removed from each.
Now that the wires are properly prepared, we can move on to connecting them to the GFCI breaker.
Connect the ground wire to the GFCI breaker
The ground wire is crucial for providing an extra layer of safety by redirecting any electrical current directly to the ground. Follow these steps to connect the ground wire to the GFCI breaker:
- Locate the ground terminal on the GFCI breaker. It is usually labeled with the letters “GR” or a grounding symbol.
- Insert the exposed end of the ground wire into the ground terminal, ensuring a secure and tight connection.
- Tighten the screw on the ground terminal to secure the connection.
With the ground wire properly connected, we can now move on to connecting the neutral wire.
Connect the neutral wire to the GFCI breaker
The neutral wire acts as a return path for the electrical current and is responsible for completing the circuit. Follow these steps to connect the neutral wire to the GFCI breaker:
- Locate the neutral terminal on the GFCI breaker. It is usually labeled with the letters “W” or “This symbol is denoting both W and N.”
- Insert the exposed end of the neutral wire into the neutral terminal, ensuring a secure and tight connection.
- Tighten the screw on the neutral terminal to secure the connection.
Now that the neutral wire is securely connected, we can move on to connecting the hot wire.
Connect the hot wire to the GFCI breaker
The hot wire carries the electrical current from the power source to the circuit. Properly connecting the hot wire to the GFCI breaker is crucial for ensuring its functionality. Follow these steps:
- Locate the terminal labeled “HOT” or “+” on the GFCI breaker. This is where the hot wire will be connected.
- Insert the exposed end of the hot wire into the hot terminal, ensuring a secure and tight connection.
- Tighten the screw on the hot terminal to secure the connection.
With all the wires properly connected, your GFCI breaker installation is complete. It is essential to double-check all connections to ensure they are secure before restoring power to the circuit. Follow your electrical panel’s instructions for turning the power back on, and test the GFCI breaker to ensure it is functioning correctly.
Remember, if you have any doubts or concerns about the installation process, it is always best to consult a qualified electrician to ensure safety and proper functionality.

Troubleshooting And Safety Tips
Common issues during GFCI breaker installation
When it comes to installing a GFCI breaker, there are some common issues that DIY enthusiasts and electricians may encounter. Understanding these potential problems can save you time and frustration. Let’s take a look at some of the most frequent challenges that arise during GFCI breaker installation and how you can troubleshoot and resolve them.
How to troubleshoot and resolve problems
If you encounter any issues during the installation of a GFCI breaker, troubleshooting and resolving them promptly is crucial. Here are some steps to help you troubleshoot and fix common problems that may arise:
- Check the wiring connections: Ensure that all wires are connected securely to the appropriate terminals. Loose or incorrect wiring can lead to the GFCI breaker not functioning correctly.
- Test the GFCI breaker: Using a voltage tester, check if the breaker is receiving electricity. If not, there may be an issue with the power supply or the breaker itself.
- Reset the breaker: If the GFCI breaker trips repeatedly, it could be due to a ground fault or excessive current. Reset the breaker and monitor to see if the problem persists.
- Inspect for faulty wiring: Inspect the wiring for any signs of damage or wear. Faulty wiring can cause the GFCI breaker to trip or fail to protect against electrical shocks.
- Replace the breaker if needed: If all troubleshooting steps fail, it may be necessary to replace the GFCI breaker. Consult a professional electrician for assistance.
Safety precautions when working with electrical systems
Working with electrical systems can be hazardous if proper safety precautions are not followed. Before starting any electrical project, ensure you take the necessary steps to protect yourself and prevent accidents. Here are some essential safety tips to keep in mind:
- Turn off the power: Before beginning the installation, switch off the power at the main circuit breaker. This will help prevent electric shocks and ensure your safety.
- Use personal protective equipment (PPE): Wear safety goggles, gloves, and non-conductive footwear to protect yourself while working with electrical systems.
- Double-check the power: Before touching any wires or components, use a voltage tester to confirm that the power is indeed turned off.
- Work in a well-ventilated area: Ensure the workspace is well-lit and properly ventilated to minimize the risk of accidents and improve overall safety conditions.
- Avoid water exposure: Keep all electrical components away from water sources to prevent electrical shocks or damage to equipment.
- Consult a professional: If you are unsure or uncomfortable working with electrical systems, it is always best to seek assistance from a licensed electrician.
By adhering to these safety precautions, you can minimize the risk of accidents and ensure a safe and successful installation of a GFCI breaker. Remember, your safety should always be a top priority when working with electrical systems.
Frequently Asked Questions
How Do You Hook Up A Gfci Breaker?
To hook up a GFCI breaker, follow these steps: 1. Turn off the power supply to the circuit. 2. Remove the cover from the electrical panel. 3. Locate the breaker slot for the GFCI and insert the breaker firmly. 4. Connect the white wire from the GFCI to the neutral bus bar.
5. Connect the black wire from the GFCI to the breaker’s terminal. Make sure it is tightened securely.
Can I Install Gfci Breaker Instead Of Outlet?
Yes, you can replace an outlet with a GFCI breaker. It provides the same ground fault protection as a GFCI outlet but protects the entire circuit. This is especially useful in situations where multiple outlets are on the same circuit.
However, it’s important to consult a qualified electrician for proper installation.
How Do You Replace A Standard Breaker With A Gfci Breaker?
To replace a standard breaker with a GFCI breaker, follow these steps: – Turn off the power to the circuit – Remove the cover panel of the electrical panel – Remove the standard breaker – Install the GFCI breaker in the same slot – Reattach the cover panel and restore power to the circuit.
What Happens If You Put A Gfci Outlet On A Gfci Circuit Breaker?
Installing a GFCI outlet on a GFCI circuit breaker offers added protection against electrical shocks. If a fault occurs, both the outlet and the breaker will trip, cutting off power to prevent injury. It’s a redundant safety measure commonly used in areas where water or exposed wiring poses a risk.
Conclusion
Installing a GFCI breaker is a crucial step in ensuring electrical safety in your home. By following the mentioned steps, you can easily install a GFCI breaker and protect yourself and your loved ones from potential electrical hazards. Remember to turn off the power, consult the manufacturer’s instructions, and seek professional help if required.
Stay safe and enjoy a worry-free electrical system in your home!