To install window film insulation, clean the window thoroughly, measure and cut the film to fit the window, and apply the film using a spray bottle and squeegee. Window film insulation can help reduce energy costs and increase privacy in your home.
Introducing window film insulation can be a cost-effective and eco-friendly solution to enhance the energy efficiency and privacy of your home. By adhering a thin layer of film to your windows, you can minimize heat loss during winter months while keeping excess heat out during summer.
In addition to its insulation properties, window film also offers UV protection, reduces glare, and enhances the aesthetic appeal of your windows. Whether you are an environmentally conscious homeowner or simply looking to improve the comfort and functionality of your living space, installing window film insulation can be a worthwhile investment. This guide will provide you with the essential steps to successfully install window film insulation and maximize its benefits.
Understanding Window Film Insulation
If you’re looking to enhance the energy efficiency of your home or office, installing window film insulation can be a game-changer. Window film insulation is a thin layer of material that can be easily applied to your existing windows. It helps to improve insulation by reducing heat transfer and preventing UV rays from penetrating through the glass. This not only helps to keep the interior of your space more comfortable, but it can also lead to significant energy savings in the long run.
What is Window Film Insulation?
Window film insulation, also known as window tinting or window film, is a transparent or semi-transparent material that is applied to the interior surface of windows. It is made from a combination of polyester, metalized coatings, and adhesives that work together to provide various benefits. Window film insulation is available in different shades and strengths to cater to different needs and preferences.
Benefits of Installing Window Film Insulation
- Energy Efficiency: Window film insulation helps to reduce the amount of heat coming into your space during hot weather and prevents heat from escaping during colder months. This ensures that your heating and cooling systems work more efficiently, ultimately lowering your energy consumption and utility bills.
- UV Protection: Window film insulation blocks up to 99% of harmful UV rays, protecting your skin, furniture, and flooring from fading and damage caused by prolonged sun exposure.
- Glare Reduction: Excessive glare from the sun can be a common problem, especially in rooms with large windows. Window film insulation helps to reduce glare, allowing you to enjoy natural light without the discomfort of harsh reflections.
- Privacy: Certain types of window film insulation offer enhanced privacy by making it difficult for outsiders to see into your space. This is particularly beneficial for areas like bathrooms or conference rooms where privacy is essential.
- Aesthetics: Window film insulation comes in a range of shades and finishes, allowing you to choose the one that complements your interior design. It can enhance the overall appearance of your windows, giving them a sleek and modern look.
Different Types of Window Film Insulation
When it comes to window film insulation, there are different types available to cater to specific needs. Here are some of the most common types:
| Type | Description |
|---|---|
| Solar Control Film | This type of window film insulation is designed to block out a significant amount of heat and glare from the sun while still allowing natural light to enter the space. |
| Security Film | Security film is thicker and stronger than other types of window film insulation. It is designed to hold glass fragments together in the event of breakage, providing added protection against break-ins and accidents. |
| Decorative Film | If you’re looking to add a decorative touch to your windows while enjoying the benefits of window film insulation, decorative film is the way to go. It comes in various patterns and designs to suit different styles and preferences. |
By understanding the different types of window film insulation and their benefits, you can make an informed decision when it comes to choosing the right option for your windows. Whether you’re looking to improve energy efficiency, enhance privacy, or protect your space from harmful UV rays, window film insulation offers a cost-effective and efficient solution.
Preparing For Installation
When it comes to increasing energy efficiency and reducing utility costs, window film insulation is a smart choice. Installing window film insulation can help keep your home cool in the summer and warm in the winter, while providing additional benefits such as reducing glare and protecting your furniture from harmful UV rays. Before you begin the installation process, it’s important to properly prepare. This involves gathering the necessary tools and materials, cleaning the window surface, and measuring and cutting the window film insulation.
Gathering the necessary tools and materials
Before you start installing window film insulation, make sure you have all the necessary tools and materials. Here’s a list of items you’ll need:
- Window film insulation kit (includes film, squeegee, and cutting tool)
- Measuring tape
- Scissors or utility knife
- Clean lint-free cloth or sponge
- Dish soap or window cleaner
- Water spray bottle
- Ruler or straight edge
Cleaning the window surface
Before applying the window film insulation, it’s crucial to clean the window surface thoroughly. Follow these steps:
- Mix a solution of water and dish soap or use a window cleaner.
- Use the clean lint-free cloth or sponge to wipe down the window, removing any dirt, dust, or debris.
- Rinse the window with clean water to remove any soap residue.
- Use a dry lint-free cloth to dry the window completely.
Measuring and cutting the window film insulation
Accurate measurements and precise cutting are essential for a successful window film insulation installation. Follow these steps:
- Measure the width and height of the window accurately using a measuring tape.
- Add an extra inch to each measurement to ensure the film covers the entire window.
- Unroll the window film on a clean, flat surface.
- Use a ruler or straight edge to mark the measurements on the film.
- Carefully cut the film along the marked lines using scissors or a utility knife.
- Make sure the cut film fits the window properly before proceeding to the next step.

Step-By-Step Installation Guide
Installing window film insulation is an effective way to improve the energy-efficiency of your home and reduce glare from the sun. With a step-by-step installation guide, you can easily apply window film to your windows and enjoy the benefits it offers. Follow these simple steps to install window film insulation:
Applying the window film adhesive solution
The first step in the installation process is to prepare the window surface by cleaning it thoroughly. Use a mild detergent and water solution to remove any dirt, dust, or debris. Rinse the window with clean water and dry it properly using a lint-free cloth. Once the window is clean, prepare the adhesive solution by mixing the provided solution with water as per the manufacturer’s instructions. Apply the solution to the inside of the window in a thin, even layer, using a spray bottle or a sponge. This adhesive solution allows the film to stick to the glass while also providing a smooth surface for installation.
Removing the backing and positioning the film
After applying the adhesive solution, it’s time to position the window film. Start by measuring the width and height of the window, adding an extra inch on all sides to ensure complete coverage. Cut the film to the required size using a sharp utility knife or scissors. Once the film is cut, gently remove the backing from the film, being careful not to touch the adhesive side. Position the film onto the window, aligning it with the edges and corners. The adhesive solution allows you to position the film without it sticking permanently, making it easier to adjust if needed.
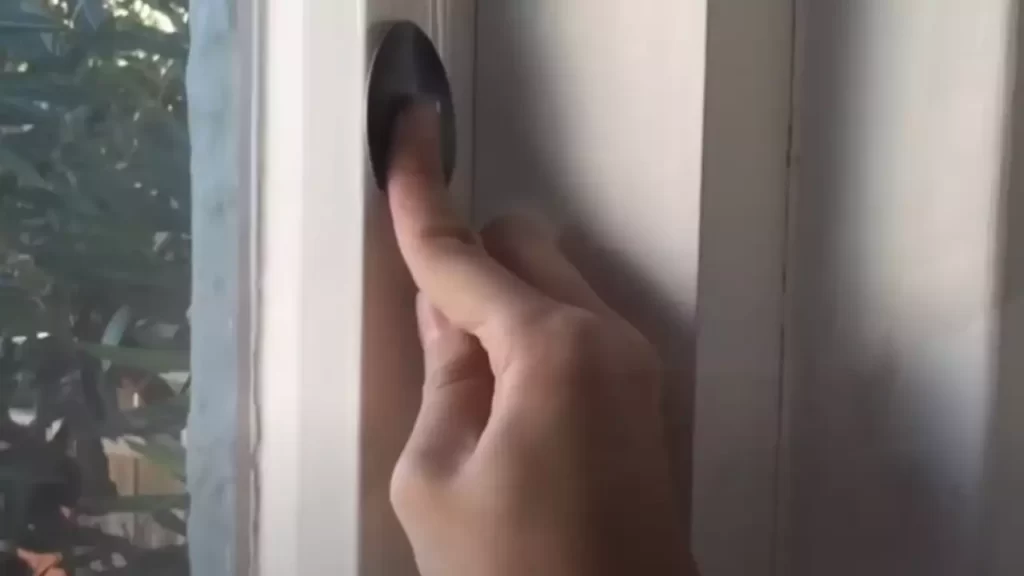
Smooth out the film and remove air bubbles
Now that the film is positioned on the window, it’s time to smooth it out and remove any air bubbles. Use a squeegee or a credit card wrapped in a soft cloth to press the film firmly onto the glass. Start from the center and work your way towards the edges, using smooth and even strokes. This process helps to eliminate any air trapped between the film and the window, ensuring a seamless and bubble-free installation. If you notice any stubborn bubbles, use a pin or a needle to carefully puncture them, and then smooth out the area again.
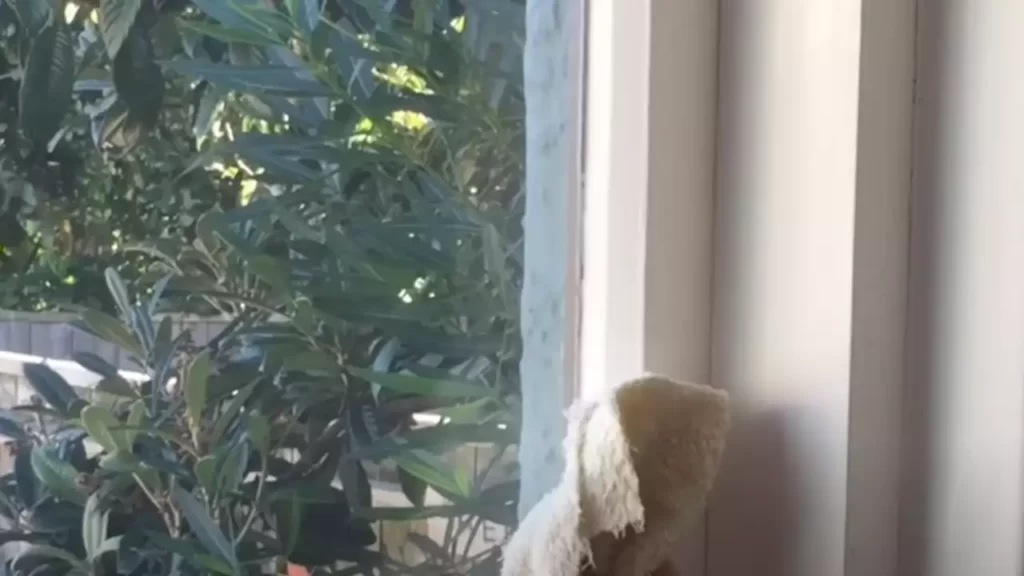
Trimming the excess film
Once the film is smoothed out and free of air bubbles, it’s time to trim the excess. Use a sharp utility knife or scissors to trim the film along the edges of the window frame. Make sure to leave a small gap of about 1/16th of an inch between the film and the frame to allow for expansion and contraction. Trim carefully and slowly to achieve clean and precise edges. Once trimmed, use the squeegee or a cloth to press the film against the edges to ensure a secure and neat finish.
By following these step-by-step instructions, you can easily install window film insulation and enhance the comfort and energy-efficiency of your home. It’s a cost-effective and simple solution that provides long-lasting benefits. With the proper installation, you’ll enjoy reduced energy bills, improved privacy, and a more comfortable living environment.
Troubleshooting And Tips
Dealing with stubborn bubbles
If you notice stubborn bubbles on your window film insulation after installation, don’t panic! Bubbles can be a common occurrence, but they can be easily fixed with a few simple steps. Here’s what you can do to ensure a smooth and bubble-free window film installation:
- Start by gently pressing down on the bubble using your fingertips or a soft cloth.
- Once you’ve pressed down on the bubble, use a small pin or needle to puncture it. Be careful not to damage the film or the glass beneath.
- After puncturing the bubble, use the edge of a credit card or a similar flat object to smooth out the film starting from the punctured area and moving towards the edges of the window.
- Continue this process for any remaining bubbles, ensuring all of them are punctured and smoothed out.
- If some bubbles persist, you can try using a hairdryer on low heat to warm up the film. Gently apply heat to the bubbled area while smoothing it out with a credit card or your fingers.
How to fix wrinkles or creases in the film
Wrinkles or creases in the window film can occur during installation, but don’t worry, they can be easily eliminated. Follow these steps to fix any wrinkles or creases:
- Start by gently lifting the film at the edge of the wrinkled area.
- Once the film is lifted, carefully peel it off the glass, ensuring not to stretch or tear the film in the process.
- Smooth out the wrinkled area by using a credit card or a similar flat object to guide the film back into place.
- Continue pressing the film down, gradually moving towards the edges of the window, ensuring a wrinkle-free surface.
- If needed, you can use a hairdryer on low heat to warm up the film while smoothing out the wrinkles with a credit card or your fingers.
Removing and repositioning the film
Sometimes, you may need to remove and reposition the window film insulation, whether it’s due to an error during installation or if you want to readjust the placement. Here’s how you can do it effectively:
- Gently lift the edge of the film using your fingertips or a thin, flat object such as a credit card.
- Peel off the film slowly to avoid any damage to the glass or the film itself.
- If the film doesn’t come off easily, you can use a hairdryer on low heat to warm up the adhesive, making it easier to peel off.
- Once the film is removed, clean the glass surface to remove any adhesive residue or debris.
- To reposition the film, lightly mist the glass with water or a soapy solution to allow for easy adjustment.
- Carefully place the film back onto the glass, ensuring a smooth and even application.
- Use a credit card or similar flat object to remove any air bubbles or wrinkles, as mentioned in the previous sections.
By following these troubleshooting and tips, you’ll be able to install window film insulation like a pro and enjoy the benefits of improved energy efficiency and privacy in your home or office space!
Caring For Window Film Insulation
Proper cleaning techniques
Keeping your window film insulation clean is crucial for maintaining its functionality and appearance. However, it’s important to use the right cleaning techniques to avoid damaging the film.
The first step is to gather the necessary supplies for cleaning. You’ll need a mild, non-abrasive cleaning solution, such as a mixture of water and mild dish soap. Avoid using harsh chemicals or abrasive cleaning tools, as they can scratch or degrade the film.
Next, begin by removing any dust or loose debris from the surface of the film. You can gently wipe it down with a soft cloth or use a microfiber duster to remove any particles that may have accumulated.
Once the film is free of dust, prepare your cleaning solution. Dilute a few drops of mild dish soap in a bucket of warm water. Using a soft, lint-free cloth or sponge, dip it into the cleaning solution and wring out any excess liquid.
Now, starting from the top of the window, gently wipe the film in a horizontal motion. Avoid scrubbing too vigorously or using excessive force, as this may cause the film to peel or bubble. Be sure to cover the entire surface and pay extra attention to any areas with visible dirt or smudges.
After cleaning the film, rinse the cloth or sponge with clean water and wring out any excess moisture. Go over the film again to remove any soapy residue, ensuring a streak-free finish.
Finally, use a clean, dry cloth or towel to gently blot the film and remove any remaining moisture. Allow the film to air dry completely before opening or closing the windows.
Maintenance to prolong the lifespan of the film
Regular maintenance is essential for prolonging the lifespan of your window film insulation. By following these simple steps, you can ensure the film remains in good condition for years to come.
1. Keep the windows clean: Dust and debris on the windows can transfer onto the film, making it appear dirty and affecting its performance. Regularly clean the windows using a non-abrasive cleaner and a soft cloth.
2. Avoid sharp objects: Be careful not to scratch or puncture the film with sharp objects, such as keys or utensils. Take extra caution when handling items near the windows to prevent accidental damage.
3. Use caution with window treatments: If you have curtains or blinds, make sure they don’t come into contact with the film, as certain materials or mechanisms can cause damage or peeling. Position them slightly away from the windows or use window-safe alternatives.
4. Protect against direct sunlight: Window film is designed to block out harmful UV rays, but prolonged exposure to direct sunlight can affect its longevity. Consider using curtains or blinds during the hottest parts of the day to reduce heat and sun damage.
5. Inspect regularly: Take the time to inspect your window film periodically. Look for any signs of damage, bubbling, or peeling. If you notice any issues, address them promptly to prevent further damage and ensure the film continues to perform effectively.
Dealing with damaged or peeling film
Even with proper care, window film insulation may occasionally experience damage or begin to peel. It’s important to address these issues as soon as possible to prevent further deterioration and maintain the film’s effectiveness.
If you notice small areas where the film is peeling or bubbling, you can attempt to fix it using a hairdryer. Set the hairdryer to a low heat setting and gently apply heat to the damaged area. As the film warms up, use a credit card or similar flexible tool to press the film back in place. Be cautious not to overheat the film or apply excessive force, as this may cause additional damage.
In cases where the film is severely damaged or peeling, it may need to be replaced. Contact a professional window film installer who can assess the situation and provide expert advice.
By following these proper cleaning techniques, practicing regular maintenance, and addressing any issues promptly, you can ensure your window film insulation remains in great condition, providing energy efficiency and privacy for years to come.
Hiring A Professional Vs. Diy Installation
When it comes to installing window film insulation, one of the decisions you’ll need to make is whether to hire a professional or tackle the project yourself. Both options have their own set of pros and cons, so it’s important to carefully consider your specific needs and circumstances before making a decision. In this blog post, we’ll explore the advantages and disadvantages of hiring a professional for installation, as well as the factors to consider when deciding between a DIY approach or professional help.
Pros and Cons of Hiring a Professional
There are distinct advantages and disadvantages to hiring a professional for window film insulation installation. Let’s explore both sides:
Pros
- Expertise: Professionals have the knowledge and experience to ensure a high-quality installation. They understand the intricacies of window film application and can address any challenges that may arise during the process.
- Time-saving: Hiring a professional can save you a significant amount of time. They are equipped with the right tools and techniques to complete the installation efficiently, allowing you to focus on other tasks.
- Professional finish: A skilled installer can provide a flawless finish, ensuring that the window film looks seamless and enhances the overall aesthetic of your home or office.
Cons
- Cost: Hiring a professional may require a financial investment. The cost typically includes labor, materials, and any additional services provided by the installer.
- Dependency: Relying on a professional means you’ll need to schedule an appointment and work around their availability. This might not be ideal if you have a tight timeline or prefer to have control over the installation process.
Factors to Consider when Deciding Between DIY and Professional Installation
Before making a decision, it’s essential to consider various factors to determine whether a DIY approach or professional installation is the right choice for you:
- Skill level: Assess your own skills and comfort level with DIY projects. Window film insulation installation requires precision and attention to detail. If you have experience with similar tasks or feel confident in your ability to learn, taking the DIY route might be feasible.
- Time availability: Consider the amount of time you can dedicate to the installation. DIY projects often require more time and effort, especially if you’re unfamiliar with the process. On the other hand, hiring a professional can save you time and ensure a quicker completion.
- Complexity of the project: Evaluate the complexity of the installation. If you have multiple windows or large areas to cover, it might be more efficient to hire a professional who can handle the job swiftly and efficiently.
- Budget: Determine your budget for the project. While hiring a professional may involve additional costs, consider the potential savings in terms of time and potential mistakes that can occur with a DIY installation.
Cost Comparison and Potential Savings
When considering the financial aspect, it’s important to compare the costs associated with a DIY installation versus hiring a professional. While DIY might initially seem more cost-effective, there are factors to consider:
| DIY Installation | Professional Installation | |
|---|---|---|
| Labor | No cost, but requires personal time | Included in professional’s fee |
| Materials and Tools | Lower cost, but may require additional purchases | Included in professional’s fee |
| Quality Assurance | Dependent on personal skills | Provided by professional installer |
| Time Investment | Can be time-consuming | Efficient and saves personal time |
Considering these factors, the cost of hiring a professional may be justified by the convenience, expertise, and professional finish they can provide. Additionally, professional installation can help prevent potential mistakes that may lead to additional costs in the long run.
Ultimately, the decision between hiring a professional or undertaking a DIY installation depends on your priorities, budget, and level of comfort with the project. Take the time to evaluate these aspects before making your choice.
Can window film insulation be removed?
Yes, window film insulation can be easily removed without leaving behind any sticky residue or damaging the window surface. This is particularly useful for renters or those who may wish to change or upgrade their window film in the future. To remove the film, simply peel it off starting from one corner and continue until the entire piece is free.
Can window film insulation be installed on all types of windows?
Window film insulation is suitable for most types of windows, including single-pane and double-pane windows, as well as those made of glass or plexiglass. It can be applied to both residential and commercial windows, providing energy-saving benefits to various spaces. However, it is important to note that some specialized window types, such as textured or patterned glass, may not be suitable for installing window film insulation.
Does window film insulation affect natural light?
No, window film insulation does not significantly impact natural light. While the film is designed to enhance energy efficiency by reflecting heat and blocking UV rays, it still allows ample sunlight to enter the room. The degree of light transmission may vary depending on the type of window film chosen and its shade or tint. However, even the darkest film options allow for sufficient natural light, ensuring a comfortable and well-lit space.
Frequently Asked Questions
How Do You Install Insulation Film On Windows?
To install insulation film on windows, follow these steps: 1. Clean the window thoroughly. 2. Measure and cut the film to fit the window size. 3. Apply a thin layer of water to the window using a spray bottle. 4. Peel off the backing from the film and carefully place it on the window.
5. Smooth out any air bubbles and trim any excess film.
Does Insulating Film For Windows Work?
Insulating film for windows is effective. It helps prevent heat loss and gain, reduces drafts, and improves energy efficiency. The film creates a barrier that keeps the cold air out and the warm air in. It also blocks UV rays and reduces glare.
Overall, using insulating film can significantly improve the insulation of your windows.
Does Window Insulation Film Need To Be Tight?
Window insulation film should be applied tightly to be effective in reducing heat loss and increasing energy efficiency. Tight installation prevents air leaks and maintains a proper seal, ensuring the film functions optimally.
How Do You Install Outdoor Window Insulation Kit?
To install an outdoor window insulation kit, follow these steps: 1. Clean the window frame and glass thoroughly. 2. Measure the width and height of the window. 3. Cut the plastic film to fit the window size. 4. Attach the double-sided tape to the window frame.
5. Place the plastic film onto the tape, smoothing out wrinkles.
Conclusion
To sum up, installing window film insulation is a cost-effective and energy-efficient way to enhance the comfort of your home. By following the simple steps outlined in this guide, you can enjoy cooler summers, warmer winters, reduced energy bills, and increased privacy.
Remember to choose the right type of film and consult the manufacturer’s instructions for the best results. Start saving energy and creating a more comfortable living space today with window film insulation.