To install a tile backsplash around outlets, first, turn off the power to the outlets. Then, remove the outlet cover and use a tile cutter to make precise cuts around the outlets.
Finally, apply adhesive to the back of the tiles and press them firmly onto the wall, leaving enough space for the outlet cover to fit properly.
Planning And Preparation
Planning and preparation are vital steps when it comes to installing a tile backsplash around outlets. Taking the time to measure the area accurately, choose the right tile and adhesive, and gather all the necessary tools and materials will ensure a smooth and successful installation. In this blog post, we will guide you through each of these steps, providing you with practical tips to achieve a professional-looking backsplash. Let’s get started!
Measure the area around the outlets
Before you begin installing the tile backsplash, it’s important to measure the area around the outlets. This step is crucial to ensure that your tiles fit perfectly and that the outlets are properly aligned. Here’s how you can do it:
- Start by turning off the power to the outlets you’ll be working near, ensuring your safety during the measurement process.
- Using a tape measure, carefully measure the height and width of each outlet, making note of these measurements.
- Next, measure the distance from the edges of the outlet to the nearest corner or tile edge. This will help you determine the positioning of the outlets within the backsplash.
- Record all your measurements accurately, noting any irregularities or variations you may encounter.
Now that you have precise measurements, you can move on to selecting the right tile and adhesive for your project.
Choose the right tile and adhesive
When it comes to choosing the tile and adhesive for your backsplash installation, there are a few factors to consider:
- Tile selection: Look for tiles that are durable, easy to clean, and suitable for kitchen or bathroom use. Ceramic, porcelain, and glass tiles are popular choices for backsplashes. Consider the color, pattern, and size of the tile that will best complement the overall design of your space.
- Adhesive selection: The right adhesive will ensure that your tiles stay in place and adhere well to the wall. Depending on the type of tile you’ve chosen and the wall surface, you may need either a thin-set mortar or a premixed adhesive. Check the manufacturer’s recommendations for the specific tile and surface you’ll be working with.
Now that you’ve made your tile and adhesive selections, it’s time to gather the necessary tools and materials.
Gather the necessary tools and materials
Having the right tools and materials on hand will make the installation process much smoother. Here’s a list of items you’ll need:
| Tools | Materials |
|---|---|
| Tile cutter or wet saw | Tile adhesive |
| Tile spacers | Grout |
| Trowel or notched trowel | Tile grout float |
| Level | Grout sealer |
| Measuring tape | Water and sponge |
| Marker or pencil | Bucket |
Make sure you have all these tools and materials ready before you begin the installation process. It’s also a good idea to wear proper safety gear, such as gloves and safety goggles, to protect yourself during the project.
With your planning and preparation complete, you’re now ready to move on to the next steps of installing your tile backsplash around outlets.
Removing The Old Outlet Covers And Preparing The Surface
Before installing a tile backsplash around your outlets, it’s essential to remove the old outlet covers and prepare the surface for the new installation. This step is crucial to ensure a seamless and professional-looking outcome. In this section, we will guide you through the necessary steps to safely turn off the power to the outlets, remove the covers, and thoroughly clean the surface.
Turn off the power to the outlets
To begin, you must ensure that the power to the outlets is turned off before working on them. This step is necessary to prevent any risk of electrical shock or damage. Follow these simple steps to turn off the power:
- Locate the circuit breaker box in your home.
- Identify the circuit breaker corresponding to the outlets you’ll be working on.
- Flip the switch of the circuit breaker into the “Off” position.
- Double-check that the power is indeed off by testing the outlets with a voltage tester.
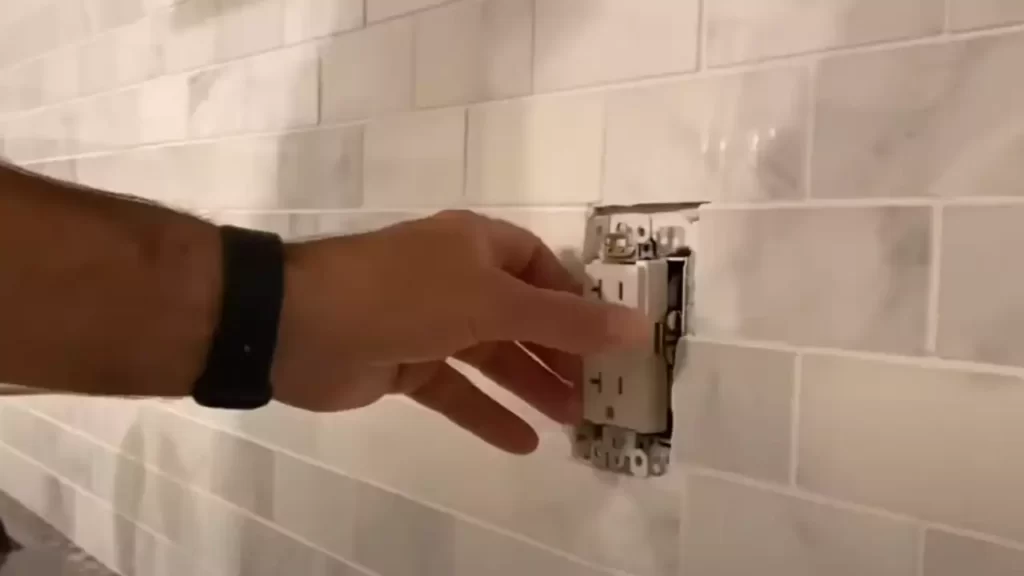
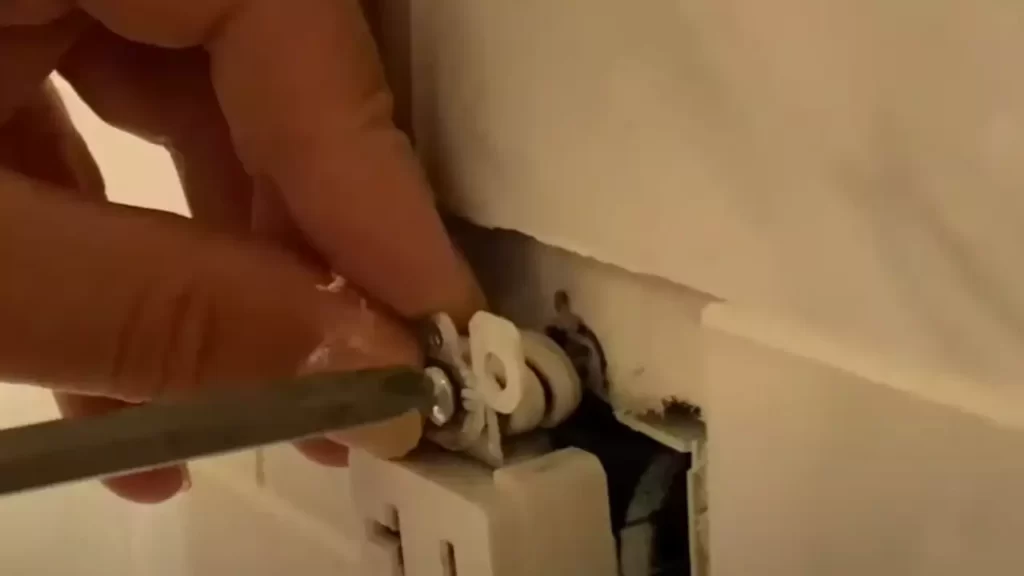
Remove the outlet covers
Once the power is turned off and confirmed, you can proceed to remove the old outlet covers. Follow these steps carefully:
- Using a flathead screwdriver, gently pry the outlet cover away from the wall.
- Loosen the screws on the outlet cover and set them aside.
- Remove the outlet cover from the wall, exposing the outlet itself.
Clean the surface thoroughly
The next crucial step is to clean the surface thoroughly before installing the tile backsplash. This ensures proper adhesion and a smooth, even finish. Follow these steps to clean the surface:
- Wipe down the wall surrounding the outlets with a damp cloth to remove any dust or debris.
- Prepare a cleaning solution by mixing warm water and mild detergent in a bucket or bowl.
- Using a sponge or soft cloth, dip it into the cleaning solution and gently scrub the wall surface around the outlets.
- Pay close attention to any grease or stains and thoroughly remove them.
- Rinse the wall with clean water to remove any soap residue.
- Allow the surface to dry completely before moving on to the next step.
By following these steps to remove the old outlet covers and prepare the surface, you are setting yourself up for a successful tile backsplash installation. With a clean and properly prepped surface, you’ll achieve a seamless and professional look that will enhance the beauty of your kitchen or bathroom.
Cutting And Laying The Tiles
When it comes to installing a tile backsplash, one of the most crucial steps is cutting and laying the tiles. This step requires precision, as you want to ensure a professional and seamless look for your backsplash. Here’s how you can do it:
Mark the centerline
The first step in cutting and laying the tiles is to mark the centerline on your backsplash area. To do this, measure the width of your backsplash and divide it in half. Use a measuring tape and a level to mark a vertical line at the center of your backsplash, from top to bottom. This centerline will serve as your guide for laying the tiles symmetrically.
Cut the tiles to fit around the outlets
Next, you’ll need to cut the tiles to fit around the outlets in your backsplash. Measure the dimensions of the outlets and mark those measurements on the tiles using a pencil or a marker. You can use a tile cutter or a wet saw to make precise cuts along the marked lines. Take your time and make sure the cuts are clean and accurate to ensure a perfect fit.
Apply adhesive to the back of the tiles
Once you have the tiles cut to fit around the outlets, it’s time to apply adhesive to the back of the tiles. You can use a notched trowel to spread the adhesive evenly on the back of each tile. Make sure to cover the entire surface of the tile with adhesive, as this will ensure proper adherence to the wall.
Press the tiles onto the wall
With the adhesive applied, it’s now time to press the tiles onto the wall. Start by placing the first tile at the centerline you marked earlier. Press it firmly onto the wall, making sure it is level and aligned with the surrounding tiles. Repeat this process with the remaining tiles, working your way outwards from the centerline.
To ensure a secure bond, it’s a good idea to tap each tile gently with a rubber mallet or a wooden block. This will help the tiles adhere properly to the wall and eliminate any air bubbles or uneven surfaces.
In conclusion, cutting and laying the tiles is an essential part of installing a tile backsplash. By marking the centerline, cutting the tiles to fit around the outlets, applying adhesive to the back of the tiles, and pressing the tiles onto the wall, you’ll achieve a beautiful and professionally installed tile backsplash that adds both style and functionality to your space.
Installing Tiles Around The Outlets
When it comes to installing tile backsplash, one of the trickiest parts is working around the outlets. However, with the right tools and techniques, you can easily create a professional-looking finish. In this post, we’ll walk you through the process step-by-step, so you can confidently install tiles around the outlets in your kitchen or bathroom.
Create a template for the outlets
The first step in installing tiles around the outlets is to create a template. This will help you accurately cut the tiles to fit perfectly around the outlets. To create the template, simply place a piece of cardboard over the outlet and trace around it with a pencil. Make sure you include all the necessary holes for the outlets and switches.
Once you have the template, transfer it onto a sturdy piece of plastic or template material. This will be more durable and easier to work with when cutting the tiles. Cut out the template using a utility knife or a pair of sharp scissors, ensuring that the holes are accurately marked.
Cut the tiles to fit around the outlets
With the template in hand, it’s time to cut the tiles to fit around the outlets. Start by measuring the distance between the outlet and the adjacent tiles. Use these measurements to mark the tiles that need to be cut. It’s always a good idea to add a small margin for error, as you can always trim the tiles later if needed.
Using a tile cutter or a wet saw, carefully cut along the marked lines. Take your time and make precise cuts to ensure a clean and accurate fit. If you’re using a wet saw, be sure to follow all safety precautions and wear protective gear.
Once the tiles are cut, dry-fit them around the outlets to ensure they fit properly. Make any necessary adjustments by trimming the tiles with a tile nipper or a file. It’s important to achieve a snug fit without any gaps.
Apply adhesive and press the tiles onto the wall
Now that you have the cut tiles, it’s time to install them around the outlets. Start by applying tile adhesive to the back of each tile, using a notched trowel for even distribution. Then, carefully press the tiles onto the wall, making sure they align with the surrounding tiles.
As you install the tiles, pay attention to the spacing and alignment. Use tile spacers to maintain even gaps between the tiles and ensure a professional finish. Be sure to remove any excess adhesive that squeezes out from between the tiles.
Allow the adhesive to dry according to the manufacturer’s instructions. Once dry, remove the tile spacers and gently clean the tiles with a damp sponge to remove any adhesive residue.
Finally, seal the tile backsplash using a grout sealer to protect the tiles and make them easier to clean. Apply the sealer following the product instructions and allow it to dry.
With these simple steps, you can successfully install tiles around the outlets and achieve a beautiful and functional tile backsplash. Follow the instructions carefully, take your time, and enjoy the rewarding process of transforming your space.
Grouting And Finishing
Mix the grout according to the instructions
Before starting the grouting process, you need to mix the grout according to the instructions on the packaging. The instructions typically specify the ratio of water to grout powder.
To mix the grout, follow these steps:
- Gather the necessary materials, including a bucket, a margin trowel, and the grout powder.
- Pour the specified amount of water into the bucket.
- Add the grout powder gradually, while continuously stirring with the margin trowel.
- Continue stirring until the grout reaches a smooth, paste-like consistency.
Apply the grout to the tiles
Once the grout is mixed, you’re ready to apply it to the tiles. Here’s how to do it:
- Using a grout float, scoop a generous amount of grout onto the float’s edge.
- Hold the float at a 45-degree angle and firmly press the grout into the spaces between the tiles.
- Make sure to work in small sections, as grout can dry quickly.
- Continue spreading the grout over the tiles until all the spaces are filled.
Use a grout float to smooth and remove excess grout
After applying the grout, you’ll need to smooth it out and remove any excess. This can be done with a grout float:
- Hold the grout float at a 45-degree angle and use it to smooth the grout over the tiles.
- Work in a diagonal motion to ensure the grout is evenly distributed.
- Once the grout is smoothed, hold the float almost parallel to the tiles and use it to scrape off any excess grout.
- Be careful not to remove too much grout in the process.
Clean and polish the tiles
Now that the grout is applied and smoothed, it’s time to clean and polish the tiles:
- Fill a bucket with clean water, and dip a sponge into the water.
- Gently wipe the sponge over the tiles, removing any grout residue.
- Make sure to rinse the sponge frequently to avoid smearing the grout.
- Once the tiles are clean, use a dry cloth to polish them and remove any remaining haze.
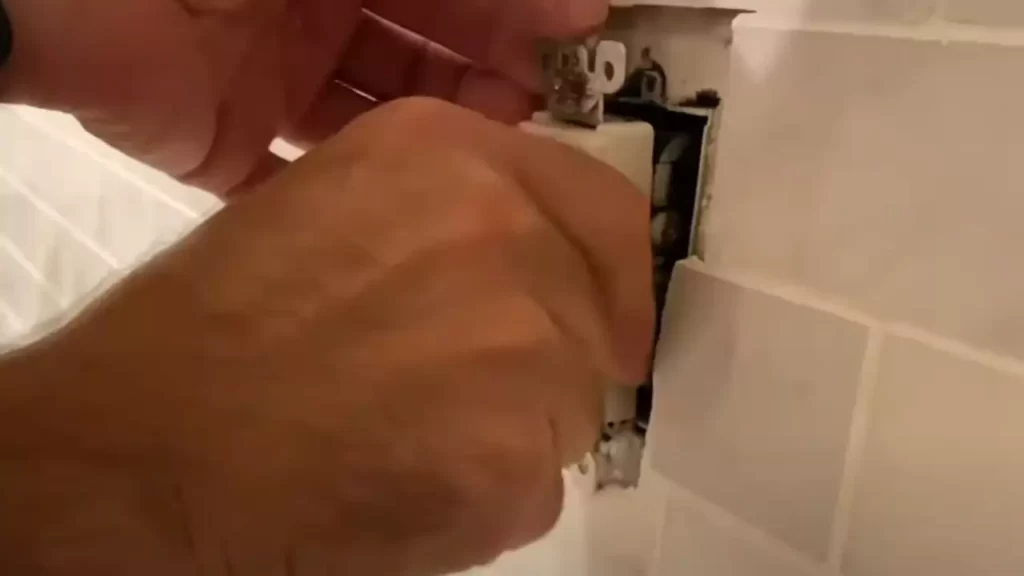
Reinstall the outlet covers
Lastly, you need to reinstall the outlet covers to complete the tile backsplash installation:
- Align the outlet covers with the outlets and screw them back into place.
- Ensure that each cover is securely fastened.
- Double-check that the outlets are functioning properly before completing the installation.
Frequently Asked Questions
How Do You Install Tile Backsplash Around Outlets?
To install tile backsplash around outlets, start by turning off the power to the outlets. Then, remove the outlet cover and extend the tile adhesive beyond the outlet box. Cut the tiles to fit around the outlets, making sure to leave space for the cover.
Apply adhesive to the back of the tiles and press them into place. Finally, reattach the outlet cover and turn the power back on.
What Tools Do I Need To Install Tile Backsplash Around Outlets?
To install tile backsplash around outlets, you’ll need a few tools. These include a tile cutter or wet saw, a notched trowel for applying adhesive, a grout float, a tile spacer, a level, and a utility knife. Additionally, you’ll need safety equipment such as gloves and goggles to protect yourself during the installation process.
Can I Install A Tile Backsplash Around Outlets Myself?
Yes, it is possible to install a tile backsplash around outlets yourself. With the right tools and following the proper steps, you can achieve professional-looking results. However, if you have limited experience with tiling or electrical work, it may be beneficial to consult with a professional to ensure the task is completed safely and efficiently.
Conclusion
Installing tile backsplash around outlets can be a challenging task, but with the right guidance, it becomes a breeze. By following the step-by-step instructions provided in this blog post, you can successfully achieve a professional-looking backsplash that enhances the overall aesthetic of your kitchen or bathroom.
Remember to plan your layout, prep the area, cut the tiles precisely, and use the appropriate adhesive. With patience and attention to detail, you’ll create a stunning tile backsplash that is both functional and visually appealing. Happy tiling!