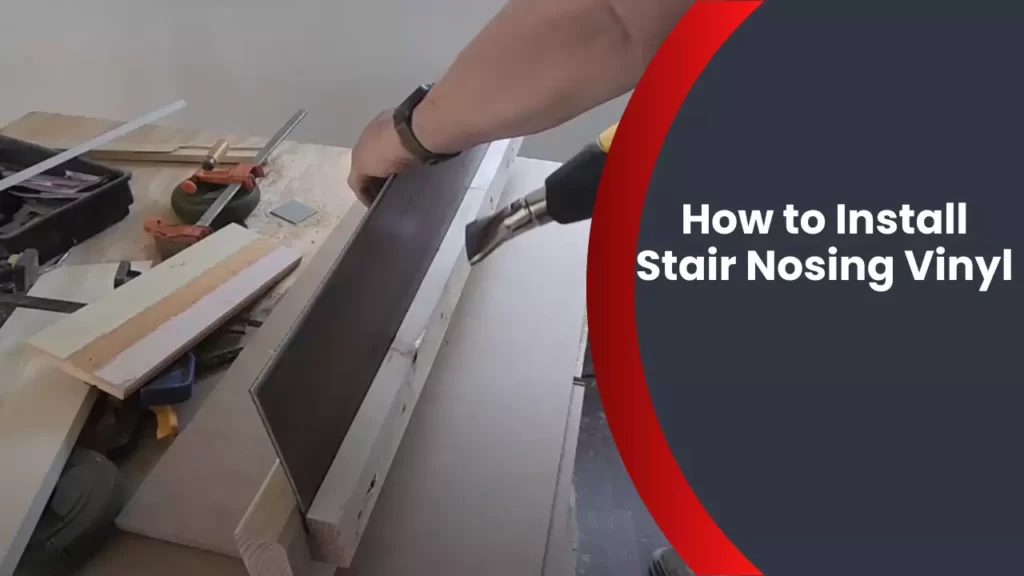
To install stair nosing vinyl, measure and cut the nosing piece to fit the width of the step, apply adhesive to the back of the nosing, and press firmly onto the step.
Preparing The Staircase For Vinyl Nosing
Preparing the staircase for vinyl nosing is a crucial step to ensure a smooth and successful installation. By following these necessary steps, you can create a solid foundation for your stair nosing, resulting in a professional and long-lasting finish.
Removing existing nosing and trim
The first step in preparing the staircase for vinyl nosing is to remove any existing nosing and trim. Using a pry bar or a hammer and chisel, gently remove the old nosing and trim from the stairs. Take care not to damage the underlying structure or surface, as it will serve as the base for your new vinyl nosing.
Cleaning the staircase surface
Once the old nosing and trim have been removed, it’s essential to clean the staircase surface thoroughly. Use a broom or vacuum cleaner to remove any loose dirt, dust, or debris from the stairs. You can also use a damp cloth or mop to wipe away any stubborn stains or residue.
Ensuring the surface is level and free of debris
To ensure a proper and secure installation, it’s important to ensure that the surface of the stairs is level and free of debris. Any bumps, unevenness, or debris can affect the adhesion of the vinyl nosing and compromise its durability. Use a leveling tool or a straightedge to check the flatness of the staircase surface and remove any high spots or imperfections using sandpaper or a scraper.
Next, thoroughly clean the surface to remove any remaining dust or debris. Use a damp cloth or mop to wipe down the stairs, ensuring that they are completely clean and dry before proceeding with the installation.
By following these steps to prepare the staircase for vinyl nosing, you are setting the stage for a successful installation. Remember to remove any existing nosing and trim, clean the staircase surface, and ensure it is level and free of debris. With a solid foundation in place, you can proceed confidently with the next steps of installing your vinyl nosing to create a safe and stylish staircase for your home or business.
Choosing The Right Stair Nosing Vinyl
Understanding the Different Types of Stair Nosing Vinyl
When it comes to installing stair nosing vinyl, one of the most important factors to consider is choosing the right type of vinyl. Understanding the different types of stair nosing vinyl available will help you make an informed decision that suits your specific needs. Here are some of the common types of stair nosing vinyl:
| Type | Description |
|---|---|
| Flush Stair Nosing | This type of stair nosing vinyl is designed to seamlessly blend in with the stair treads, providing a clean and polished look. It is usually installed on stairs with carpet or other types of flooring that extend to the edge of the stairs. |
| Bullnose Stair Nosing | Bullnose stair nosing vinyl is characterized by its rounded edge, which adds a decorative touch to the stairs. It is commonly used on stairs with hardwood or laminate flooring. |
| Ribbed Stair Nosing | This type of stair nosing vinyl is ideal for areas that require additional slip resistance. The ribbed surface provides extra traction, making it suitable for stairs in commercial or high-traffic settings. |
Evaluating the Durability and Style Options
When evaluating stair nosing vinyl options, it’s important to consider both durability and style.
Durability: Look for stair nosing vinyl that is made from high-quality, durable materials such as vinyl or aluminum. These materials are resistant to wear and tear, ensuring that your stair nosing will withstand heavy foot traffic for years to come.
Style Options: Stair nosing vinyl comes in a variety of styles, including different finishes, colors, and patterns. Consider the style of your staircase and choose a nosing vinyl that complements the overall aesthetic. Whether you prefer a sleek and modern look or a more traditional design, there is a stair nosing vinyl to suit your taste.
Considering the Color and Design that Matches Your Staircase
Another crucial aspect to consider when choosing stair nosing vinyl is the color and design that matches your staircase. The right color and design can enhance the overall appearance of your stairs, creating a cohesive and visually appealing look.
Start by evaluating the existing color scheme of your staircase and choose a nosing vinyl color that complements it. If you are installing new flooring, consider coordinating the color of the nosing vinyl with the flooring material for a seamless transition.
Additionally, think about the design elements of your staircase. Are there any architectural features or decorative accents that you want to highlight or match? The design of the stair nosing vinyl should align with the overall design of your staircase to create a harmonious and polished look.
By taking the time to evaluate the different types, durability, style options, color, and design choices, you can choose the right stair nosing vinyl that enhances the safety and aesthetic of your staircase.
Installing Stair Nosing Vinyl Step By Step
Installing stair nosing vinyl is an important step in ensuring the safety and durability of your staircase. Stair nosing not only provides an attractive finish to the edge of each step but also prevents potential trips and falls by highlighting the edge of the stairs. In this guide, we will walk you through the step-by-step process of installing stair nosing vinyl, ensuring a professional and secure installation.
Measuring and cutting the nosing vinyl to the required length
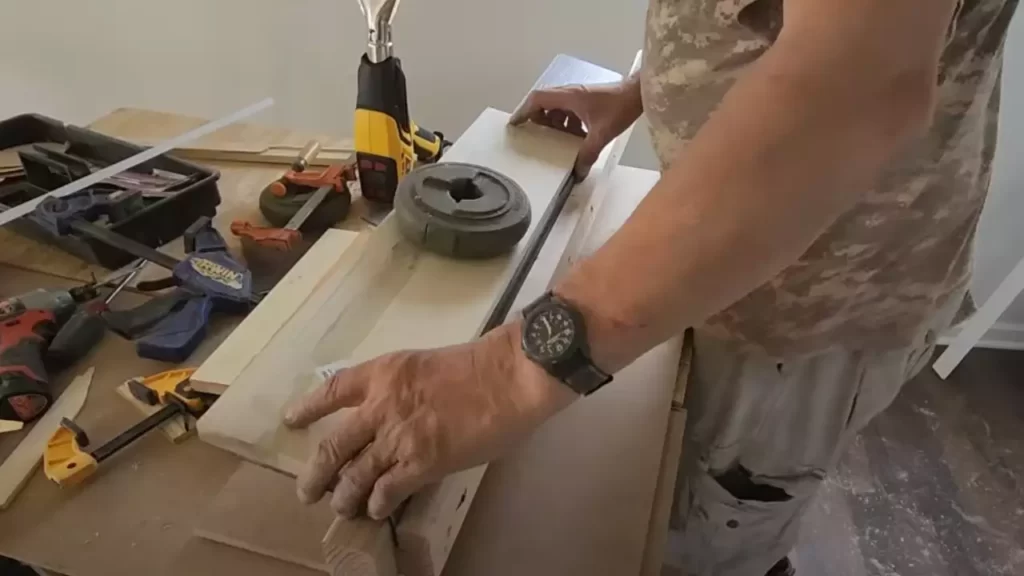
The first step in installing stair nosing vinyl is to measure and cut the vinyl to the required length. Measure the width of the stair tread and add an extra inch or so for overhang. Using a tape measure, measure the length of the tread from the nosing to the back of the step. Take note of these measurements and transfer them to the nosing vinyl. Use a utility knife or a vinyl cutter to cut the nosing vinyl to size.
Applying adhesive to the back of the nosing vinyl
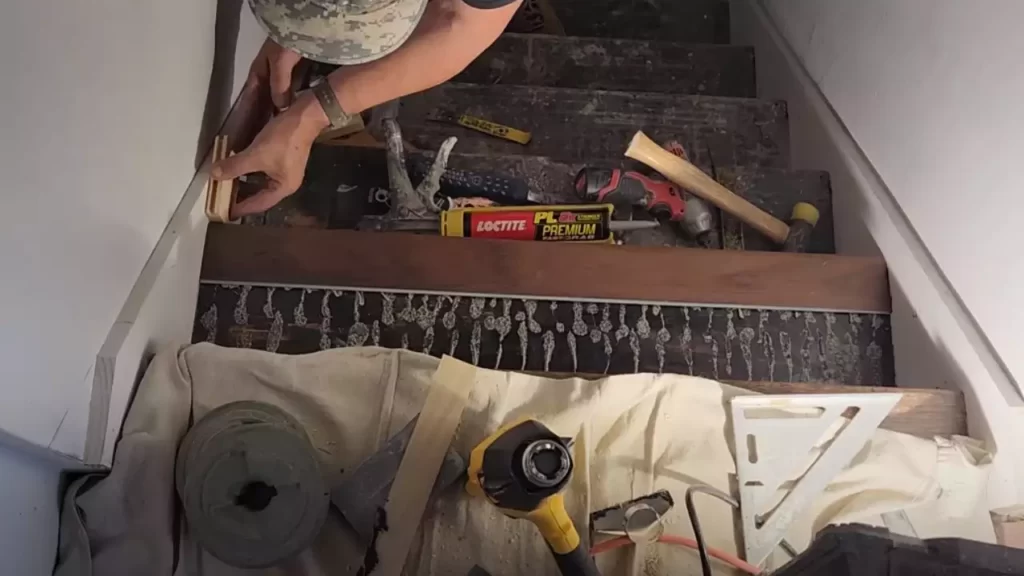
Once the nosing vinyl is cut to the right length, it’s time to apply adhesive to the back of the vinyl. Choose a strong adhesive suitable for vinyl and follow the manufacturer’s instructions for application. Apply a thin layer of adhesive evenly across the entire backside of the nosing vinyl using a putty knife or a trowel. Spread the adhesive in a sweeping motion to ensure full coverage.
Placing the nosing vinyl on the edge of the staircase
With the adhesive applied, it’s time to place the nosing vinyl on the edge of the staircase. Align the nosing vinyl with the front edge of the stair tread, making sure it’s centered and straight. Slowly lower the nosing vinyl onto the edge of the staircase, pressing it firmly against the tread and the riser. Start from the center and work your way towards the edges to avoid trapping air bubbles.
Pressing the nosing vinyl firmly to ensure proper adhesion
Once the nosing vinyl is in position, it’s important to press it firmly to ensure proper adhesion. Use a flat board or a hand roller to firmly press the nosing vinyl onto the stair tread and riser. This will help eliminate any air bubbles and secure the nosing vinyl in place. Make sure to apply even pressure across the entire surface of the nosing vinyl to ensure a strong bond.
Trimming any excess vinyl and making final adjustments
After pressing the nosing vinyl, you may notice that there is excess vinyl hanging over the edge of the staircase. Use a utility knife or a vinyl cutter to trim off any excess vinyl, ensuring a clean and professional-looking finish. Take your time when trimming and make any final adjustments to the position of the nosing vinyl if needed.
Repeating the process for each step of the staircase
Once you have successfully installed the nosing vinyl on one step, repeat the entire process for each step of the staircase. Take accurate measurements, cut the nosing vinyl to size, apply adhesive, position the nosing vinyl, press it firmly, trim any excess vinyl, and make final adjustments. By following these steps for each step of the staircase, you will achieve a consistent and professional installation.
Installing stair nosing vinyl may seem daunting at first, but by following these step-by-step instructions, you can accomplish a secure and visually appealing installation. Take your time, be precise with your measurements and cuts, and ensure proper adhesion for a long-lasting and safe stair nosing vinyl installation.
Tips And Tricks For A Seamless Installation
Installing stair nosing vinyl can completely transform the look and functionality of your stairs. To ensure a seamless and professional-looking installation, here are some essential tips and tricks to keep in mind:
Using a straightedge for precise measurements and cuts
Accurate measurements and clean cuts are crucial for a perfect fit when installing stair nosing vinyl. To achieve this, using a straightedge is highly recommended. Simply place the straightedge along the edge of the stair, ensuring it is perfectly aligned, and mark the measurements for your cuts. This will help you achieve straight, precise cuts that will seamlessly fit the nosing vinyl on each step.
Applying even pressure while adhering the nosing vinyl
When it comes to adhering the stair nosing vinyl onto the stairs, it is important to apply even pressure to ensure a strong and long-lasting bond. Use a steady hand to press down on the nosing vinyl, starting from one end and gradually working your way to the other end. This will help eliminate any air bubbles or uneven patches and guarantee a smooth and secure installation.
Allowing sufficient drying time for the adhesive
Proper drying time for the adhesive is vital for a successful installation. Before placing any weight or traffic on the newly installed stair nosing vinyl, make sure to consult the manufacturer’s instructions regarding the recommended drying time. Patience is key here, as allowing the adhesive to fully cure will ensure maximum durability and prevent any potential damage to the nosing vinyl.
Securing the nosing vinyl with finishing nails, if needed
In certain situations, securing the nosing vinyl with additional support may be necessary. If you notice any gaps or areas where the nosing vinyl is not firmly attached to the stair, you can use finishing nails to reinforce its stability. Carefully drive the nails through the vinyl and into the stair, making sure they are evenly spaced and countersunk to avoid any potential tripping hazards.
Regular maintenance and cleaning to ensure longevity
Once your stair nosing vinyl installation is complete, it is essential to implement a regular maintenance and cleaning routine to prolong its longevity. Regularly sweep or vacuum the stairs to remove dirt and debris, and wipe the nosing vinyl with a damp cloth or mop using a mild cleaner specifically designed for vinyl flooring. Avoid using abrasive or harsh cleaning agents as they can damage the vinyl’s surface.
By following these tips and tricks, you can ensure a seamless installation of stair nosing vinyl and enjoy the countless benefits it provides for years to come. Remember, attention to detail and proper maintenance are key to achieving and maintaining a pristine and beautiful staircase.
Troubleshooting Common Issues
Dealing with bubbling or wrinkling of the nosing vinyl
If you notice bubbling or wrinkling in your nosing vinyl after installation, it can be quite frustrating. However, there are a few steps you can take to resolve this issue and achieve a smooth and seamless finish.
- Assess the underlying surface: Ensure that the surface where the nosing vinyl is applied is clean, dry, and free from any debris. Any irregularities or moisture can affect the adhesion and lead to bubbling or wrinkling.
- Apply even pressure: When installing nosing vinyl, make sure to apply even pressure across the entire surface. This will help to prevent any air pockets that can cause bubbling or wrinkling.
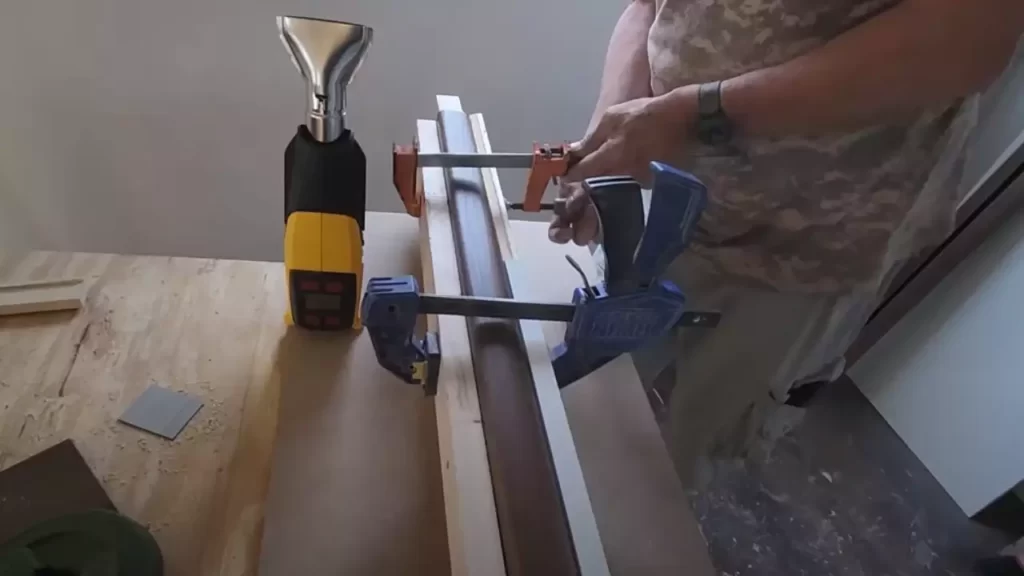
- Use a heat gun: If you encounter bubbling or wrinkling, you can use a heat gun to soften the vinyl and smooth out any imperfections. Gently apply heat to the affected area while using a squeegee or your hands to flatten the vinyl.
Addressing gaps or unevenness between steps
It’s common to encounter gaps or unevenness between steps when installing stair nosing vinyl. These issues can compromise the appearance and safety of your stairs. Here are some steps to help you address this problem and achieve a uniform and secure fit.
- Measure and cut accurately: Proper measurement and accurate cutting of the nosing vinyl are crucial to prevent any gaps or unevenness. Double-check your measurements and use a sharp utility knife or a vinyl cutter to ensure clean and precise cuts.
- Use adhesive correctly: Apply a generous amount of adhesive to the back of the nosing vinyl and the step surface. This will create a strong bond and minimize the chances of any gaps or unevenness.
- Press down firmly: Once the nosing vinyl is in place, ensure you press it down firmly to eliminate any gaps. Use a squeegee or a heavy object to apply even pressure along the entire length of the nosing.
Fixing loose or unstable nosing vinyl
If you have installed stair nosing vinyl that becomes loose or unstable over time, it’s crucial to address the issue promptly to maintain the safety and aesthetic appeal of your stairs. Follow these steps to rectify loose or unstable nosing vinyl:
- Inspect the adhesive: Check the adhesive used during installation of the nosing vinyl. If it has deteriorated or become ineffective, it may be necessary to reapply a fresh coat of adhesive.
- Reapply adhesive: Remove the loose or unstable nosing vinyl carefully. Clean the surface thoroughly and apply a generous amount of adhesive, ensuring complete coverage. Press the nosing vinyl firmly into place and allow sufficient drying time.
- Secure with screws: In some situations, it may be necessary to further stabilize the nosing vinyl by using screws. Pre-drill small holes, then insert screws through the nosing vinyl and into the underlying step. This will provide extra support and prevent any future movement.
Repairing damaged or worn-out nosing vinyl
Over time, your stair nosing vinyl may experience wear and tear, becoming damaged or worn-out. To restore the appearance and functionality of your stairs, consider the following steps for repairing damaged or worn-out nosing vinyl:
- Assess the extent of damage: Determine whether the damage is minor or extensive. Minor issues like scratches can often be repaired using vinyl repair kits, while large tears or substantial wear might require replacing the entire nosing vinyl.
- Prepare the surface: Clean the damaged area thoroughly, removing any dirt or debris. If necessary, sand down uneven surfaces to create a smooth foundation for repair or replacement.
- Repair or replace: Depending on the severity of the damage, apply vinyl repair adhesive to minor scratches or tears. For more extensive damage, carefully remove the damaged nosing vinyl and replace it with a new piece, following the installation steps outlined previously.
By troubleshooting these common issues related to stair nosing vinyl installation, you can ensure a visually pleasing and secure finish that enhances both the appearance and functionality of your stairs.
Enhancing The Visual Appeal Of Stair Nosing Vinyl
Adding Finishing Touches with Trim or Moldings
When it comes to enhancing the visual appeal of stair nosing vinyl, adding finishing touches with trim or moldings can make a significant difference. These elements not only provide a polished look but also help protect the edges of the vinyl from wear and tear.
To start, choose trim or molding style that complements the overall design of your staircase. Whether you prefer a minimalist aesthetic or something more ornate, there are plenty of options to choose from. Consider the architectural style of your home and the existing decor to make a cohesive choice.
Here are a few popular trim and molding styles to consider:
- Bullnose molding: Provides a sleek and rounded edge, perfect for a contemporary look.
- Cove molding: Offers a softer, curved edge that adds a touch of elegance to any staircase.
- Baseboard molding: Creates a seamless transition between the stair nosing vinyl and the wall, adding a finished look.
Once you’ve selected the right trim or molding style, ensure proper installation by following manufacturer guidelines. This may involve measuring and cutting the pieces to fit the length and angle of each step. Securely attach the trim or molding using adhesive or finishing nails.
Choosing Complementary Paint or Stain for the Staircase
Another way to enhance the visual appeal of stair nosing vinyl is by choosing a complementary paint or stain for the staircase. By carefully selecting the right color, you can create a cohesive and harmonious look that elevates the overall aesthetic of your home.
Before deciding on a paint or stain color, consider the existing color palette in your space. Look at the flooring, walls, and surrounding elements to identify complementary or contrasting hues. This will help you create a cohesive design scheme that ties everything together.
- If you prefer a classic and timeless look, opt for neutral tones like white, beige, or gray.
- For a more dramatic effect, consider darker shades like navy blue or charcoal gray.
- If you want to add warmth and coziness to your staircase, choose earthy tones like brown or taupe.
To ensure a professional finish, prepare the staircase surface by sanding it down and applying a primer if necessary. Then, carefully apply the chosen paint or stain, following the manufacturer’s instructions. Remember to allow for sufficient drying time between coats and finish with a protective clear coat for added durability.
Incorporating Decorative Accents to Create a Cohesive Look
To truly enhance the visual appeal of stair nosing vinyl, consider incorporating decorative accents that will tie the entire design together. These accents can be small details that add character and charm to your staircase.
Here are a few decorative accents to consider:
- Wrought iron balusters: Add a touch of elegance and sophistication to your staircase.
- Carved wooden brackets: Bring a rustic or traditional element to your staircase design.
- Ceramic or glass tiles: Create a unique and eye-catching pattern along the stair risers.
When incorporating these decorative accents, ensure that they complement the overall style and design of your stair nosing vinyl. Keep in mind the scale and proportion of your staircase to make the accents harmonize with the space. Proper installation and attention to detail are key to achieving a polished look.
By following these guidelines and adding finishing touches with trim or moldings, choosing a complementary paint or stain, and incorporating decorative accents, you can enhance the visual appeal of stair nosing vinyl and create an impressive staircase that becomes a focal point in your home.
Frequently Asked Questions
What Is The Best Adhesive For Vinyl Stair Nosing?
The best adhesive for vinyl stair nosing is a strong and reliable construction adhesive. It provides a secure bond for the nosing and ensures long-lasting durability. Look for a adhesive specifically designed for vinyl materials to guarantee compatibility and optimal performance.
How Do You Attach Stair Nosing?
Attach stair nosing by following these steps: 1. Measure and cut the nosing to fit the length of the stair. 2. Apply adhesive to the back of the nosing. 3. Press the nosing firmly onto the stair, ensuring it is aligned and level.
4. Use screws or nails to secure the nosing in place. 5. Allow the adhesive to dry completely before using the stairs.
Can You Nail Vinyl Stair Nosing?
Yes, you can nail vinyl stair nosing.
Do You Glue Stair Nosing?
Yes, stair nosing should be glued to the stairs for a secure installation.
Conclusion
Installing stair nosing vinyl is a simple yet effective way to enhance the safety and aesthetic appeal of your staircase. By following the step-by-step guide provided in this blog post, you can easily complete the installation process. From cleaning the surface to securing the nosing, every detail has been covered to ensure a successful outcome.
With the right tools and techniques, you can transform your staircase into a stylish and slip-resistant feature. So don’t wait any longer, get started on your stair nosing vinyl installation today!