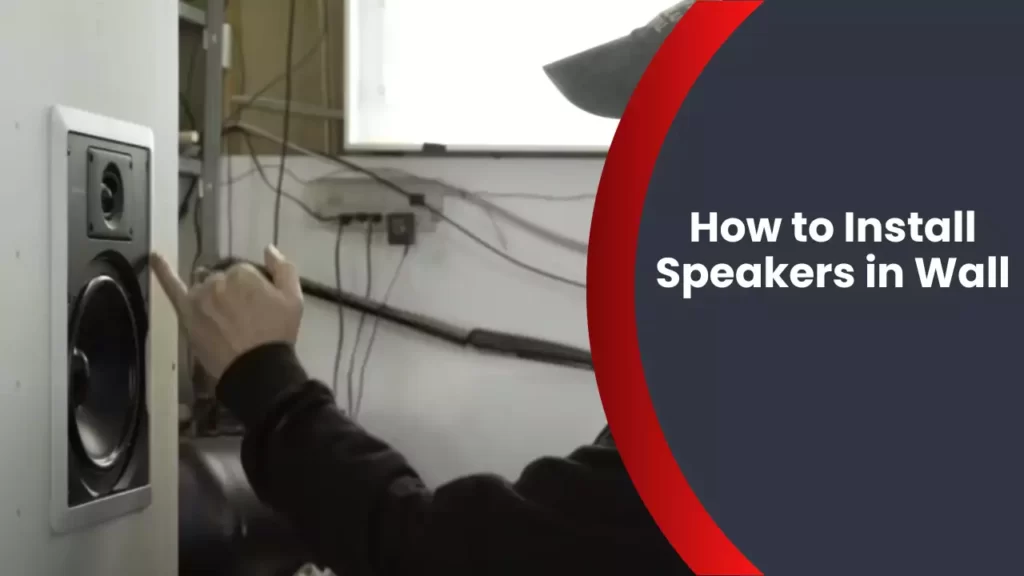
To install speakers in a wall, locate the desired position, cut a hole, connect the wires, and secure the speakers in place. Want to enhance your audio experience?
Adding speakers to your wall can create a sleek and seamless design while providing high-quality sound. Whether you want to enjoy your favorite music or set up a home theater system, this guide will walk you through the simple steps of installing speakers in your wall.
By following these steps, you can achieve a professional and clean installation that blends seamlessly with your decor. So, let’s get started and transform your walls into a concert hall!
Choosing The Right Location
The location of your in-wall speakers plays a crucial role in achieving optimal sound quality and a seamless integration into your room decor. In this section, we will guide you through the process of selecting the perfect spot for your speakers. This involves assessing the room layout and acoustics, identifying optimal speaker placement and positioning, as well as taking measurements and marking the installation points. Getting these steps right ensures that you’ll enjoy the best audio experience from your in-wall speakers.
Assessing the Room Layout and Acoustics
Before choosing the location for your in-wall speakers, it’s essential to assess the room’s layout and consider the acoustics. The following steps will help you make an informed decision:
1. Evaluate the room size: Take note of the room’s dimensions and layout, including any obstructions such as furniture or architectural features that might affect sound distribution.
2. Consider the purpose of the room: The room’s function will influence speaker placement. For example, a home theater setup might require specific speaker positioning for optimal surround sound.
3. Examine wall structure: Check the construction of the walls to ensure they can support the speakers’ weight. Additionally, consider any potential wiring or plumbing obstacles that might affect installation.
Identifying Optimal Speaker Placement and Positioning
Once you’ve assessed the room’s layout and acoustics, it’s time to determine the optimal placement and positioning for your in-wall speakers:
1. Observe the listening area: Identify the primary listening area or areas within the room. This will help you position the speakers effectively for the best sound dispersion.
2. Aim for an equal distance from the primary listening area: To enhance the listening experience, position the speakers an equal distance from the primary listening area. This helps create a balanced soundstage.
3. Consider speaker height: In most cases, positioning the speakers at ear level or slightly above when seated provides the most natural sound reproduction.
Taking Measurements and Marking the Installation Points
Now that you’ve identified the optimal speaker placement, it’s time to take measurements and mark the installation points. This ensures accurate installation and a seamless finish:
1. Measure and mark the speaker locations: Use a measuring tape to mark the desired speaker locations on the wall. Ensure the markings are symmetrical and at the appropriate height based on your earlier considerations.
2. Check for wiring and plumbing: Before proceeding with installation, check the wall for any wiring or plumbing that needs to be avoided. This step helps prevent damage and interference with other systems.
3. Remove the drywall: Following the marked locations, carefully cut and remove the required sections of drywall, creating openings where the speakers will be installed.
By following these steps, you will successfully choose the right location for your in-wall speakers, taking into account the room layout, acoustics, optimal placement, and correct measurements. This sets the stage for a seamless installation and superb audio performance in your space.
Preparing The Wall For Installation
Before you can instal speakers in your wall, it’s important to properly prepare the wall to ensure a seamless and professional-looking result. This process involves gathering the necessary tools and materials, locating and avoiding electrical wires and other obstacles, and cutting the speaker holes in the wall.
Gathering the necessary tools and materials
Before you begin the installation process, gather together the following tools and materials:
| Tools | Materials |
|---|---|
| – Tape measure | – Speaker wire |
| – Pencil | – Wire strippers |
| – Level | – Wall plate |
| – Stud finder | – Drywall saw |
| – Wire fish tape | – Screwdriver |
Having these tools and materials on hand will make the process much smoother and ensure you have everything you need to successfully install your speakers.
Locating and avoiding electrical wires and other obstacles
Before cutting into your wall, it’s crucial to identify and avoid any electrical wires or other obstacles that may be hidden within the wall. Follow these steps to locate and avoid these potential hazards:
- Turn off the power to the room you will be working in. This will help prevent any accidents while locating the wires.
- Use a stud finder to locate the vertical wooden studs within the wall. This will help determine where it is safe to cut into the wall without damaging any electrical wiring.
- If needed, use a wire fish tape to carefully probe the wall and find any electrical wires in the vicinity of your speaker installation area.
- Mark the locations of the electrical wires and any other obstacles to ensure you don’t accidentally cut into them during the installation process.
By taking the time to locate and avoid potential obstacles, you can ensure a safe and worry-free installation experience.
Cutting the speaker holes in the wall
Once you’ve gathered your tools, materials, and ensured the area is clear of obstacles, it’s time to cut the speaker holes in the wall. Follow these steps to achieve precise and clean speaker openings:
- Measure and mark the desired location for your speakers on the wall, ensuring they are level and evenly spaced.
- Using a pencil, trace the outline of your speaker onto the wall, creating a guide for cutting.
- With a drywall saw, carefully cut along the marked outline, taking care to maintain a smooth and even cut.
- Gently remove the cut section of drywall, clearing the way for your speaker installation.
- Insert the wall plate into the speaker hole, ensuring it fits securely.
Following these steps will help you create clean and professional-looking speaker holes that are ready for installation.
Remember to consult the installation manual provided by your speaker manufacturer for any specific instructions or guidelines.
Installing The Speakers
Connecting the speaker wires to the speakers
Before you start installing your speakers, it is important to connect the speaker wires properly to ensure optimal sound quality. Follow these steps to connect the wires:
- Identify the positive (+) and negative (-) terminals on the back of each speaker. These terminals are usually labeled or color-coded for easy identification.
- Strip around half an inch of insulation from the end of each speaker wire to expose the bare wire.
- Insert the exposed wire into the corresponding terminals on the back of the speaker. Make sure the positive (+) wire goes into the positive terminal and the negative (-) wire goes into the negative terminal.
- Tighten the terminals or use any provided screws or clips to secure the wire connections. Ensure a snug fit, as loose connections can affect the sound quality.
Securing the speakers in the wall using brackets or screws
Once you have connected the speaker wires, it’s time to secure the speakers in the wall. Depending on the type of speaker and the wall material, you can use brackets or screws. Follow these steps:
- Choose the perfect location on the wall where you want to install the speakers. Ensure that the location is suitable for optimal audio performance.
- If using brackets, attach them to the back of the speakers according to the manufacturer’s instructions. Make sure the brackets are securely mounted.
- Hold the speakers against the wall in the desired location. Use a level to ensure they are straight.
- If using brackets, mark the screw holes on the wall. If using screws directly, mark the locations where you will insert them.
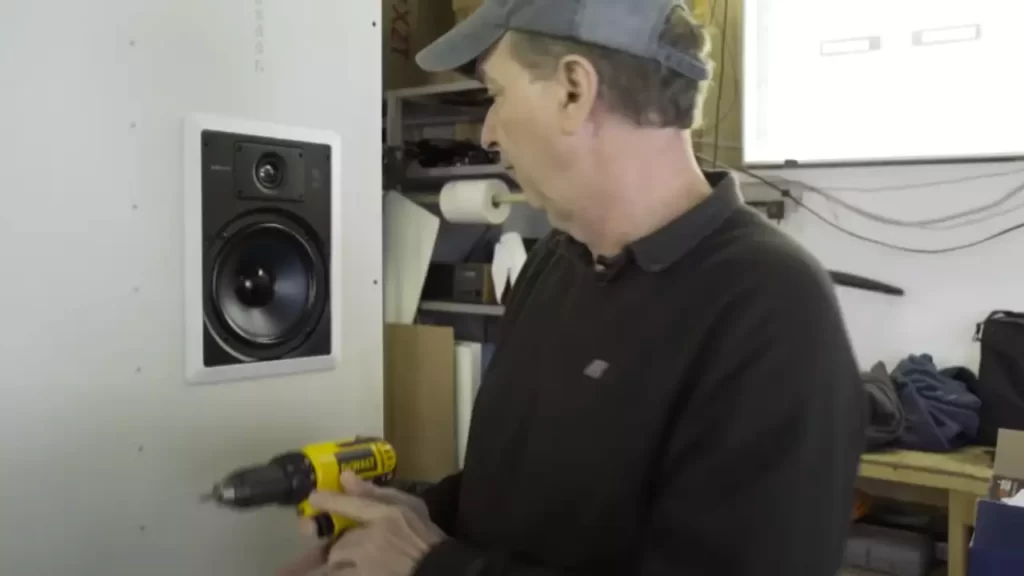
- Drill pilot holes at the marked locations using an appropriate drill bit. This will prevent the wall from cracking or splitting when you insert the screws.
- Attach the brackets or directly screw the speakers to the wall using the appropriate screws. Make sure the speakers are firmly attached and flush against the wall.
Testing the speakers for proper functionality
After installing and securing the speakers in the wall, it’s essential to test them to ensure everything is working correctly. Follow these steps:
- Connect the other ends of the speaker wires to your audio receiver or amplifier. Again, make sure the positive and negative connections are correct.
- Turn on your audio system and play some test audio. Start with low volume and gradually increase it to the desired level.
- Listen carefully to each speaker. Make sure there is sound output from all the speakers and they are functioning properly.
- Adjust the speaker settings on your audio system if needed to achieve the best sound quality.
By following these steps, you can successfully install speakers in the wall and enjoy immersive sound without any installation hassles.
Frequently Asked Questions
How Do You Attach Speakers To The Wall?
To attach speakers to the wall, follow these steps: 1. Determine the desired speaker placement on the wall. 2. Use a stud finder to locate studs for secure installation. 3. Mark the location for speaker mounts or brackets. 4. Use a drill to create holes for screws or anchors.
5. Attach the speaker mount or bracket to the wall and secure it firmly. Remember to follow the manufacturer’s instructions for your specific speaker model.
How Do In-Wall Speakers Get Power?
In-wall speakers receive power through a built-in wiring system that connects to an amplifier or receiver. This wiring allows the speakers to draw power and transmit audio signals, eliminating the need for additional power cords or batteries.
Can You Put Speakers In The Wall?
Yes, speakers can be installed in the wall for a clean and seamless audio setup. Wall-mounted speakers provide a space-saving solution while delivering high-quality sound. It is recommended to consult a professional for proper installation to ensure optimal performance.
Are In-Wall Speakers A Good Idea?
In-wall speakers can be a great choice for a seamless audio experience. They save space and blend well with the decor. The sound quality can match traditional speakers, offering a clean and immersive audio experience. However, installation can be tricky and may require professional help.
Conclusion
Installing speakers in the wall can enhance your audio experience by creating a seamless and clutter-free look. By following the step-by-step guide provided in this blog post, you can easily install speakers in the wall without any professional assistance. Remember to select the right location, measure carefully, and use the proper tools for a successful installation.
Enjoy high-quality sound and a sleek aesthetic in your home by incorporating in-wall speakers into your audio setup.