To install Rubbermaid Fasttrack, start by determining the location for the system and ensuring it is level. Then, use a stud finder to locate the wall studs and mark their positions.
Next, attach the FastTrack verticals to the studs using the provided hardware. Finally, snap the horizontal rails into the verticals and secure them with screws.
Getting Started
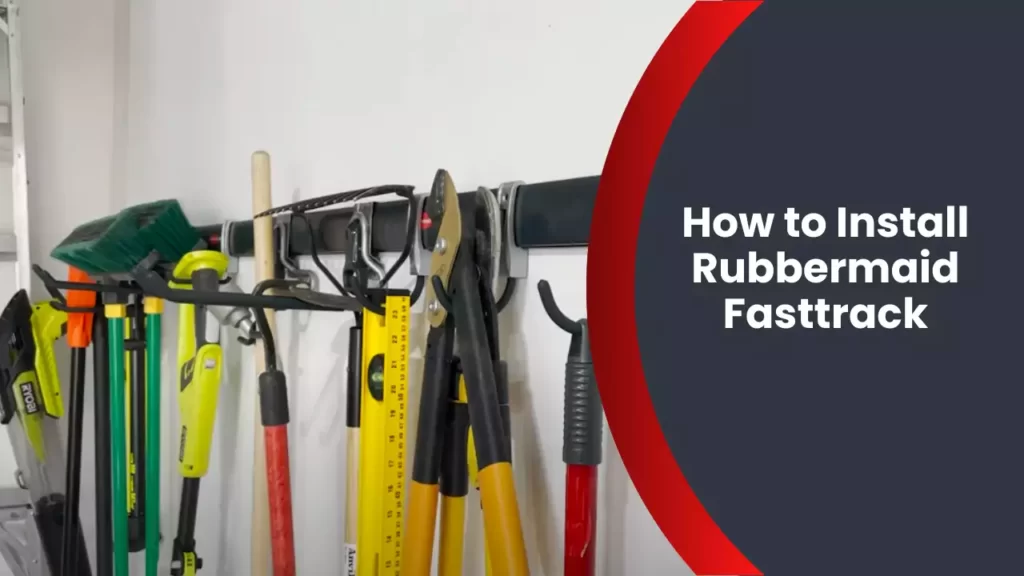
When it comes to organizing your garage or workspace efficiently, Rubbermaid Fasttrack is the ultimate solution that can transform your cluttered space into a well-organized paradise. This innovative storage system offers a wide range of accessories, such as hooks, shelves, and bins, which can be easily adjusted to fit your needs. Whether you are a DIY enthusiast or a professional, installing Rubbermaid Fasttrack is a straightforward process that requires just a few tools and some basic preparation.
What is Rubbermaid Fasttrack?
Rubbermaid Fasttrack is a modular wall-mounted storage system designed to help you maximize your available space and keep your belongings neatly organized. It features a rail-mounted system where various accessories can be easily attached and adjusted to create a highly customizable storage solution. With Rubbermaid Fasttrack, you can store everything from tools and sporting equipment to gardening supplies and even bicycles, making it the perfect choice for any garage or workspace.
Understanding the benefits of Rubbermaid Fasttrack
Rubbermaid Fasttrack offers several advantages over traditional storage systems. Here are some key benefits:
- Maximized Storage: The rail-mounted system allows for vertical storage, utilizing the entire height of your walls and freeing up valuable floor space.
- Easy Customization: The adjustable accessories can be easily rearranged and added or removed as your storage needs change over time.
- Durable Construction: Made from sturdy materials, Rubbermaid Fasttrack can withstand heavy loads and is built to last.
- Quick and Easy Installation: With its simple design, Rubbermaid Fasttrack can be installed in no time, saving you both time and effort.
Tools required for installation
Before you get started with the installation, gather the following tools:
- Stud finder: To locate the studs in your wall for secure installation.
- Level: To ensure proper alignment during installation.
- Drill: Necessary for drilling holes and attaching the rail system to the wall.
- Screwdriver: To securely fasten the accessories to the rail system.
- Measuring tape: For accurate measurements and spacing between accessories.
Preparing the space for installation
Prior to installing Rubbermaid Fasttrack, it is important to prepare the space to ensure a smooth installation process:
- Clean the area: Remove any existing items from the wall and clean the surface to ensure proper adhesion.
- Locate the studs: Use a stud finder to identify the studs in your wall. The rail system should be mounted directly into the studs for maximum stability.
- Plan the layout: Determine the desired placement and spacing of the accessories. Consider your storage needs and the size of the items you plan to store.
- Mark the installation points: Use a pencil to mark the locations where the rail system and accessories will be installed.
Installation Steps
Installing the Rubbermaid Fasttrack system is an efficient way to organize your garage, workshop, or any space that requires storage solutions. This versatile system offers a variety of accessories such as hooks, shelves, and bins, allowing you to customize your storage setup. To make the installation process easier for you, we have broken down the steps into a simple guide.
Ensuring the Wall is Suitable for Installation
Before you begin, it’s important to ensure that the wall where you plan to install the Fasttrack system is suitable for the task. Check that the wall is sturdy and able to support the weight of the system and any items you’ll be hanging on it. If the wall is drywall, locate the studs using a stud finder to ensure a secure installation.
Measuring and Marking the Desired Placement
Measure your available wall space and determine the desired height for the installation. Using a pencil, mark the positions where you want to mount the wall-mounted rail system and where you plan to attach the uprights and accessories. Take into account any obstructions such as light switches or outlets that may affect the placement of the system.
Installing the Wall-Mounted Rail System
To install the wall-mounted rail system, use a level to ensure it is straight. Position the rail according to your markings and mark the screw hole locations on the rail. Pre-drill holes at the marked positions and then secure the rail to the wall using screws and appropriate wall anchors for added stability.
Attaching the Uprights to the Rails
Once the rail is secured, it’s time to attach the uprights. Align the uprights with the slots on the rail and insert them until they lock into place. Ensure that the uprights are evenly spaced and level. Use the provided screws or connectors to secure the uprights to the rail.
Understanding the Different Fasttrack Accessories and Their Installation
The Fasttrack system offers a wide range of accessories to suit your storage needs. Take some time to familiarize yourself with the different accessories available, such as hooks, shelves, and bins. Each accessory comes with its own installation requirements, so be sure to follow the manufacturer’s instructions for each specific accessory.
Installing Hooks, Shelves, and Other Accessories
Now that you have the rail system and uprights in place, it’s time to start installing your desired accessories. Whether it’s hooks for hanging tools or shelves for storing containers, make sure to secure each accessory properly. Follow the manufacturer’s instructions for each accessory, ensuring a snug fit and proper weight distribution.
Securing the Accessories in Place
To ensure that your accessories stay securely in place, double-check that they are securely fastened. Give each accessory a slight tug to make sure it is stable. If necessary, adjust the positioning or re-tighten the screws to ensure a secure fit. This step will provide you with the peace of mind that your belongings are safe and well-organized.
Now that you’re familiar with the installation steps, you can start transforming your space into an organized oasis with the Rubbermaid Fasttrack system. By following these steps carefully, you’ll maximize the functionality of your storage area while keeping everything easily accessible. Start enjoying the benefits of a clutter-free environment today!
Tips And Tricks For Successful Installation
Maximizing storage space with proper organization
One of the key advantages of the Rubbermaid Fasttrack system is its ability to maximize storage space in your garage or any other area. With proper organization techniques, you can make the most of your Fasttrack installation. Here are some tips and tricks to help you achieve successful installation while optimizing your overall storage capacity.
1. Utilize adjustable shelving: The Fasttrack system allows you to adjust the shelves according to your storage needs. This flexibility lets you create customized storage solutions for items of various sizes.
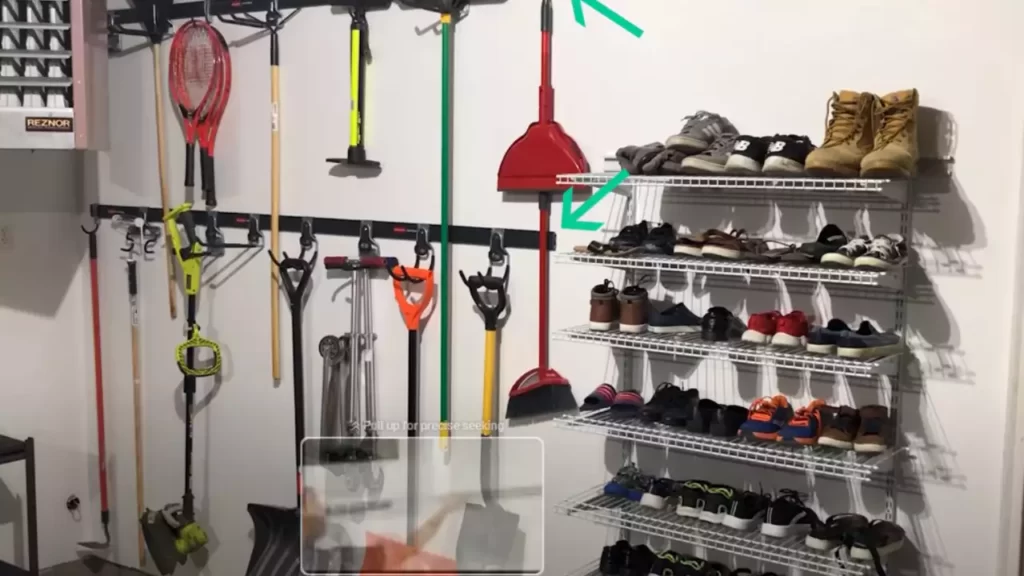
2. Hang commonly accessed items: Save valuable floor space by hanging items like bicycles, brooms, and tools on Fasttrack hooks. These hooks are easy to install and can hold heavy items securely.
3. Categorize and label: Organize your items by grouping them into categories, such as sports equipment, gardening tools, and automotive supplies. Use labels or color-coded stickers to quickly identify each category, making it easier to find what you need.
4. Stack bins and containers: Make use of stackable bins and containers to efficiently store small items. By stacking them on Fasttrack shelves, you can maximize vertical space while keeping your items easily accessible.
Choosing the right accessories for your needs
When it comes to the Rubbermaid Fasttrack system, choosing the right accessories is crucial for a successful installation. Here are some factors to consider when selecting the accessories that best suit your needs.
- Assess your storage requirements: Before purchasing accessories, evaluate what items you need to store and their dimensions. This will help you determine the types and sizes of accessories, such as hooks, bins, or shelves, that will best accommodate your belongings.
- Consider weight capacity: Different Fasttrack accessories have varying weight capacities. Ensure that the accessories you choose can handle the weight of the items you intend to store. This will help prevent any damage or accidents caused by overloading.
- Think long-term: Anticipate your future storage needs when selecting accessories. If you expect your storage requirements to change over time, opt for adjustable or expandable accessories that can adapt to your evolving needs.
Adjusting and rearranging accessories as necessary
As your storage needs change, it may be necessary to adjust or rearrange your Fasttrack accessories. Fortunately, the system is designed to be flexible and customizable. Here are some tips for making adjustments:
- Use the Fasttrack rail as a guide: When readjusting or rearranging accessories, use the rail as a guide for proper alignment. This will ensure that your accessories are securely attached and properly positioned.
- Experiment with different configurations: Don’t be afraid to experiment with different accessory configurations until you find the most efficient use of your storage space. You can easily reposition hooks, shelves, and other accessories to suit your changing needs.
- Consider seasonal adjustments: If you store seasonal items like holiday decorations or sports gear, plan for seasonal adjustments. For example, you may want to dedicate more space to winter equipment during the colder months and rearrange it when summer comes.
Maintaining and cleaning the Rubbermaid Fasttrack system
To ensure the longevity and performance of your Rubbermaid Fasttrack system, regular maintenance and cleaning are essential. Here are some tips to keep your system in top shape:
- Regularly inspect accessories: Check your Fasttrack accessories for any signs of wear, damage, or loose parts. Tighten any loose connections and replace damaged accessories to maintain structural integrity.
- Clean the accessories and rails: Wipe down the accessories and rails with a damp cloth to remove dust and dirt. For stubborn stains or grime, use a mild detergent solution. Avoid using harsh chemicals that could damage the system.
- Check for water damage: If your Fasttrack system is installed in a damp environment, periodically check for water damage. Moisture can lead to rust or corrosion, so ensure proper ventilation and address any leaks promptly.
By following these tips and tricks, you can achieve a successful installation of the Rubbermaid Fasttrack system while maximizing your storage space and ensuring its long-term functionality.
Frequently Asked Questions
How Do I Install Rubbermaid Tracks?
To install Rubbermaid tracks, follow these steps: 1. Measure and mark the desired location for the tracks. 2. Use a level to ensure the tracks are straight. 3. Drill pilot holes for the screws. 4. Attach the tracks to the wall using the screws provided.
5. Make sure the tracks are secure before hanging any items.
What Height Do You Hang Rubbermaid Fasttrack?
The height at which you hang Rubbermaid FastTrack depends on your needs and preferences. Make sure to consider factors such as accessibility and convenience when determining the height.
What Is The Spacing For Rubbermaid Fasttrack?
The spacing for Rubbermaid FastTrack varies depending on your specific needs and setup. It is recommended to leave a minimum of 16 inches between each FastTrack rail to allow for optimal organization and functionality.
Can You Install Rubbermaid Fasttrack On Concrete?
Yes, you can install Rubbermaid FastTrack on concrete. The installation process is simple and can be done using concrete anchors and screws. The FastTrack system provides a secure and versatile storage solution for your garage or other concrete surfaces.
Conclusion
To sum up, installing the Rubbermaid Fasttrack system is a quick and efficient way to maximize your storage space. By following the step-by-step instructions outlined in this guide, you can easily set up the system and enjoy the benefits of a clutter-free and organized home.
With its versatility and durability, the Rubbermaid Fasttrack is the perfect solution for all your storage needs. So, get started today and witness the transformation it brings to your space.