Installing peel and stick tile in the shower is simple! Just clean the surface, peel off the backing, and stick the tiles in place.
Now, let’s delve into the details of how to successfully install peel and stick tile in the shower. Updating your shower with peel and stick tiles can be a cost-effective and stylish way to enhance the look of your bathroom.
Whether you’re looking to spruce up an outdated design or add a splash of color, peel and stick tiles offer convenience and versatility. With their easy installation process, you can transform your shower in no time. This guide will walk you through the steps of preparing the surface, choosing the right tiles, and properly installing them to create a stunning and durable shower space. So, let’s dive in and discover the simple process of installing peel and stick tile in your shower.
Preparing The Shower Surface
Cleaning the shower surface thoroughly
Before installing peel and stick tiles in your shower, it is essential to ensure that the shower surface is clean and free from any dirt, grime, or soap residue. Cleaning the surface thoroughly will help the adhesive on the tiles bond better, ensuring a long-lasting installation.
To clean the shower surface, follow these simple steps:
- Remove any loose or hanging tiles, if present, to get better access to the entire shower surface.
- Use a mild bathroom cleaner along with a scrub brush or sponge to scrub the surface, paying special attention to areas with visible dirt or grime.
- Rinse the surface with clean water to remove any cleanser residue and wipe it dry. Make sure the surface is completely dry before moving on to the next step.
Repairing any existing damage or cracks
Inspect the shower surface for any existing damage or cracks, as these can affect the adhesion of the peel and stick tiles. Repairing these issues before installation will ensure a smooth and secure tile application.
If you find any damage or cracks, follow these steps to repair them:
- Remove any loose or damaged tiles, using a grout saw or a suitable tool. Be careful not to cause further damage to the surrounding tiles.
- Clean the damaged area thoroughly, removing any loose debris or dirt.
- Fill the crack or damaged area with a high-quality shower caulk or waterproof patching compound. Smooth the surface with a putty knife, ensuring that it is level with the surrounding tile surface.
- Allow the patched area to dry completely, following the manufacturer’s instructions of the caulk or patching compound.
Sanding the surface for better adhesion
Sanding the shower surface is an important step to improve the adhesion of the peel and stick tiles. Sanding helps to roughen the surface, making it easier for the adhesive to bond effectively.
Here’s how to sand the shower surface:
- Start by lightly sanding the entire shower surface using fine-grit sandpaper. This will create a rougher texture on the surface, ensuring better adhesion.
- Wipe away any dust or debris using a clean cloth or paper towel.
- Inspect the surface to ensure it feels slightly rough to the touch. If necessary, repeat the sanding process until the desired texture is achieved.
Installing The Peel And Stick Tiles
Installing peel and stick tiles in your shower is a quick and easy way to give your bathroom a fresh new look. With just a few simple steps, you can have a beautiful tile backsplash or an upgraded shower wall that is both durable and waterproof. In this article, we will guide you through the process of installing peel and stick tiles in your shower, focusing on three key steps: measuring and marking the tile placement, cutting the tiles to fit specific areas, and applying adhesive to the back of the tiles. So let’s get started on transforming your shower into a stunning oasis.
Measuring and marking the tile placement
Before you begin installing the peel and stick tiles, it’s crucial to measure the area where you want to place them. Start by measuring the height and width of the shower wall or the space where you plan to install the tiles. Write down these measurements as they will serve as a guide when cutting the tiles to fit specific areas. Using a pencil and a level, mark the desired tile placement on the wall. Ensure that the markings are straight and evenly spaced, allowing for a seamless tile installation.
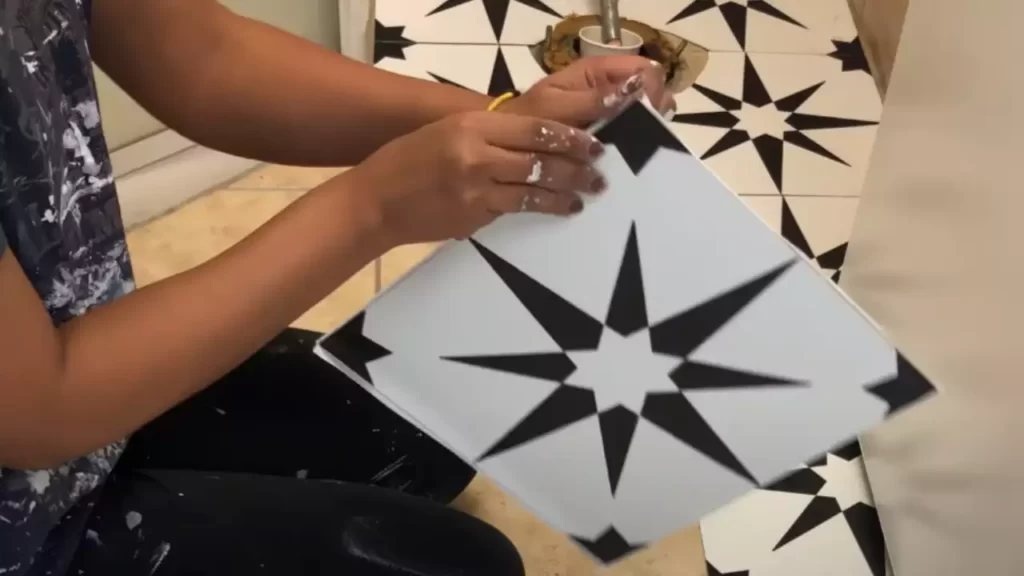
Cutting the tiles to fit specific areas
Once you have marked the tile placement, it’s time to cut the peel and stick tiles to fit the specific areas. Lay the tiles flat on a clean and smooth surface, and using a utility knife or a pair of scissors, carefully cut along the marked lines. Take your time and ensure that your cuts are precise and accurate. If you need to cut intricate shapes or around fixtures, consider using a tile cutter or a coping saw for more precise cuts. Remember to measure twice and cut once to avoid any mistakes.
Applying adhesive to the back of the tiles
To ensure that the peel and stick tiles adhere properly to the shower surface, you’ll need to apply adhesive to the back of each tile. Start by cleaning the shower wall thoroughly to remove any dirt, debris, or soap residue. This will create a clean surface for the adhesive to bond with. Apply a thin, even layer of adhesive to the back of each tile, ensuring full coverage. It’s important to avoid applying too much adhesive as it can cause the tiles to lift or create lumps. Take your time and apply the adhesive carefully.
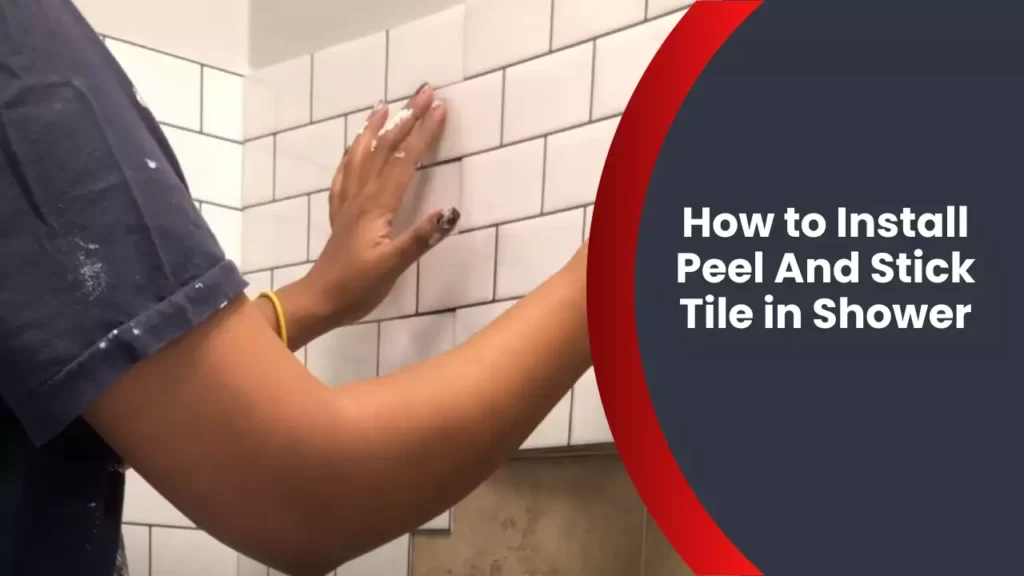
Pressing the tiles firmly onto the shower surface
Once the adhesive is applied, it’s time to press the tiles firmly onto the shower surface. Starting from the bottom of the marked tile placement, align the first tile with the markings and firmly press it onto the wall. Ensure that the tile is level and straight by using a level. Continue placing and pressing the tiles in a staggered pattern, following the marked lines and maintaining the proper spacing. Make sure to press each tile firmly to create a strong bond with the adhesive. Use a tile roller or a clean towel to apply even pressure and remove any air bubbles.
By following these simple steps, you can easily install peel and stick tiles in your shower and achieve a professional-looking result. Remember to measure and mark the tile placement, cut the tiles to fit specific areas, apply adhesive to the back of the tiles, and firmly press them onto the shower surface. Enjoy your new and improved shower with its stylish and waterproof peel and stick tile installation.
Table: Quick Steps to Install Peel and Stick Tiles in Shower
| Step | Description |
| :——————————— | :——————————————————————————————————————————— |
| 1. Measuring and marking| Measure the area and mark the desired tile placement accurately using a pencil and a level. |
| 2. Cutting the tiles | Cut the peel and stick tiles along the marked lines or around fixtures using a utility knife or a pair of scissors with precision. |
| 3. Applying adhesive | Clean the shower wall, apply a thin layer of adhesive to the back of each tile, ensuring full coverage but avoiding excess. |
| 4. Pressing the tiles firmly | Starting from the bottom, align and firmly press each tile following the marked lines, using a level to ensure a straight placement. |
| 5. Enjoy your transformed shower | Admire your new, beautiful, and waterproof peel and stick tile installation that adds a touch of elegance to your shower space. |
Sealing And Finishing The Installation
Allowing the Tiles to Set and Cure
After successfully installing peel and stick tiles in your shower, it’s crucial to give them enough time to set and cure. This process is vital to ensure that they adhere well to the surface and provide long-lasting durability. The tiles may take anywhere from 24 to 48 hours to fully set, depending on the specific product you’re using. During this time, it’s essential to avoid any heavy foot traffic or excessive moisture, as it may disrupt the setting process and compromise the integrity of your installation.
Applying a Sealant to Protect the Tiles from Moisture
Once the tiles have set and cured, it’s time to take an additional step to enhance their longevity – applying a suitable sealant. This sealant acts as a protective barrier, safeguarding the tiles from moisture, potential stains, and other potential damages. Before applying the sealant, ensure that the shower walls and the tiles are clean and dry. Choose a high-quality sealant designed for shower use, preferably one that provides excellent water resistance and mold and mildew prevention. Apply the sealant as per the manufacturer’s instructions, focusing on the grout lines and any gaps between the tiles. A small brush or sponge can be helpful in spreading the sealant evenly across the surface.
Cleaning Up Any Excess Adhesive or Sealant
After applying the sealant, it’s essential to clean up any excess adhesive or sealant that may have accumulated during the installation process. This step will give your shower a finished and polished look. Use a damp cloth or sponge to carefully remove any residue from the tiles, grout lines, and surrounding areas. Take extra care not to damage or dislodge any of the peel and stick tiles while cleaning. By thoroughly cleaning up any excess adhesive or sealant, you will ensure a professional and neat appearance for your newly installed peel and stick tile shower.
In conclusion, sealing and finishing the installation of peel and stick tiles in your shower is crucial to enhance their durability and protect them from moisture-related issues. Allowing the tiles enough time to set and cure, applying a sealant to safeguard against moisture, and cleaning up any excess adhesive or sealant will contribute to a successful and long-lasting tile installation.
Maintaining And Caring For Peel And Stick Tiles In The Shower
Tips And Tricks For A Successful Peel And Stick Tile Installation
Installing peel and stick tiles in your shower can be a great way to give your bathroom a fresh new look. However, it’s important to ensure proper installation to achieve long-lasting results. In this article, we will share some valuable tips and tricks that will help you achieve a successful peel and stick tile installation.
Ensuring proper surface preparation for long-lasting results
Before you start installing peel and stick tiles in your shower, it’s crucial to properly prepare the surface for optimum adhesion. Here are a few steps you should take:
- Start by thoroughly cleaning the shower walls with a mild detergent and warm water. Remove any soap scum, dirt, or grease. Rinse the walls and allow them to dry completely. A clean surface is essential for the tiles to stick properly.
- If there are any uneven or damaged areas on the walls, such as cracks or holes, repair them using a waterproof filler. Smooth out the surface and let it dry according to the manufacturer’s instructions.
- Next, lightly sand the walls to create a slightly rough texture. This helps the adhesive on the tiles bond better with the surface.
- Finally, use a tack cloth to remove any dust or debris left from sanding. This step ensures a clean surface, free from any contaminants that could interfere with the adhesive.
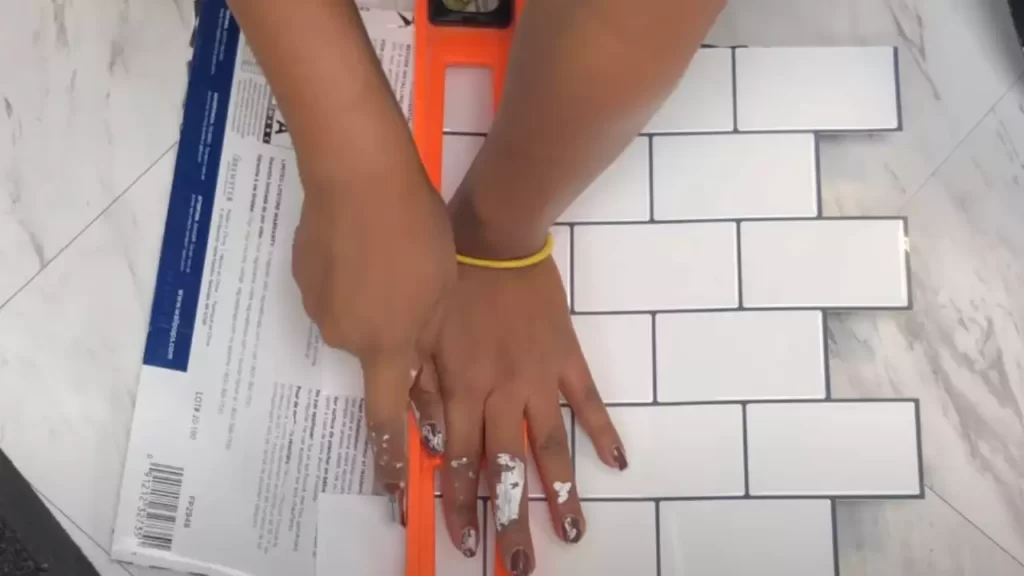
Using a level to ensure straight and even placement
One of the keys to achieving a professional-looking peel and stick tile installation is to make sure the tiles are placed straight and evenly. Here’s how you can do it:
- Start by positioning the first tile in the bottom corner of the shower wall. Use a level to ensure it is straight both vertically and horizontally.
- If the tile is not level, gently adjust its position until it aligns perfectly.
- Once the first tile is in place, apply the next tile, making sure it aligns with the edges and corners of the previous tile. Again, use a level to ensure it is straight and even.
- Repeat this process for each additional tile, ensuring proper alignment and leveling as you go.
Applying pressure to the tiles for better adhesion
To ensure that the peel and stick tiles adhere properly to the surface and stay in place, it’s important to apply sufficient pressure during installation. Here’s what you need to do:
- Once you’ve placed a tile in its desired position, press it firmly against the wall using your hand or a tile roller. Applying even pressure ensures that the adhesive makes strong contact with the surface.
- Make sure to go over the entire surface of each tile, paying special attention to the edges and corners.
- You can use a rubber mallet or a block of wood wrapped in a cloth to gently tap on the tiles, helping them adhere securely to the wall.
By following these tips and tricks, you can achieve a successful peel and stick tile installation in your shower. Remember, proper surface preparation, using a level for straight placement, and applying sufficient pressure are all crucial for ensuring long-lasting results. Enjoy your newly transformed bathroom!
If you’re considering installing peel and stick tiles in your shower, you probably have a few questions. We’ve gathered some of the most frequently asked questions about installing these tiles in the shower and provided answers to help you get started on your project with confidence.
Can I install peel and stick tiles over existing tiles?
Yes, one of the advantages of peel and stick tiles is that they can be installed over existing tiles. However, you need to ensure that the existing tiles are clean, dry, and free from any cracks or loose pieces. The surface should be smooth and even before applying the adhesive-backed tiles.
If you notice any damaged or loose tiles, it’s recommended to remove them and repair the surface before installing the peel and stick tiles. This will ensure a durable and long-lasting finish.
How long does it take for the adhesive to set?
The time for the adhesive to set varies depending on several factors, including the type of adhesive used and the environmental conditions. In general, it usually takes about 24 to 48 hours for the adhesive to fully set and cure.
During this curing period, it’s important to avoid any excess moisture or water contact on the tiles, as it can interfere with the adhesive’s ability to bond properly. It’s recommended to wait at least 48 hours before exposing the tiles to water or heavy use to ensure a strong bond and prevent any damage.
Can I remove the tiles without damaging the shower surface?
Yes, peel and stick tiles are designed to be removable without causing damage to the underlying surface. However, the ease of removal may vary depending on factors such as the quality of the adhesive, the amount of time the tiles have been installed, and the surface material.
To remove the tiles, start by gently lifting one corner with a putty knife or similar tool. Slowly peel back the tile at a 45-degree angle, taking care not to pull too forcefully. If you encounter resistance, use a hairdryer to warm the adhesive and make it more pliable.
Once you have removed all the tiles, you may have residual adhesive or residue on the surface. Clean and prep the area before installing new tiles or restoring the shower surface to its original finish.
Frequently Asked Questions
Can I Use Peel And Stick Tiles In The Shower?
Yes, peel and stick tiles can be used in the shower. However, it’s important to ensure that the tiles are specifically designed for wet areas and have a strong adhesive. Proper cleaning and maintenance are necessary to prevent peeling or water damage.
How Do You Install Peel And Stick Tile In A Shower Wall?
To install peel and stick tile in a shower wall, follow these steps: 1. Clean the wall and ensure it is dry and smooth. 2. Measure and cut the tiles to fit the wall, leaving some space for grout. 3. Peel off the backing and press the tiles firmly onto the wall, starting from the bottom.
4. Use a tile roller to ensure proper adhesion and eliminate air bubbles. 5. Apply grout to the gaps between the tiles and wipe away excess.
How Do You Waterproof Peel And Stick Tiles?
To waterproof peel and stick tiles, follow these steps: 1. Clean the surface thoroughly. 2. Apply a primer to ensure adhesive bonding. 3. Use a waterproof sealant on the seams and edges. 4. Allow it to dry completely. 5. Apply a clear topcoat for extra protection.
Do You Need Adhesive For Peel And Stick Tile?
Adhesive is not required for peel and stick tile. The tiles come with a pre-applied adhesive backing for easy installation. Simply peel off the backing and stick the tiles onto the desired surface. It’s a hassle-free way to achieve a quick and efficient tile installation.
Conclusion
Installing peel and stick tile in your shower doesn’t have to be a daunting task. By following the step-by-step guide outlined in this blog post, you can transform your shower into a stylish and functional space. Remember to properly prepare the surface, carefully measure and cut the tiles, and apply them with precision.
With these tips in mind, you’ll be able to achieve a professional-looking result that will stand the test of time. So, go ahead and give your shower a makeover with peel and stick tiles – it’s easier than you think!