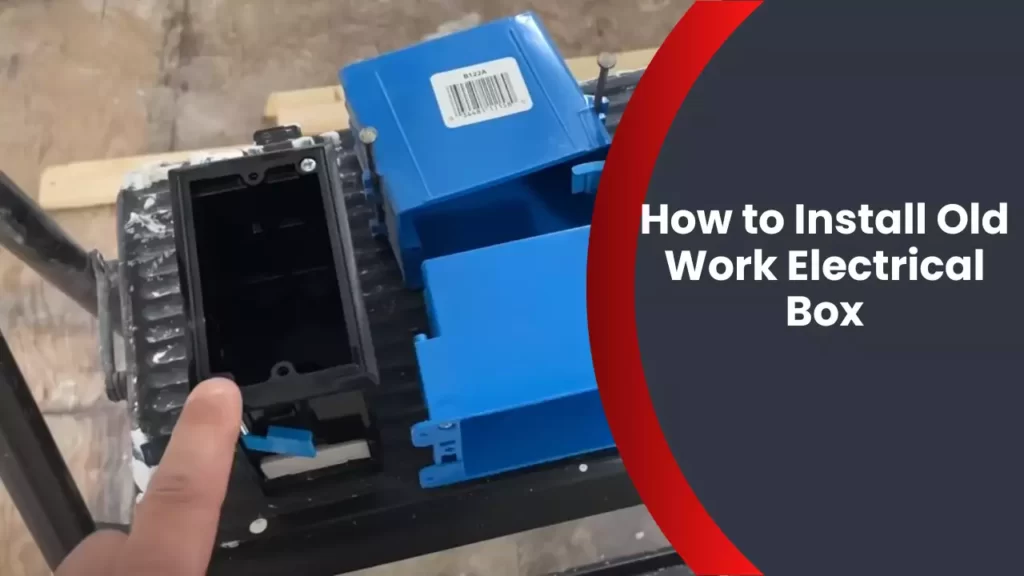
To install an old work electrical box, first turn off the power, trace the box onto the desired location, and cut out the hole. Then, insert the box into the hole and tighten the screws to secure it in place.
Understanding Old Work Electrical Boxes
Understanding Old Work Electrical Boxes
Old work electrical boxes are a crucial component in any electrical wiring project, especially when it comes to remodeling or adding new fixtures to an existing structure. These boxes are designed to be installed in finished walls, allowing you to easily and safely connect wiring without the need to tear down walls or access the interior structure of the building.
In this section, we will explore the benefits of using old work electrical boxes, the different types available, and key features to look for when choosing the right one for your project.
Benefits of using old work electrical boxes
Using old work electrical boxes offers several advantages over traditional new work boxes. Here are some key benefits you can expect:
1. Simplified installation: One of the main advantages of old work electrical boxes is their ease of installation. These boxes are specifically designed to be retrofit into existing walls, eliminating the need for extensive wall demolition or reconstruction. The installation process typically involves cutting a hole in the wall, inserting the box, and securing it in place using built-in clamps or screws.
2. Flexibility: Old work electrical boxes provide flexibility in terms of placement. Unlike new work boxes, which need to be attached to studs or other structural elements, old work boxes can be positioned virtually anywhere within the wall cavity. This allows you to easily install outlets, switches, or other electrical fixtures exactly where you need them without constraints.
3. Versatility: Another great benefit of old work electrical boxes is their versatility. These boxes are available in various sizes and configurations to accommodate different types of electrical fixtures, such as outlets, switches, dimmers, or ceiling fans. Whether you’re working on a residential or commercial project, there’s likely an old work box that suits your specific needs.
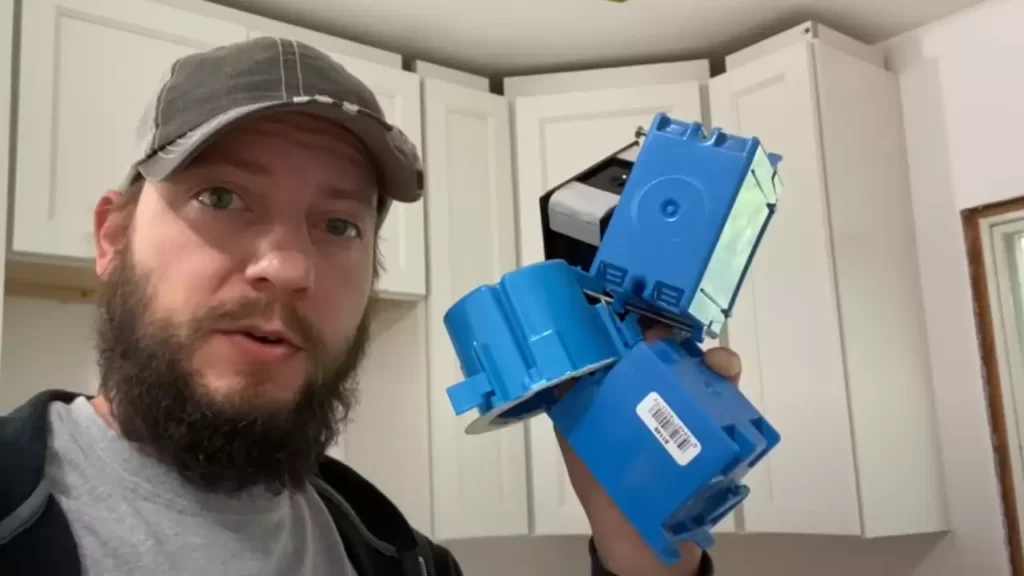
Types of old work electrical boxes
Old work electrical boxes come in different types, each designed for specific applications. Here are a few popular types you might encounter:
1. Switch boxes: These boxes are typically used for installing light switches or dimmers in existing walls. They feature multiple knockouts for wiring connections and are available in different depths to accommodate various switch sizes.
2. Outlet boxes: Outlet boxes are specifically designed for installing electrical outlets. They have built-in clamps to secure the box in place and often come with multiple knockouts for wiring flexibility.
3. Ceiling fan boxes: For those looking to install a ceiling fan in an existing ceiling, ceiling fan boxes are the go-to choice. These boxes have the necessary support brackets to hold the weight of a fan and prevent wobbling or sagging over time.
Key features to look for in an old work electrical box
When choosing an old work electrical box, consider the following key features:
1. Material: Look for boxes made of durable materials such as PVC or metal. PVC boxes are lightweight, corrosion-resistant, and easy to work with, while metal boxes offer superior strength and protection.
2. Adjustability: Opt for boxes that offer adjustable mounting brackets or built-in clamps to ensure a secure and snug fit within the wall cavity.
3. Capacity: Make sure the box has sufficient capacity to accommodate the wiring and electrical fixtures you intend to install. Check the box’s volume rating, which indicates the amount of wiring it can safely hold.
4. Compatibility: Ensure the box is compatible with the wiring system you are using, whether it’s for standard residential wiring, armored cable, or conduit.
In conclusion, old work electrical boxes provide a convenient, versatile, and efficient solution for installing electrical fixtures in existing walls. Understanding their benefits, types, and key features will help you make an informed decision when choosing the right box for your specific project requirements.
Step-By-Step Guide To Installing An Old Work Electrical Box
Installing an old work electrical box is a necessary step when adding or relocating electrical outlets in your home. This guide will provide you with a detailed step-by-step process to help you install an old work electrical box securely and easily.
Preparing the Workspace and Gathering Necessary Tools
Before you begin the installation process, it’s important to prepare your workspace and gather the necessary tools. Here is a list of tools and materials you will need:
- Old work electrical box
- Tape measure
- Pencil
- Drywall saw
- Screwdriver
- Utility knife
- Plastic anchors and screws
Measuring and Marking the Location for the Electrical Box
The next step is to measure and mark the location for the electrical box. Follow these steps:
- Locate the desired position for the box on the wall.
- Using a tape measure, measure the height and width of the electrical box.
- Mark the height and width measurements on the wall with a pencil.
Cutting the Hole in the Wall
Now that you have marked the location for the electrical box, it’s time to cut the hole in the wall. Follow these steps:
- Use a drywall saw to carefully cut along the marked lines.
- Be cautious while cutting to avoid damaging any electrical wires or pipes behind the wall.
- Remove the cutout portion of the wall to create a hole for the electrical box.
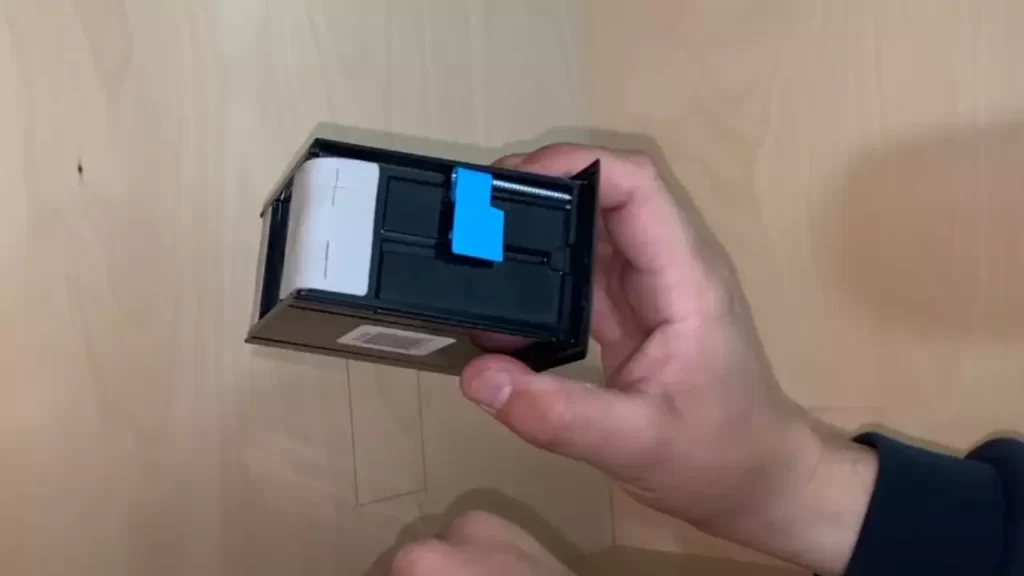
Inserting the Old Work Electrical Box into the Wall
With the hole cut in the wall, you can now insert the old work electrical box. Here’s how:
- Hold the electrical box against the hole in the wall.
- Ensure that the box fits securely and snugly into the hole.
- If necessary, adjust the hole size to ensure a proper fit.
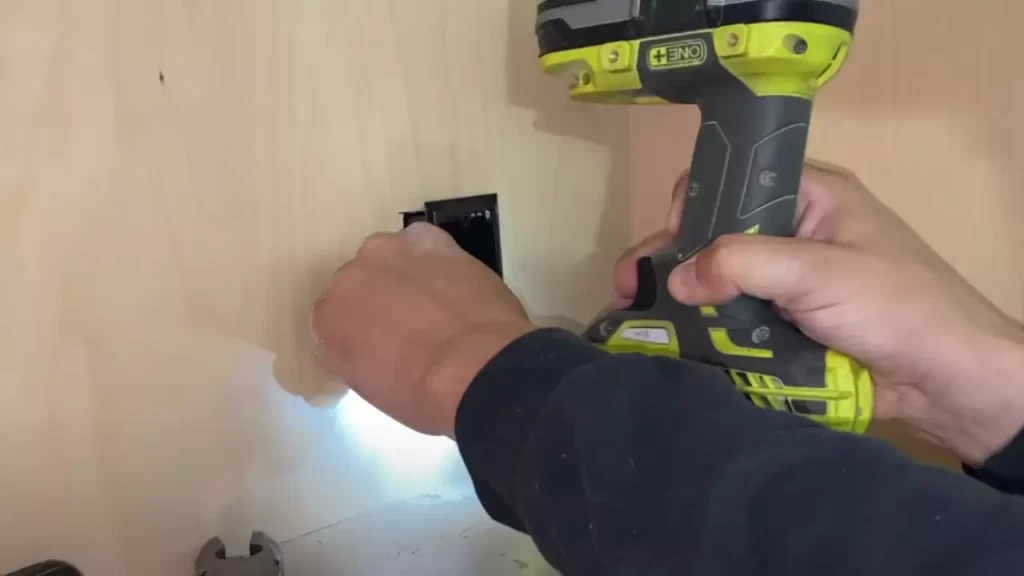
Securing the Electrical Box in Place
Now that the old work electrical box is in position, it’s time to secure it in place. Follow these steps:
- Use a screwdriver to tighten the screws on the sides of the electrical box.
- Make sure the box is firmly attached to the wall.
- If using plastic anchors, insert them into the wall and screw them into place.
Testing the Stability of the Electrical Box
Finally, before completing the installation process, it’s essential to test the stability of the electrical box. Follow these steps:
- Gently tug on the electrical box to ensure it’s securely in place.
- If the box moves or feels unstable, tighten the screws further or adjust the anchors.
- Ensure the electrical box is level and flush with the wall.
Following these step-by-step instructions will help you effectively install an old work electrical box in your home. Remember to always work carefully and safely when dealing with electrical installations.
Tips For Wiring An Old Work Electrical Box
When it comes to installing an old work electrical box, proper wiring is essential to ensure safety and functionality. Understanding the wiring process, properly connecting wires, using wire connectors, ensuring proper grounding, and safely securing wires within the electrical box are all crucial steps to follow. In this article, we will discuss some important tips for wiring an old work electrical box to help you navigate this process with confidence.
Understanding the wiring process
Before you begin wiring an old work electrical box, it is important to have a clear understanding of the process. Familiarize yourself with the basic principles of electrical wiring and ensure you have the necessary tools and materials. Also, be sure to turn off the power to the circuit before starting any work to avoid the risk of electric shock.
Properly connecting wires
When connecting wires in an old work electrical box, it is essential to follow proper procedures to ensure a secure and reliable connection. Start by stripping the insulation off the ends of the wires using wire strippers, making sure to expose the appropriate amount. Then, twist the wires together using pliers in a clockwise direction to create a tight connection. Finally, secure the connection with wire nuts, ensuring a snug fit that covers all exposed wire.
Using wire connectors
Wire connectors are an important component of wiring an old work electrical box. These connectors not only help secure the connection between wires, but they also insulate the exposed wire ends, reducing the risk of short circuits or electrical accidents. When selecting wire connectors, choose ones that are appropriate for the gauge and type of wire you are working with. Follow the manufacturer’s instructions for proper usage and ensure a secure connection by gently tugging on the wires after connecting.
Ensuring proper grounding
Proper grounding is a critical aspect of wiring an old work electrical box that should not be overlooked. The grounding wire, usually bare or green, is responsible for providing a safe pathway for electrical currents in the event of a fault. Make sure to connect the grounding wire to the grounding screw or terminal within the electrical box, ensuring a solid connection. Additionally, verify that the electrical box itself is grounded by checking for a grounding screw or a metal-to-metal connection with the grounding wire.
Safely securing wires within the electrical box
Once you have made all the necessary connections, it is important to safely secure the wires within the electrical box. This helps prevent the wires from becoming loose or accidentally getting damaged. Use wire staples or plastic clips to secure the wires to the walls of the electrical box, ensuring they are neatly arranged and not overlapping. Avoid overcrowding the box with excessive wires and leave room for proper airflow to prevent overheating.
By following these tips for wiring an old work electrical box, you can ensure a safe and effective installation. Remember to take your time, double-check your connections, and always prioritize safety.
Troubleshooting Common Issues With Old Work Electrical Boxes
Installing old work electrical boxes can sometimes present challenges, resulting in issues such as an insecure fit, improper wire placement, loose boxes over time, and unsightly gaps or misalignment. It’s important to address these common problems to ensure a safe and neat installation. In this section, we’ll explore each issue in detail and provide actionable solutions that can help you troubleshoot and overcome these obstacles.
Box Not Fitting Securely in the Wall
One common issue that arises during the installation of old work electrical boxes is their inadequate fit within the wall. This can be due to various reasons, such as the wall material being thicker than expected or the box not being aligned properly. To resolve this problem:
- First, double-check the box’s positioning by placing it against the wall and assessing if it aligns with the cutout.
- If the box lacks a secure fit, you can try using adjustable ears or brackets designed specifically for old work boxes. These allow you to tighten the box against the wall for a more snug fit.
- Ensure any excess material is removed from the cutout, as this can prevent the box from fitting securely.
Wires Not Fitting Properly in the Box
Another common issue is the improper placement of wires within the electrical box. If wires are not accommodated correctly, it can lead to arranging them in a cramped manner or causing difficulty in securing the box cover. To troubleshoot this issue:
- Begin by checking the box’s capacity and ensuring it can accommodate the number and size of wires being used. If the box is too small, consider upgrading to a larger one.
- Properly arrange and fold the wires within the box, ensuring they are not stretched or kinked.
- Utilize cable clamps or wire connectors to secure and organize the wires within the box. This helps prevent loose or tangled wires, ensuring a neater installation.
Electrical Box Becoming Loose Over Time
Over time, it’s not uncommon for old work electrical boxes to become loose, potentially compromising the integrity of the installation. This can be due to factors like vibrations, repeated use, or insufficient support. To address this issue:
- Ensure that the box’s mounting screws or clips are tightened securely. Check and tighten them periodically to prevent loosening.
- If necessary, consider using additional support, such as toggle bolts, to reinforce the box’s stability within the wall.
- Take into account the weight of any fixtures or devices attached to the box, as this can contribute to loosening. Use suitable anchors and supports to handle the weight and minimize strain on the box.
Gaps or Misalignment Between the Box and the Wall
While installing old work electrical boxes, gaps or misalignment may occur between the box and the wall, resulting in an unappealing finish. To rectify this issue:
- Ensure the cutout is precise and aligns with the box opening.
- Use shims or spacers to fill any gaps between the box and the wall, allowing for a tighter fit.
- Apply caulk or putty to mask any remaining gaps, creating a seamless appearance.
By troubleshooting these common issues encountered with old work electrical boxes, you can ensure a secure, well-organized, and visually pleasing installation. Following these tips and best practices will allow you to tackle challenges effectively and create a safe electrical environment.
Safety Precautions When Installing An Old Work Electrical Box
Installing an old work electrical box can be a straightforward process if you follow the proper safety precautions. Whether you are a seasoned DIY-er or a beginner, it is crucial to prioritize safety to avoid potential hazards and ensure a successful installation. In this section, we will discuss the essential safety measures you need to take when installing an old work electrical box.
Turning off the power
One of the first steps in ensuring your safety when working with electrical installations is to turn off the power. Before starting the installation process, locate your electrical panel and switch off the power to the specific circuit you’ll be working on. This will reduce the risk of electric shock and other accidents during the installation.
Using appropriate safety equipment
Wearing the appropriate safety equipment is vital for personal protection during the installation process. Make sure to equip yourself with safety goggles or glasses to shield your eyes from any debris or sparks. Additionally, wearing gloves can provide an extra layer of protection against potential electrical shocks. Always prioritize your safety and invest in the necessary safety equipment before starting any electrical installation.
Avoiding common electrical hazards
When installing an old work electrical box, it’s crucial to be aware of common electrical hazards to prevent accidents. Avoid working in wet or damp conditions as water can conduct electricity and increase the risk of electrocution. Furthermore, be cautious when handling electrical wiring and avoid touching any exposed wires with bare hands. Always insulate wiring connections properly to prevent electrical fires or short circuits.
Following local building codes and regulations
Adhering to local building codes and regulations is important for both your safety and the overall functionality of your electrical installation. Make sure to research and understand the specific rules and regulations in your area before proceeding with the installation. Following these building codes ensures that your electrical box is properly installed, reducing the risk of accidents and ensuring a compliant and safe electrical system.
By prioritizing safety, you can confidently install an old work electrical box while minimizing the risks associated with electrical installations. Remember to turn off the power, use appropriate safety equipment, avoid common electrical hazards, and always follow local building codes and regulations. Taking these precautions will not only ensure a successful installation but also safeguard your well-being.
Frequently Asked Questions
How Do You Install An Old Metal Work Box?
To install an old metal work box, follow these steps: 1. Turn off the power supply. 2. Trace the outline on the wall or ceiling. 3. Cut the hole using a keyhole saw. 4. Insert the box into the hole, ensuring it is flush with the surface.
5. Secure the box using screws.
How Do You Install An Electrical Box Where There Is No Stud?
To install an electrical box where there is no stud, use an adjustable metal bracket that can be attached to the drywall. Secure the bracket tightly by driving screws into the drywall. Mount the electrical box onto the bracket, ensuring it is properly aligned.
Finally, make the necessary electrical connections and cover the box with a wall plate.
How Do You Replace An Old Electrical Box?
To replace an old electrical box, follow these steps: 1. Turn off the power supply and remove the cover plate. 2. Disconnect the wires from the old box. 3. Unscrew the old box from the wall or ceiling. 4. Install the new electrical box in the same place.
5. Reconnect the wires to the new box and attach the cover plate.
How Do You Install An Electrical Box In An Existing Wall?
To install an electrical box in an existing wall, follow these steps: 1. Turn off the power supply to the area. 2. Use a stud finder to locate any studs in the wall. 3. Trace the outline of the electrical box on the wall.
4. Cut a hole for the box using a drywall saw. 5. Insert the electrical box into the opening and secure it with screws. Remember to connect the wiring properly and test the installation before turning the power back on.
Conclusion
Installing an old work electrical box is a simple process that can be done without the need for professional assistance. By following these step-by-step instructions, you can ensure a safe and secure installation of the box in your walls. Remember to always turn off the power before beginning any electrical work and consult local building codes for specific requirements.
With the right tools and knowledge, you can confidently tackle this DIY project and have a functional electrical box in no time.