To install a mosaic subway tile backsplash, first, prepare the wall surface and gather necessary tools and materials. Then, apply adhesive to the wall and place the tiles, ensuring they are evenly spaced and level.
Choosing The Right Materials
When it comes to installing a mosaic subway tile backsplash, the first step is to choose the right materials. This crucial decision will determine the overall look and feel of your kitchen. In this section, we will guide you through the process of selecting the perfect materials, from considering the design and color scheme to calculating the amount of tiles needed.
Consider the Design and Color Scheme
The design and color scheme of your mosaic subway tile backsplash will play a significant role in creating a visually appealing and cohesive kitchen. Before making a purchase, take some time to think about the aesthetic you want to achieve. Are you aiming for a traditional look, or do you prefer a more modern style? Consider the existing elements in your kitchen, such as the countertops, cabinets, and flooring, and select a tile design and color scheme that complements them. This way, your backsplash will seamlessly blend with the overall theme of your kitchen.
Selecting the Right Tile Pattern
Once you have decided on the design and color scheme, it’s time to think about the tile pattern. Mosaic subway tiles offer a variety of patterns to choose from, including classic brick bond, herringbone, and basket weave. Each pattern creates a unique visual impact, so consider the size of your kitchen and the desired effect you want to achieve. For smaller kitchens, a brick bond pattern can create an illusion of a larger space, while a herringbone pattern can add intricate detail to larger kitchens.
Coordinating Colors with Existing Kitchen Elements
When selecting the color of your mosaic subway tiles, it is crucial to coordinate with the existing elements in your kitchen. Consider the color of your countertops, cabinets, and flooring, and choose a tile color that complements or contrasts with them. A coordinated color scheme will help create a harmonious and visually appealing backsplash that ties the entire kitchen together.
Determining Tile Size and Quantity
Once you have chosen the design, color scheme, and tile pattern, it’s time to determine the tile size and quantity needed for your backsplash. Measure the height and width of the backsplash area to calculate the required tile size. Keep in mind that subway tiles typically come in standard sizes, such as 3×6 inches or 4×8 inches. Depending on the size of your backsplash area, you may need to cut tiles to fit, so consider purchasing extra tiles to account for any mistakes or adjustments.
Measuring the Backsplash Area
Before you start calculating the amount of tiles needed, measure the backsplash area accurately. Use a measuring tape to determine the height and width in inches. Write down these measurements to ensure accurate calculations.
Calculating the Amount of Tiles Needed
Now that you have the measurements, it’s time to calculate the amount of tiles needed for your mosaic subway tile backsplash. To make this process easier, you can use the following formula:
| Total Area (in square inches) | = | Height (in inches) x Width (in inches) |
| Number of Tiles Needed | = | Total Area ÷ Tile Area (in square inches) |
By plugging in the values from your measurements, this formula will provide you with the number of tiles needed to cover your backsplash area. Make sure to round up the final number to account for any additional tiles needed for cutting or extra replacements in the future.
With these steps, you’ll be well-prepared to choose the right materials for your mosaic subway tile backsplash. By considering the design and color scheme, selecting the right tile pattern, coordinating colors with existing kitchen elements, and calculating the amount of tile needed, you’ll be on your way to creating a stunning backsplash that enhances the overall look and style of your kitchen.

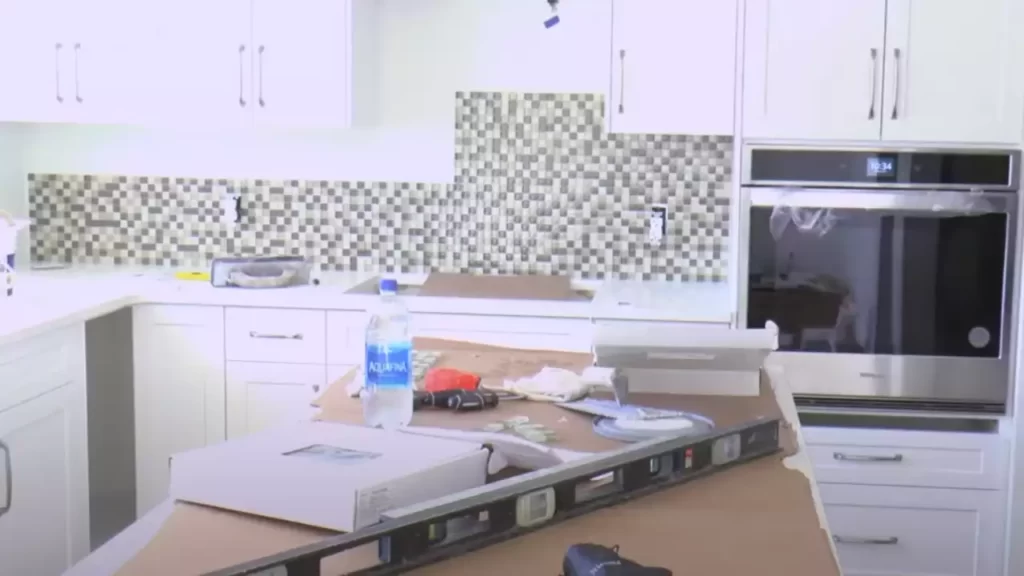
Preparing The Surface
Before installing a mosaic subway tile backsplash, it’s vital to prepare the surface properly to ensure a smooth and long-lasting finish. This section will guide you through the essential steps to ensure your wall is clean, even, and ready for installation. Follow these steps to prepare your surface effectively:
Cleaning and Preparing the Wall
The first step in preparing the surface is to clean the wall thoroughly. Remove any dirt, grease, or grime that may have accumulated over time. Use a mild detergent or cleaner and a soft cloth to wipe down the entire wall. This will create a clean canvas for the tile installation.
Removing Existing Backsplash or Wallpaper
If your wall has an existing backsplash or wallpaper, it’s essential to remove it before installing the new tile. Carefully peel off any wallpaper or scrape away the existing backsplash using a putty knife or scraper. Ensure that the wall is completely free of any remnants or adhesive residue.
Repairing Any Wall Damage
Inspect the wall for any signs of damage, such as cracks or holes. If you come across any, use a spackling compound to fill them in. Apply the compound with a putty knife, smoothing it out evenly to create a seamless surface. Allow it to dry completely before proceeding.
Making Sure the Surface is Smooth and Even
Before installing the tile, it’s crucial to ensure that the wall surface is smooth and even. Use a straight edge or level to check for any bumps or uneven areas. If you notice any irregularities, use a sanding block or sandpaper to gently smooth them out.
Filling in Holes and Uneven Spots
If you spot any small holes or uneven spots while inspecting the wall, fill them in with spackling compound or a suitable filler. Apply the filler to the affected areas, smoothing it out with a putty knife. Allow it to dry thoroughly, and then sand it lightly to create a seamless surface.
Sanding the Wall if Necessary
In some cases, the wall may require sanding to create a smooth and even surface for the tile installation. Gently sand the wall using fine-grit sandpaper or a sanding block. Be cautious not to sand too aggressively, as this can damage the underlying wall material. Once sanded, wipe away any dust or debris.
By following these steps to prepare the surface, you’ll ensure that your mosaic subway tile backsplash installation is successful and visually appealing. Taking the time to clean, repair, and address any surface irregularities will ensure a professional-looking result that you can enjoy for years to come.
Installing The Mosaic Subway Tile Backsplash
The mosaic subway tile backsplash is a beautiful addition to any kitchen or bathroom. It adds a touch of elegance and style to the space, while also serving as a functional and practical solution for protecting the walls from water damage and stains. Installing a mosaic subway tile backsplash may seem like a daunting task, but with the right tools and techniques, it can be a relatively simple and straightforward process. In this section, we will guide you through the step-by-step process of installing a mosaic subway tile backsplash, from applying the tile adhesive to cleaning and sealing the tiles.
Applying the Tile Adhesive
Before you begin installing the mosaic subway tile backsplash, you need to apply the tile adhesive to the wall. This adhesive will secure the tiles in place and ensure that they don’t come loose over time. Here’s how you can apply the tile adhesive:
- Mixing the Adhesive According to Instructions: Start by mixing the tile adhesive according to the manufacturer’s instructions. Make sure to follow the proper proportions and mix the adhesive thoroughly until it reaches a smooth consistency.
- Using a Notched Trowel to Apply the Adhesive: Once the adhesive is mixed, use a notched trowel to apply it to the wall. Hold the trowel at a 45-degree angle and spread the adhesive evenly on the surface, creating ridges with the notched edge. This will help the tiles adhere better to the wall.
Placing the Tiles on the Wall
Now that the adhesive is applied, it’s time to place the mosaic subway tiles on the wall. Follow these steps for a seamless installation:
- Starting at the Bottom and Working Upward: Begin placing the tiles at the bottom of the backsplash and work your way upward. This will ensure that the tiles are aligned properly and create a professional-looking finish.
- Spacing the Tiles Evenly: Use tile spacers to ensure even spacing between each tile. This will create a uniform and visually pleasing layout. Remove the spacers once the adhesive has dried.
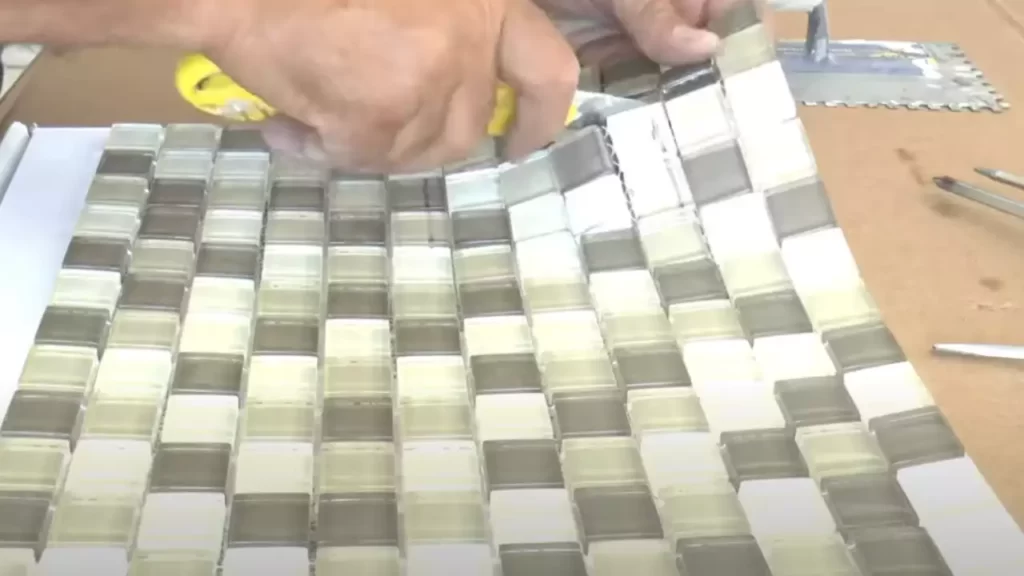
- Cutting and Trimming Tiles: If you encounter areas where full tiles won’t fit, you may need to cut and trim the tiles to fit the space. Use a tile cutter or a wet saw to make precise cuts and ensure a snug fit for the tiles.
- Ensuring Precise Measurements for Corners and Edges: When installing tiles around corners or edges, measure carefully to ensure a precise fit. Use a tile cutter or wet saw to make any necessary adjustments.
Applying Grout to the Tile Joints
Once the tiles are in place, it’s time to apply grout to the tile joints. Grout not only holds the tiles together but also adds a finishing touch to the backsplash. Follow these steps for a seamless grouting process:
- Choosing the Right Color of Grout: Select a grout color that complements the color of your mosaic subway tiles. This will enhance the overall appearance of the backsplash.
- Applying Grout with a Rubber Float: Use a rubber float to apply the grout to the tile joints. Hold the float at a 45-degree angle and push the grout into the joints, ensuring full coverage.
Cleaning and Sealing the Tiles
After the grout has been applied and allowed to dry for the recommended time, it’s important to clean and seal the tiles to protect them from stains and maintain their appearance. Follow these steps for proper cleaning and sealing:
- Removing Excess Grout with a Damp Sponge: Once the grout has dried to a haze, use a damp sponge to gently remove the excess grout from the surface of the tiles. Rinse the sponge frequently to ensure a clean finish.
- Applying Sealer to Protect the Tiles from Stains: Apply a suitable tile sealer to the backsplash using a paintbrush or a sponge. Make sure to cover the entire surface of the tiles, including the grout lines. Allow the sealer to dry completely before using the backsplash.
By following these steps, you can successfully install a mosaic subway tile backsplash in your kitchen or bathroom. The result will be a stunning and durable backsplash that adds a touch of sophistication to your space.
Maintaining And Caring For Your Mosaic Subway Tile Backsplash
Maintaining and Caring for Your Mosaic Subway Tile Backsplash
Subway tile backsplashes have become increasingly popular due to their timeless and versatile look. And if you’ve recently installed a stunning mosaic subway tile backsplash in your kitchen or bathroom, you’ll want to ensure it stays in perfect condition for years to come. Proper maintenance and care are key to preserving the beauty and durability of your mosaic subway tile backsplash. In this section, we’ll explore some essential techniques to effectively clean and address stains, as well as prevent damage and wear.
Regular Cleaning Techniques
To keep your mosaic subway tile backsplash looking its best, regular cleaning is crucial. Here are a few simple techniques to help maintain its pristine condition:
1. Wiping the Tiles with a Soft Cloth or Sponge: Start by removing any loose debris or dirt from the surface of the tiles. Gently wipe them down using a soft cloth or sponge. Avoid using abrasive materials or harsh scrub brushes, as they can scratch the tile’s surface.
2. Using Mild Cleaning Solutions: For routine cleaning, a mild cleaning solution is ideal. Mix a few drops of dish soap with warm water and apply it to the tiles using a soft sponge or cloth. Wipe away the solution thoroughly, ensuring no residue is left behind.
Addressing Stains and Spills
Even with regular cleaning, stains and spills can still occur on your mosaic subway tile backsplash. Promptly addressing these issues is essential to prevent them from becoming permanent marks. Let’s explore how to handle different types of stains effectively:
1. Treating Different Types of Stains: Whether it’s grease, wine, or splattered sauce, each stain requires a specific approach. Consult the manufacturer’s guidelines or seek professional advice to determine the best course of action for your particular stain.
2. Removing Stubborn Stains without Damaging the Tiles: For tough stains, create a paste by mixing baking soda with water. Apply the paste to the stained area, gently scrub it with a soft brush, and let it sit for a few minutes. Rinse the area thoroughly and dry it with a soft cloth.
Preventing Damage and Wear
Taking preventive measures can significantly extend the lifespan of your mosaic subway tile backsplash. Let’s look at a couple of easy yet effective ways to prevent damage and wear:
1. Using Trivets and Cutting Boards: To prevent heat damage from hot pots and pans, always use trivets or heat-resistant mats on your backsplash. Similarly, protect the tiles from scratches by using cutting boards when preparing meals.
2. Avoiding Harsh Chemical Cleaners: While it may be tempting to use strong chemicals for tough stains, they can damage the tiles and grout over time. Stick to mild cleaning solutions and avoid harsh chemicals that can cause discoloration or deterioration.
By incorporating these maintenance and care practices into your routine, you can ensure your mosaic subway tile backsplash remains a beautiful focal point in your space. Regular cleaning, prompt stain treatment, and preventive measures will help maximize the longevity of your mosaic subway tile backsplash, allowing you to enjoy its vibrant and elegant appearance for years to come.
Frequently Asked Questions On How To Install Mosaic Subway Tile Backsplash
Where Do You Start A Mosaic Tile Backsplash?
Start a mosaic tile backsplash by determining the starting point on your wall. Measure and mark the centerline, then apply adhesive to secure the first tile. Press the tile onto the wall, making sure it aligns with your mark. Continue placing tiles from the center outward, following your desired pattern.
What Is The Best Adhesive For Mosaic Tile Backsplash?
The best adhesive for a mosaic tile backsplash is a thin-set mortar. It provides strong adhesion and prevents tiles from shifting. Use a premium quality thin-set mortar to achieve better results for a beautiful and long-lasting backsplash installation.
How Do You Install A Mosaic Kitchen Backsplash?
To install a mosaic kitchen backsplash, follow these steps: 1. Prepare the surface by cleaning and smoothing it. 2. Measure and cut the mosaic tile sheets according to your desired pattern. 3. Apply adhesive to the backsplash area using a trowel.
4. Press the mosaic sheets onto the adhesive, ensuring even spacing. 5. Allow the adhesive to dry, then grout the tiles, wiping away excess.
How Do You Edge A Mosaic Tile Backsplash?
To edge a mosaic tile backsplash, carefully measure and cut the tiles to fit along the edges. Use a tile cutter or wet saw for precise cuts. Apply adhesive to the backs of the cut tiles, then press them firmly onto the edges of the backsplash.
Grout the tiles once the adhesive is dry for a finished look.
Conclusion
To sum up, installing a mosaic subway tile backsplash is a doable project that can add a touch of elegance to any kitchen or bathroom. With the right tools and careful planning, you can achieve professional-looking results. Remember to plan your design, prepare the surface, and take your time during the installation process.
By following these steps, you can create a stunning and durable mosaic backsplash that will enhance the beauty and value of your home for years to come. Happy tiling!