To install metal siding, start by measuring and marking the wall studs, then attach the starter strip and corner posts. Next, fasten the siding panels to the studs using screws or nails and overlap each panel for a secure fit.
Finally, add trim and finish the installation by sealing any gaps. Installing metal siding is a straightforward process that requires careful measurement and secure attachment to the wall studs. By following these steps, you can achieve a professional and long-lasting metal siding installation.
Planning And Preparation
Preparing The Surface
Before installing metal siding, it is crucial to properly prepare the surface to ensure a seamless and long-lasting result. This step involves inspecting and repairing the existing exterior, cleaning and preparing the surface, and applying a moisture barrier for added protection. Let’s dive into each of these steps in detail:
Inspecting and Repairing the Existing Exterior
Before you start installing metal siding, it’s essential to examine the current condition of your exterior. Look for any signs of damage, such as cracks, rot, or loose boards. Inspect the nails or fasteners holding the existing siding in place, ensuring they are secure and not missing. Make sure to address any issues that may compromise the integrity of your siding once installed.
If you spot any damaged or compromised areas, repairing them is paramount. Replace any rotten wood or damaged boards, and fix any cracks or gaps in the walls to ensure a smooth surface for the new siding. By addressing these repairs early on, you can prevent further damage and ensure a solid foundation for your metal siding installation.
Cleaning and Preparing the Surface for Installation
To ensure proper adhesion of the metal siding, it’s crucial to clean the surface thoroughly. Start by removing any loose dirt, dust, or debris using a broom or a pressure washer. Pay special attention to areas that are harder to reach or often overlooked.
Next, inspect the surface for any mold or mildew growth. If you find any, clean it using a mild detergent or a solution of water and bleach. Scrub the affected areas gently with a soft brush or sponge, and rinse thoroughly to remove all traces of the cleaning solution.
Before you proceed to the next step, allow the surface to dry completely. This step is important to ensure proper adhesion of the moisture barrier and metal siding, avoiding any potential issues in the future.
Applying a Moisture Barrier for Added Protection
A moisture barrier acts as an additional layer of protection against water infiltration, which could lead to mold, rot, and other damage. Applying a moisture barrier before installing metal siding is highly recommended, especially in areas prone to high humidity or heavy rainfall.
To apply a moisture barrier, start by measuring the length and height of each wall where the metal siding will be installed. Cut the moisture barrier material accordingly, ensuring it overlaps by at least 6 inches at the seams and extends below the bottom edge of the siding.
Secure the moisture barrier with staples or nails, making sure to follow the manufacturer’s guidelines. Ensure that the barrier is flat and taut without any wrinkles or sagging, as this could compromise its effectiveness.
By properly preparing the surface with a thorough inspection and repair, cleaning, and the application of a moisture barrier, you are now ready to move on to the actual installation of metal siding. These preparatory steps are crucial to ensure a successful and long-lasting siding project that protects your home for years to come.
Installing Metal Siding Panels
Starting with a Solid Foundation: Installing Starter Strips
Before you can begin installing metal siding panels, it’s crucial to start with a solid foundation. This is where installing starter strips comes into play. These strips serve as the base for your siding panels, ensuring a secure and level installation. To install starter strips:
- First, measure and mark the desired height of the starter strip along the bottom of the wall. Use a level to ensure the line is perfectly straight.
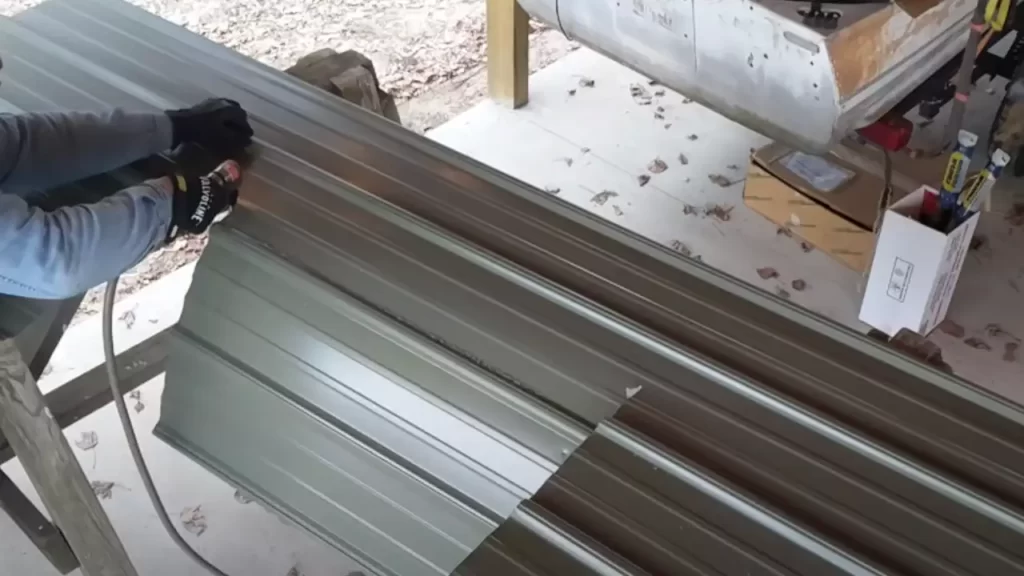
- Next, cut the starter strip to the appropriate length using tin snips or a similar cutting tool. Be sure to wear gloves to protect your hands.
- Once the strip is cut, align it with the marked line and secure it to the wall using screws or nails.
- Continue installing starter strips along the entire bottom edge of the wall, spacing them evenly to provide proper support for the siding panels.
Attaching the First Metal Siding Panel
With the starter strips in place, it’s time to attach the first metal siding panel. This initial panel sets the tone for the rest of the installation and must be securely fastened. Follow these steps to attach the first metal siding panel:
- Position the first panel at one corner of the wall with the bottom edge resting on the starter strip. Ensure the panel is level using a spirit level.
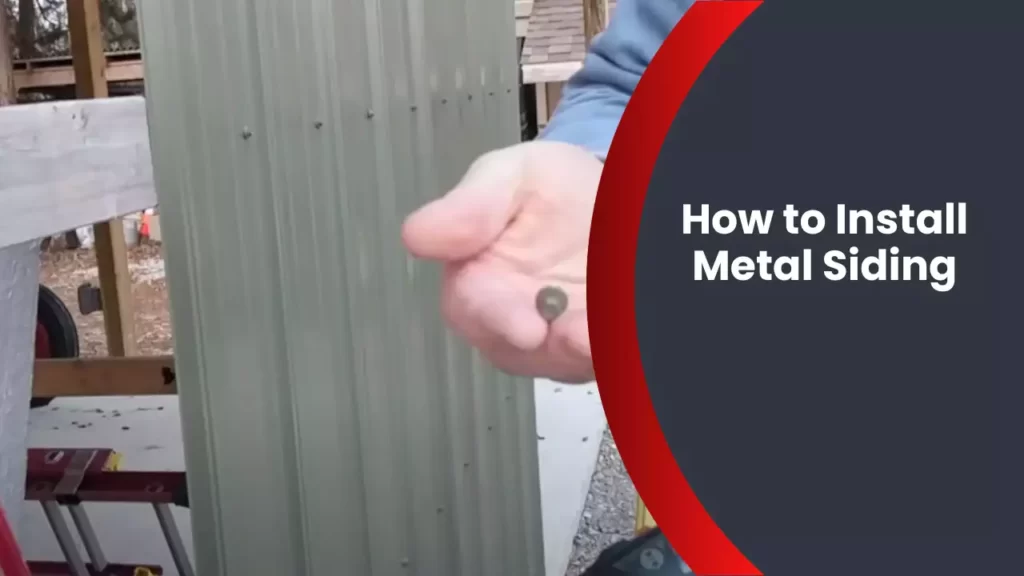
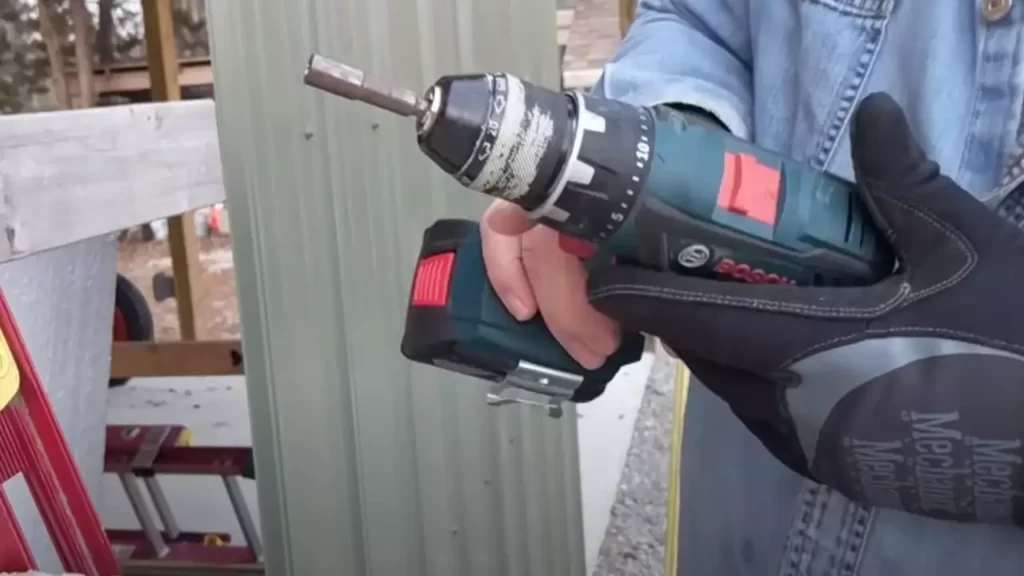
- Once the panel is aligned, secure it to the wall by screwing or nailing it into place. Be sure to leave a small gap between the panel and the starter strip to allow for expansion and contraction.
- Continue attaching the first panel by adding screws or nails along the top and sides, making sure to maintain the necessary gap. Ensure each fastener is properly tightened to prevent any movement or loosening of the panel.
- Repeat these steps for the remaining panels, ensuring each one is securely attached and level with the previous panel.
Aligning and Attaching Subsequent Metal Siding Panels
Once the first panel is in place, aligning and attaching subsequent metal siding panels becomes a straightforward process. Here’s how:
- Position the next panel beside the already installed panel, ensuring a small overlap between the two. Use a measuring tape or a specially designed tool to ensure the correct overlap distance.
- Check the alignment and levelness of the second panel, making any necessary adjustments before securing it to the wall. Remember to leave a gap along the edges for expansion and contraction.
- Attach the panel to the wall using screws or nails, following the manufacturer’s instructions. Make sure each fastener is tightened properly.
- Continue this process for the remaining panels, aligning, leveling, and securely attaching each one until the wall is fully covered.
Ensuring Proper Overlaps and Sealing Joints
Proper overlaps and sealed joints are vital for a long-lasting and weather-resistant metal siding installation. To ensure this, follow these steps:
- Check the specified overlap distance recommended by the manufacturer.
- Measure and mark the correct overlap at the bottom of the panel using a measuring tape or a specific tool.
- Position the next panel, ensuring the overlap aligns with the marked point.
- Attach the overlapping panel securely to the wall, following the same fastening process as before.
- Seal the joints between panels using approved sealant or caulking, applying it in a continuous bead along the seam.
- Ensure the sealant is spread evenly and wiped away any excess to create a clean and watertight seal.
- Repeat this process for all overlapping areas and joints to safeguard against moisture infiltration and maintain the integrity of your metal siding system.
Adding Finishing Touches
Once you have successfully installed your metal siding, it’s time to add those finishing touches that will bring your project to a polished completion. This step involves installing trim and accessories, applying paint or finish to the metal siding, and inspecting the installation for any final adjustments. By following these steps, you can ensure that your metal siding not only looks great but also provides long-lasting protection for your home.
Installing Trim and Accessories for a Polished Look
Installing trim and accessories is an essential step in achieving a polished look for your metal siding. Trim serves to conceal the edges and create a clean transition between different sections of the siding. Additionally, accessories such as corner pieces and J-channels provide a finished appearance and help protect against water intrusion.
To install trim, start by measuring and cutting the trim pieces to the appropriate length. Ensure that the corners are mitered correctly to create a seamless connection. Then, use screws or nails to secure the trim to the siding, making sure that they are installed at the recommended distance from the edges. Repeat this process for all the trim pieces, ensuring they align properly and create an aesthetically pleasing finish.
Applying Paint or Finish to Metal Siding
One of the advantages of metal siding is its ability to be painted or finished in a variety of colors and styles. Applying paint or finish not only adds beauty to your siding but also provides an extra layer of protection against the elements.
Before applying paint or finish, ensure that the metal siding is clean and free of any dust or debris. Use a primer designed specifically for metal surfaces to promote better adhesion. Once the primer is dry, apply the paint or finish using a brush, roller, or sprayer, following the manufacturer’s instructions. Apply multiple thin coats, allowing sufficient drying time between each coat, to achieve a smooth and even finish.
Inspecting the Installation and Making Final Adjustments
After you have completed the installation of the metal siding, it’s crucial to inspect the entire project to ensure its quality and make any necessary final adjustments. Take a step back and visually examine the siding for any visible defects or irregularities.
Pay attention to areas such as corners, seams, and connections, as these are common areas where issues can arise. Look for gaps, loose fasteners, or uneven panels, and address them promptly to prevent further problems. If necessary, use a level or other appropriate tools to check for proper alignment and adjust as needed.
Additionally, check for any gaps between the siding and trim or accessories. Fill these gaps with caulking or sealant to provide a weatherproof barrier and enhance the overall appearance of the installation.
Adding finishing touches to your metal siding installation is essential for achieving a polished, professional look. By installing trim and accessories, applying paint or finish, and inspecting the installation for any final adjustments, you can ensure that your metal siding not only offers superior protection but also enhances the aesthetic appeal of your home.
Maintenance And Care Tips For Metal Siding
Maintenance and Care Tips for Metal Siding
Regular Cleaning and Maintenance Practices
To ensure the longevity and pristine appearance of your metal siding, regular cleaning and maintenance practices are essential. By following simple cleaning routines, you can keep your metal siding looking brand new year after year. **Start by removing any loose debris or dirt using a soft-bristle brush or a broom**. Be cautious not to apply excessive force, as it may cause scratches on the metal surface. Then, use a mild soapy solution and a sponge or soft cloth to gently scrub the siding. **Avoid using abrasive cleaners or tools**, as they can damage the finish. Rinse off the soap thoroughly with a hose or pressure washer on a low setting. Lastly, **regularly inspect your metal siding for signs of damage or rust**, and address any issues promptly to prevent further deterioration.
Preventing and Repairing Damage to Metal Siding
Even with proper care, metal siding can still become damaged. To prevent such occurrences, it is vital to take preventive measures and promptly repair any damages you notice. **Consider installing gutter systems and downspouts to divert water away from the siding**, as prolonged exposure to moisture can cause rust and other issues. Similarly, **trim any nearby trees or bushes to prevent branches from scratching the siding**. In case you do spot some damage, such as scratches or dents, **you can attempt to repair them yourself**. For minor scratches, **simply apply touch-up paint that matches the color of your current siding**. For deeper scratches or dents, **you might need to replace the affected panel**. Be sure to **seek professional help if the damage is extensive or beyond your capabilities**.
Ensuring Longevity and Durability of Metal Siding
To maximize the lifespan and durability of your metal siding, it is crucial to take a proactive approach. **Regularly inspect the siding for signs of corrosion or rust**, especially in areas where the finish has been compromised, such as cut edges or holes. If any rust is discovered, **remove it using a wire brush or sandpaper**, and then **apply a primer and paint specifically formulated for metal surfaces** to protect against further corrosion. Additionally, **pay attention to the condition of the caulking or sealant around windows, doors, and joints**. If any gaps or cracks are present, **reapply caulk or sealant to maintain a watertight seal**. Finally, **avoid leaning ladders or heavy equipment against the siding**, as this can cause dents or scratches.
By following these maintenance and care tips, you can ensure that your metal siding stays in optimal condition for years to come. A little effort and attention go a long way in preserving its beauty and protecting your investment.
Frequently Asked Questions
How Do You Attach Metal Siding To A House?
To attach metal siding to a house, follow these steps: 1. Begin by preparing the surface, ensuring it is clean and dry. 2. Install a moisture barrier to prevent any water damage. 3. Apply metal siding horizontally, starting from the bottom and overlapping each panel.
4. Secure the siding with nails or screws, ensuring they are properly spaced. 5. Finally, trim and finish the edges for a polished look.
What Do You Put Under Metal Siding?
You can put a layer of insulation or a vapor barrier under metal siding to improve energy efficiency. Insulation helps regulate temperature and reduce sound transmission, while a vapor barrier prevents moisture buildup. These additions enhance the performance and lifespan of metal siding.
How Do You Install Metal Siding On Exterior Walls?
To install metal siding on exterior walls, follow these steps: 1. Prepare the surface by removing old siding and ensuring it’s clean and smooth. 2. Measure and cut the metal siding panels according to your wall dimensions. 3. Begin at the bottom and secure the first panel using nails or screws.
4. Overlap subsequent panels, securing them to the wall as you go. 5. Finish by attaching trim pieces and caulking any gaps for a professional finish.
Is It Hard To Install Steel Siding?
Installing steel siding is not difficult.
Conclusion
Installing metal siding can be a great way to enhance the appearance and durability of your home. By following the step-by-step guide provided in this blog post, you can confidently install metal siding on your own. Remember to carefully prepare the surface, measure and cut accurately, and secure the siding properly.
With proper installation, metal siding can provide long-lasting protection against the elements and give your home a sleek and modern look. So why wait? Get started on your metal siding installation project today!