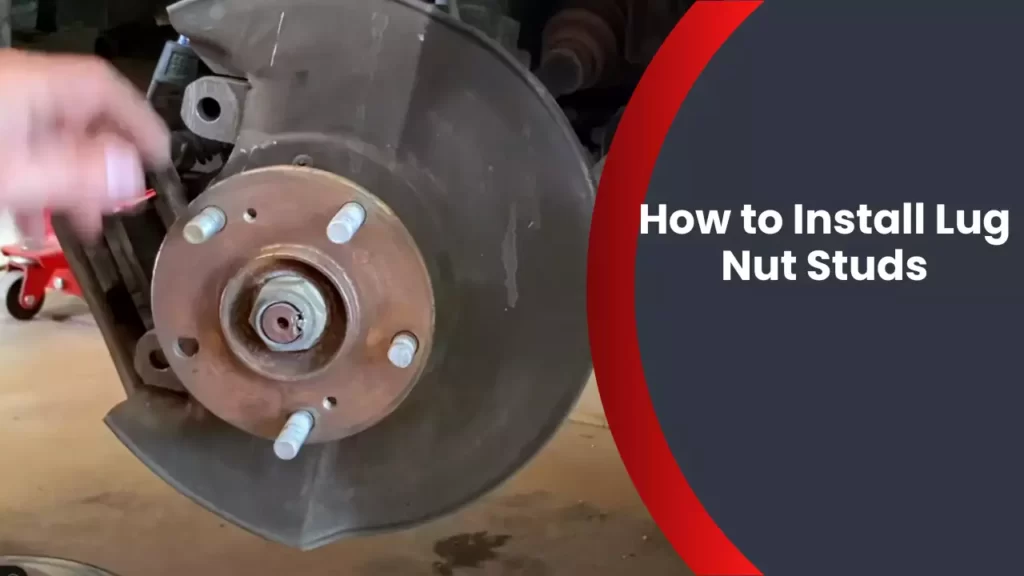
To install lug nut studs, first remove the damaged stud with a stud removal tool. Then, insert the new stud and tighten with a lug nut and torque wrench.
If you need to replace a damaged lug nut stud on your vehicle, don’t worry! With the right tools and a few simple steps, you can easily install a new stud and get your wheel back in working condition. In this guide, we will walk you through the process of installing lug nut studs quickly and efficiently.
Whether you’re a seasoned mechanic or a DIY enthusiast, this step-by-step tutorial will help you get the job done right. So, without further ado, let’s dive in and learn how to install lug nut studs!
Determining The Need For Lug Nut Stud Replacement
When it comes to the safety and performance of your vehicle, it’s crucial to regularly inspect and maintain its various components. One such component that often goes overlooked is the lug nut studs. These sturdy metal bolts are responsible for securing your wheels to the vehicle’s hub. Over time, lug nut studs can become worn or damaged due to factors like excessive torque, corrosion, or accidents.
Signs of Worn or Damaged Lug Nut Studs
If you’re unsure whether your lug nut studs need replacement, there are a few telltale signs you can check for:
- Loose or wobbly wheel: If you notice a loose or wobbly wheel while driving or when trying to tighten the lug nuts, it could be an indicator of worn or damaged studs.
- Difficulty tightening or removing lug nuts: If you find it challenging to properly tighten or remove the lug nuts, it may suggest that the studs are damaged or stripped.
- Misaligned or uneven tire wear: Inspect your tires for uneven or abnormal wear patterns. If you notice that your tires are wearing unevenly or that they are misaligned, it could be a sign of damaged lug nut studs.
- Visible cracks or fractures: Carefully examine each lug nut stud for any visible cracks, fractures, or breaks. These structural damages can compromise the integrity of your wheel assembly.
- Excessive wheel vibration: Experiencing excessive wheel vibration, especially at high speeds, can be an indication of damaged lug nut studs. This vibration can cause discomfort while driving and may lead to further complications if left unaddressed.
Importance of Replacing Damaged Studs Promptly
Replacing worn or damaged lug nut studs in a timely manner is essential for several reasons:
- Maintaining wheel security: Damaged studs can result in weakened wheel attachment, increasing the risk of wheel detachment while driving. Prompt replacement ensures your wheels are securely fastened.
- Preserving tire life: Misaligned or uneven tire wear caused by damaged studs can lead to premature tire wear, reducing the lifespan of your tires and costing you unnecessary money on replacements.
- Preventing accidents: A loose or wobbly wheel due to damaged studs can lead to loss of control, potentially causing accidents or dangerous situations on the road. Replacing the studs promptly helps maintain your vehicle’s stability and safety.
Tools and Equipment Required for Replacement
To replace damaged lug nut studs, you will need the following tools and equipment:
| Tools | Equipment |
|---|---|
|
|
Having these tools and equipment readily available will ensure a smooth and efficient lug nut stud replacement process. Now that we’ve covered the signs of worn or damaged lug nut studs, the importance of prompt replacement, and the necessary tools and equipment, let’s move on to the step-by-step guide for installing new lug nut studs.
Removing The Damaged Lug Nut Studs
Removing damaged lug nut studs from your vehicle is a task that requires precision and care. Whether it’s due to wear and tear or improper installation, damaged studs can cause issues with wheel stability and alignment. To ensure smooth removal and replacement, it’s important to follow a step-by-step process while being prepared for any challenges that may arise.
Preparing the vehicle for stud removal
Before beginning the stud removal process, it’s crucial to prepare your vehicle properly. Here are the steps to follow:
- Ensure that your vehicle is on a flat and level surface.
- Use a jack to raise the affected wheel off the ground.
- Secure the vehicle with jack stands for added safety.
- Remove the wheel using a lug wrench.
Step-by-step process of removing the damaged stud
Once you have prepared the vehicle, you can proceed with the removal of the damaged lug nut stud. Follow these simple steps:
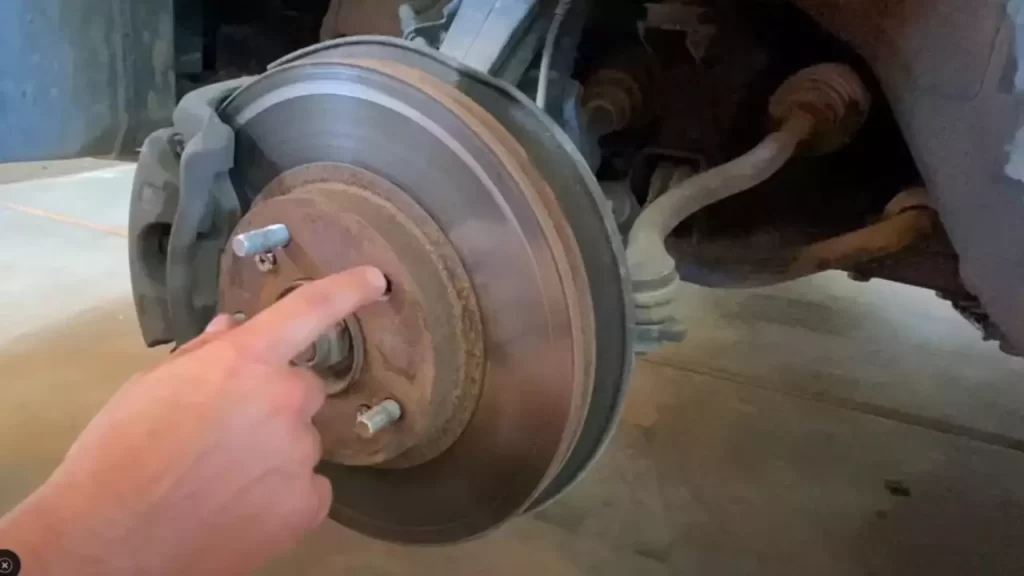
- Inspect the stud to determine the extent of the damage. Look for any signs of stripping, bending, or excessive wear.
- Apply a lubricant, such as penetrating oil, to the exterior of the stud to loosen any rust or debris that may be present.
- If the stud is still difficult to remove, use a hammer and a punch to gently tap the stud out from the backside.
- Once the stud is removed, clean the stud hole to ensure a smooth installation of the new stud.
Possible challenges and how to overcome them
While the stud removal process is typically straightforward, you may encounter some challenges along the way. Here are a few common obstacles and how you can overcome them:
| Challenge | Solution |
|---|---|
| The stud is seized or stuck due to rust or corrosion. | Apply generous amounts of penetrating oil and let it sit for a few minutes to loosen the rust. Use a hammer and punch to gently tap the stud from the backside. |
| The stud breaks off during removal. | If the stud breaks off, you will need to use a stud extractor tool to remove the remaining portion. Follow the instructions provided with the tool carefully to avoid damaging the surrounding components. |
| The stud hole is damaged or stripped. | If the stud hole is damaged, it may need to be repaired or re-tapped. Consult a professional mechanic for assistance in these situations. |
By following these steps and being prepared for potential challenges, you can successfully remove damaged lug nut studs from your vehicle. Remember to exercise caution and seek professional help if needed, especially when encountering complex issues. Stay tuned for our next post on installing new lug nut studs!
Installing The New Lug Nut Studs
Proper selection of lug nut studs: Before proceeding with the installation process, it is essential to choose the correct lug nut studs for your vehicle. These studs come in various sizes and lengths, so you need to refer to your vehicle’s specifications or consult your manufacturer’s guide to ensure the proper fit. Using the wrong size or type of lug nut studs can result in potential safety hazards.
Preparing the hub and brake assembly for installation: Begin by safely lifting your vehicle and removing the wheel. Next, you need to access the hub and brake assembly. Inspect the existing lug nut studs for any signs of damage or wear. If you notice any issues, it is advisable to replace the entire set of studs. Clean the hub and brake assembly thoroughly using a suitable cleaning agent to remove any dirt, rust, or debris. This will ensure proper engagement and reliable performance of the new lug nut studs.
Step-by-step process of installing the new stud: To install the new lug nut studs, follow these steps:
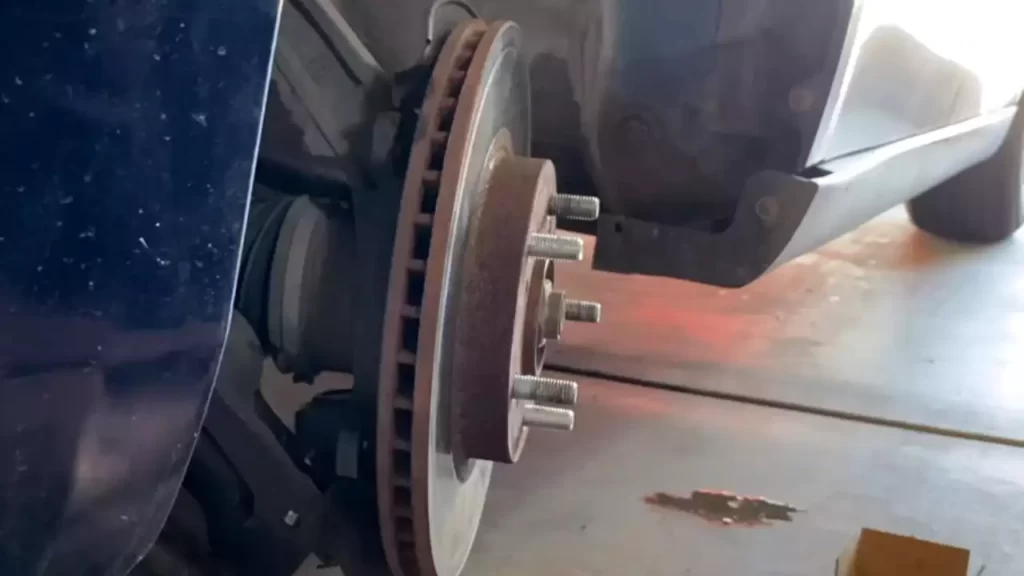
- First, start by inserting the stud into the hole in the hub from the backside, ensuring the threaded end is facing outward.
- Using an impact wrench or lug nut installer tool, tighten the stud by turning it clockwise until it is securely in place.
- Repeat this process for each lug nut stud that needs replacement.
Ensure each stud is tightened properly and securely.
Ensuring proper alignment and torque specifications: After installing the new lug nut studs, it is vital to verify their alignment and adhere to the recommended torque specifications. Use a torque wrench to tighten the lug nuts to the manufacturer’s specified torque setting. Applying the correct amount of torque ensures that the lug nut studs are securely fastened without over-tightening, which can lead to damage.
By following these steps and paying attention to the selection, preparation, installation, and alignment details of the new lug nut studs, you can ensure a safe and reliable driving experience. Remember to regularly inspect your lug nut studs for wear and damage and replace them whenever necessary to maintain the integrity of your vehicle’s wheels and tires.
Tips For A Successful Lug Nut Stud Installation
Installing lug nut studs may seem like a simple task, but it’s important to do it right to ensure the safety and performance of your vehicle’s wheels. This post will provide you with some valuable tips to help you successfully install lug nut studs and avoid common mistakes during the process.
Common Mistakes to Avoid During the Installation Process
While installing lug nut studs may not require specialized skills, it’s crucial to be aware of common mistakes that can compromise the integrity of the installation. To ensure a secure and long-lasting installation, here are some important points to keep in mind:
- Use the proper tools: Using the correct tools, such as a torque wrench and a lug nut socket, will prevent over-tightening or under-tightening of the studs.
- Do not cross-thread the studs: Take your time and make sure the lug nut threads are properly aligned with the stud threads. Cross-threading can lead to stripped threads, causing the nuts to come loose.
- Avoid excessive torque: Applying too much torque can lead to stud or nut deformation, jeopardizing the strength of the connection.
- Do not reuse damaged studs: If you notice any signs of wear, corrosion, or thread damage on your old studs, it’s crucial to replace them before installing new ones.
How to Ensure the Studs are Securely Fastened
Properly securing the lug nut studs is essential for the safety of your vehicle and preventing any issues on the road. Follow these steps to ensure a secure installation:
- Insert the studs into the wheel hub by hand to ensure they are properly aligned.
- With a lug nut socket and a torque wrench, tighten each stud gradually and in a star pattern. This ensures even distribution of torque and prevents uneven stress on the studs.
- Refer to the manufacturer’s specifications or your vehicle’s manual for the recommended torque value. Over-tightening can damage the studs, while under-tightening can lead to loose wheel nuts.
- After tightening all the studs, recheck the torque to ensure they are uniformly fastened.
Importance of Regular Maintenance and Inspection
Maintaining your lug nut studs and regularly inspecting them is vital for the longevity and safety of your vehicle’s wheels. Here’s why:
- Inspect the studs for any signs of damage, wear, or corrosion. If you notice any issues, replace them immediately.
- Regularly check the torque of the lug nuts using a torque wrench. This should be done after every tire rotation or at least once a year.
- Keep the studs clean and free of debris or rust, as these can prevent proper tightening and compromise the integrity of the connection.
- Consider using thread-locking adhesive when installing new lug nut studs to ensure they stay securely fastened.
Frequently Asked Questions
Is There A Tool To Install Wheel Studs?
Yes, there are tools available specifically designed for installing wheel studs. These tools make the installation process easier and more efficient.
How Do Wheel Studs Stay In?
Wheel studs stay in place on a vehicle’s hub by being threaded into the wheel hub. The threads and friction between the studs and the hub prevent them from coming loose during normal driving conditions.
Do Wheel Studs Screw In?
Yes, wheel studs are screwed in. They provide a sturdy connection between the wheel and the hub, ensuring stability and safety.
Can You Drill A Lug Nut Stud?
No, it is not recommended to drill a lug nut stud. Drilling can weaken the stud, causing it to break under stress. It is best to replace the lug nut stud with a new one to ensure safety and proper function of the wheel.
Conclusion
Installing lug nut studs is a straightforward process that requires basic tools and careful attention to detail. By following the steps outlined in this guide, you can ensure a secure and reliable connection between your lug nuts and the wheel assembly.
Remember to always consult your vehicle’s manual and seek professional assistance if you are unsure about any aspect of the installation process. Happy driving!