To install J channel for soffit, measure and cut the J channel to fit the length of the soffit, then nail it into place using galvanized nails.
Understanding The Basics
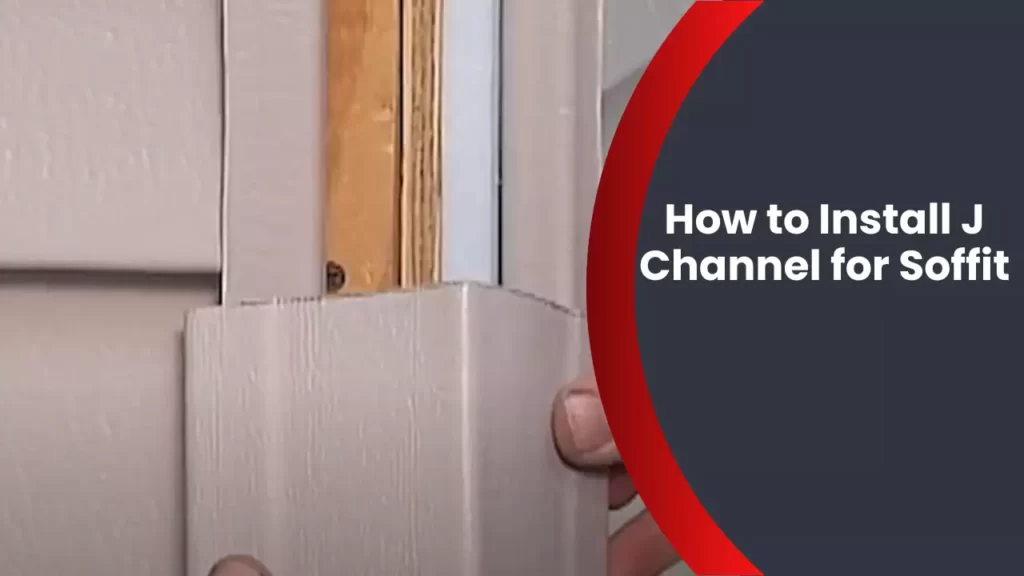
What is J Channel and its importance in soffit installation?
In the world of soffit installation, the J Channel plays a crucial role. It not only provides a functional purpose but also enhances the overall aesthetics of the project. The J Channel is a trim piece that creates a clean transition between the soffit panels and the surrounding walls or fascia. Its importance lies in its ability to effectively hide the ends of the soffit panels, protect them from moisture, and create a neat and finished look.
Different types of J Channel available in the market
When it comes to J Channel options, you’ll be pleased to know that there are several types available in the market. Each type offers its own unique features and benefits to cater to different installation needs. Here are some popular options:
| Type | Description |
|---|---|
| Vinyl J Channel | This type of J Channel is made from durable vinyl material, known for its resistance to moisture and weathering. It is easy to work with, low maintenance, and comes in various colors to match the soffit panels and overall design. |
| Aluminum J Channel | Aluminum J Channel offers a higher level of durability and strength compared to vinyl. It is resistant to rust and corrosion, making it ideal for areas with harsh weather conditions. |
| Fiber Cement J Channel | Fiber cement J Channel is specifically designed for use with fiber cement siding and soffit panels. It provides a secure and seamless installation and is resistant to rot, pests, and fire. |
Tools and materials needed for the installation process
To ensure a successful J Channel installation, it’s important to have the right tools and materials at hand. Before you begin, make sure you have the following:
- J Channel
- Tape measure
- Miter saw or snips
- Hammer or nail gun
- Level
- Caulk gun and caulk
- Screws or nails
By having these essential tools and materials ready, you’ll be well-equipped to handle the installation process smoothly and efficiently.
Now that we’ve covered the basics of J Channel, its importance in soffit installation, the different types available, and the required tools and materials, you’ll be well-prepared to embark on your own J Channel installation project. Stay tuned for the next section, where we’ll dive into the step-by-step process of installing J Channel for your soffit.
Measuring And Planning
Measuring the soffit area for accurate J Channel installation
Before installing J Channel for your soffit, it’s crucial to accurately measure the dimensions of the soffit area. This will ensure that you purchase the correct amount of J Channel and position it correctly for a clean and professional-looking installation.
To measure the soffit area, follow these steps:
- Start by measuring the length of each side of the soffit, using a tape measure. Take note of the measurements in inches or centimeters, depending on your preference.
- Next, measure the height of the soffit area, again using a tape measure. Ensure that the tape measure is straight and level to get an accurate measurement.
- Once you have these measurements, calculate the total area of the soffit by multiplying the length and height measurements. This will give you the square footage or square meterage of the soffit area.
By accurately measuring the soffit area, you will be able to determine the amount of J Channel needed for the installation, ensuring a seamless fit and avoiding any wastage.
Calculating the amount of J Channel required for the project
Now that you have the measurements of the soffit area, it’s time to calculate the amount of J Channel required for the project. This will help you purchase the right quantity of J Channel and avoid any shortage or excess materials.
To calculate the amount of J Channel needed, consider the following:
- Determine the linear footage required by adding up the lengths of all sides of the soffit area. This will give you the total length of J Channel needed.
- Take into account any corners or angles in the soffit design. These areas will require additional J Channel pieces to ensure a proper fit.
- Consult the product specifications or manufacturer’s guidelines for the J Channel length per linear foot. Multiply the linear footage by this factor to determine the total quantity of J Channel required.
Once you have calculated the amount of J Channel needed, it’s always a good idea to add a little extra to account for any errors or future repairs. This will ensure that you have enough J Channel to complete the installation without any last-minute surprises.
Planning the layout and positioning of the J Channel based on the soffit design
Now that you have the measurements and amount of J Channel required, you can start planning the layout and positioning of the J Channel based on the soffit design. This step is essential for achieving a neat and visually appealing installation.
To plan the layout and positioning of the J Channel, consider the following:
- Visualize the final look of the soffit and envision where the J Channel will be placed. This will help you determine the best positioning for each piece.
- Pay attention to any architectural features or design elements that may affect the placement of the J Channel, such as windows, doors, or decorative trim. Adjust the layout accordingly to ensure a seamless integration.
- Consider the direction of water flow and potential drainage points. Install the J Channel in such a way that it allows water to drain properly, preventing any moisture-related issues.
- Mark the position of each J Channel piece using a pencil or chalk. This will serve as a guide during the installation process and help you maintain a consistent and balanced appearance.
By carefully planning the layout and positioning of the J Channel based on the soffit design, you can achieve a professional and visually pleasing installation that enhances the overall aesthetics of your home.
Preparing The Soffit
Cleaning and Prepping the Soffit Surface for J Channel Installation
Before installing J Channel on your soffit, it is essential to clean and prep the surface properly. A clean and debris-free soffit will ensure a secure attachment and a professional finish. Follow these steps to clean and prep the soffit surface for J Channel installation:
- Remove any loose dirt, cobwebs, or other debris from the soffit using a soft brush or broom.
- Use a mild detergent mixed with water to scrub the soffit surface. This will help remove any grime, grease, or stubborn stains.
- Rinse the soffit thoroughly with clean water to ensure all cleaning solutions are removed.
- Dry the soffit completely with a clean cloth or allow it to air dry before proceeding with the installation.
Removing Any Obstructions or Obstacles in the Way
Before you begin installing the J Channel, it is important to clear the soffit of any obstructions or obstacles that may hinder the installation process or compromise the final result. Here’s what you need to do:
- Inspect the soffit for any loose or damaged panels. Replace or repair them as necessary.
- Remove any existing fixtures, such as lights or ventilation systems, that may obstruct the J Channel installation.
- Ensure that there are no protruding nails or screws on the soffit’s surface. Hammer them back in or remove them completely to create a smooth and obstacle-free area for the J Channel.
- If there are any old J Channels or trim pieces in place, carefully remove them using appropriate tools to ensure a clean installation.
Ensuring a Smooth and Level Surface for Proper J Channel Attachment
To ensure proper J Channel attachment and a seamless finish, it is crucial to have a smooth and level soffit surface. Follow these steps to ensure your soffit is ready for the J Channel installation:
- Inspect the soffit for any uneven areas or bumps. If you find any, sand them down using sandpaper or a sander until the surface is smooth and level.
- Verify that the soffit is straight and aligned. Use a level tool to check for any slopes or inconsistencies. Adjust as necessary.
- Measure the width and length of the soffit to determine the exact positioning of the J Channel. Mark the installation points systematically to ensure a uniform and precise installation.
Installing The J Channel
Installing the J Channel is a crucial step in the process of installing soffit. The J Channel serves as a support structure that helps secure the soffit panels in place. In this section, we will discuss how to properly install the J Channel. Let’s dive into the key steps involved.
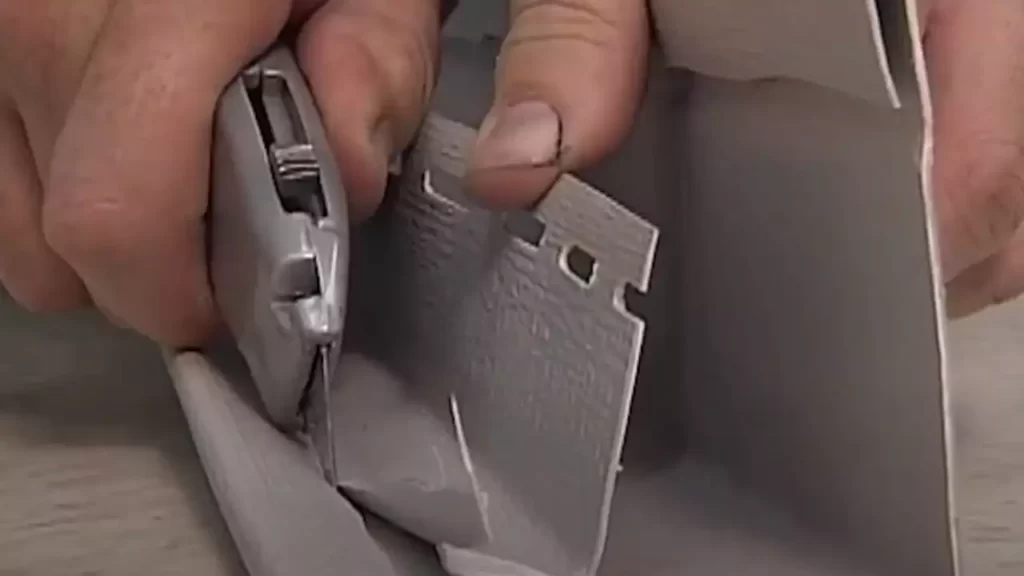
Cutting the J Channel to the Required Lengths
Before you start installing the J Channel, it is essential to measure and cut it to the required lengths. This ensures a precise fit and a professional finish. Here’s how you can cut the J Channel to the right lengths:
1. Measure the soffit: Start by measuring the length of the soffit. Measure each side separately for accuracy.
2. Add additional length: To account for corners and overlaps, add an additional inch to the measurement of each side.
3. Mark the J Channel: Transfer the measurements onto the J Channel using a pencil or a marker. Ensure that the marks are clear and easily visible.
4. Cut the J Channel: Using a hacksaw or tin snips, carefully cut along the marked lines. Take your time to ensure clean and accurate cuts.
5. Smooth the edges: After cutting the J Channel, smooth any rough or sharp edges using a file or sandpaper. This step helps to prevent any potential injuries during the installation process.
Remember, accuracy is key when cutting the J Channel. Take the necessary precautions and double-check your measurements to achieve a seamless installation.
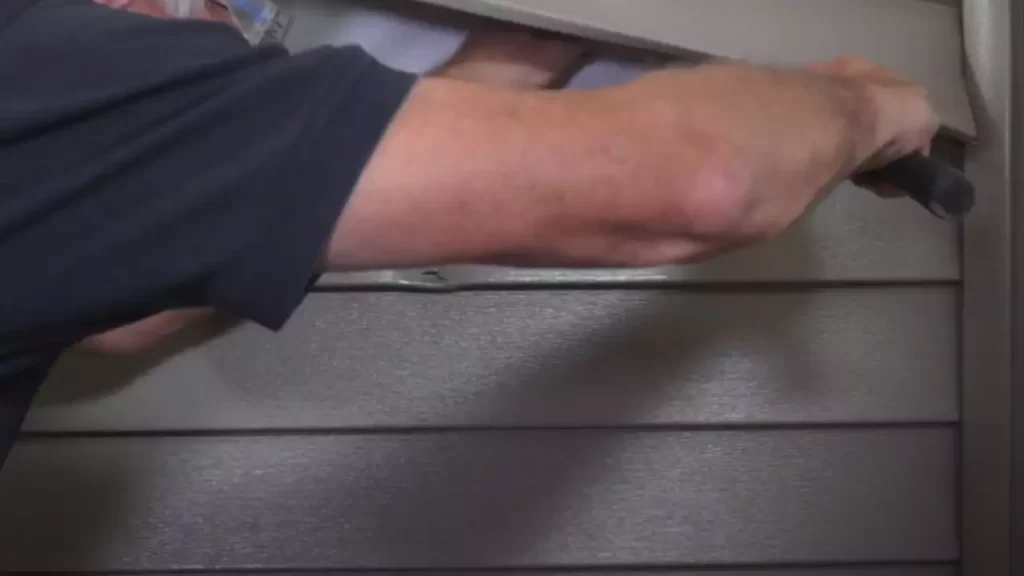
Attaching the J Channel to the Soffit Using Nails or Screws
Now that you have the J Channel cut to the required lengths, it’s time to attach it to the soffit. This step secures the J Channel in place and provides stability for the soffit panels. Here’s how you can attach the J Channel:
1. Choose the fasteners: Depending on your preference and the material of the J Channel, you can use either nails or screws. If you opt for screws, make sure to use corrosion-resistant ones to prevent rusting.
2. Position the J Channel: Start by positioning the J Channel along the soffit, ensuring it aligns correctly with the edges. Use a level to make sure it is straight and properly aligned.
3. Secure the J Channel: Once the J Channel is in position, begin attaching it to the soffit by inserting the nails or screws through the pre-drilled holes in the J Channel. Space them evenly along the length, maintaining a uniform distance.
4. Avoid overdriving: Be cautious not to overdrive the nails or screws, as this may cause damage to the J Channel or the soffit. The fasteners should be firmly in place, but not excessively tight.
By carefully attaching the J Channel to the soffit, you ensure a sturdy foundation for the soffit panels and contribute to the overall durability of the installation.
Ensuring Proper Spacing and Alignment Between Each Piece of J Channel
To achieve a visually appealing and structurally sound installation, it is crucial to maintain proper spacing and alignment between each piece of J Channel. Take the following steps to ensure consistency:
1. Maintain uniform spacing: As you install multiple pieces of J Channel, make sure to maintain a consistent spacing between them. This helps create a seamless and professional appearance.
2. Use a spacer: To ensure accurate spacing, consider using a spacer tool or a scrap piece of the soffit material. This will act as a guide to maintain uniformity throughout the installation process.
3. Check alignment: Periodically check the alignment of the J Channel to ensure it remains straight and parallel to the soffit edges. Adjust as needed for a precise and visually pleasing result.
By adhering to these guidelines, you not only enhance the aesthetic appeal of your soffit installation but also improve its functionality and longevity.
Remember, the proper installation of the J Channel is crucial for the success of your soffit project. Take your time, follow the steps diligently, and pay attention to detail to achieve a professional-quality finish.
Finishing Touches
After successfully installing the J Channel for your soffit, it’s time to put the finishing touches on the project. These final steps are crucial to ensure the longevity and aesthetics of your soffit installation.
Sealing and Caulking the J Channel to Prevent Moisture Infiltration
Properly sealing and caulking the J Channel is essential for preventing moisture infiltration, which can lead to water damage and rot. Here’s how you can do it:
- Inspect the J Channel for any gaps or openings. If you find any, use an exterior-grade caulk to seal them. Apply the caulk evenly, ensuring it fills the gaps completely.
- Smooth the caulk with your finger or a putty knife. This will create a clean finish and ensure the caulk adheres properly.
- Allow the caulk to dry completely according to the manufacturer’s instructions.
By sealing and caulking the J Channel, you will create a barrier against water intrusion, protecting your soffit and the underlying structure of your home.
Painting or Finishing the J Channel to Match the Soffit Color Scheme
Once the J Channel is properly sealed, you can proceed to paint or finish it to match the color scheme of your soffit. Follow these steps:
- Clean the J Channel thoroughly to remove any dirt or debris. A solution of mild detergent and water should suffice.
- Apply a coat of primer to the J Channel. This will help the paint adhere better and ensure an even finish.
- Choose a high-quality exterior paint that matches the color of your soffit. Apply the paint evenly, using a paintbrush or roller. Allow each coat to dry before applying the next.
- Inspect the painted J Channel for any imperfections. If necessary, lightly sand the surface and apply an additional coat of paint to achieve a flawless finish.
By painting or finishing the J Channel, you can seamlessly blend it with your soffit, creating a cohesive and visually pleasing look.
Inspecting the Installed J Channel for Any Gaps or Imperfections and Making Necessary Corrections
Before considering your soffit installation complete, it’s crucial to inspect the installed J Channel for any gaps or imperfections. Perform the following checks:
- Check for any gaps between the J Channel and the soffit panels. If you spot any, fill them with caulk or make the necessary adjustments to ensure a snug fit.
- Look for any visible imperfections in the J Channel’s appearance. Sand them gently and touch up the affected areas with paint to achieve a seamless finish.
- Ensure that the J Channel is securely fastened to the soffit, with no loose or wobbly sections. If needed, reattach the J Channel using appropriate fasteners.
By inspecting the installed J Channel and making any necessary corrections, you can guarantee a durable and visually appealing soffit installation that will stand the test of time.
Frequently Asked Questions
How To Install Aluminum J Channel For Soffit?
To install aluminum J channel for soffit: 1. Measure and mark the location of the J channel. 2. Cut the J channel to size using a metal saw. 3. Attach the J channel to the fascia board using nails or screws.
4. Slide the soffit panels into the J channel, starting from one end. 5. Secure the soffit panels into place with nails or clips.
Can You Use J Trim For Soffit?
Yes, J trim can be used for soffit installation.
Do You Nail Soffit Tight?
Yes, we nail soffit tight to ensure secure installation and prevent any loose or unsafe conditions. Our expert team takes great care to fasten the soffit firmly, providing a durable and reliable finished product. Rest assured, your soffit will be properly nailed for long-lasting performance.
How To Install F And J Channel?
To install F and J channels, follow these steps: 1. Measure the length and width of your wall. 2. Cut the channels to fit the measurements using a hand saw. 3. Attach the channels to the wall using screws or adhesive.
4. Insert the F-shaped channel into the J-shaped channel to create a secure edge. 5. Repeat the process for each wall section.
Conclusion
To wrap it up, installing J Channel for soffit is a simple and effective way to enhance the appearance and protect your home from moisture. By following the step-by-step guide provided in this blog post, you can confidently tackle this DIY project.
Remember to measure accurately, use the right tools, and secure the J Channel firmly in place. With these tips, you’ll have a professional-looking soffit in no time. Always remember to prioritize safety and consult a professional if needed. Happy installation!