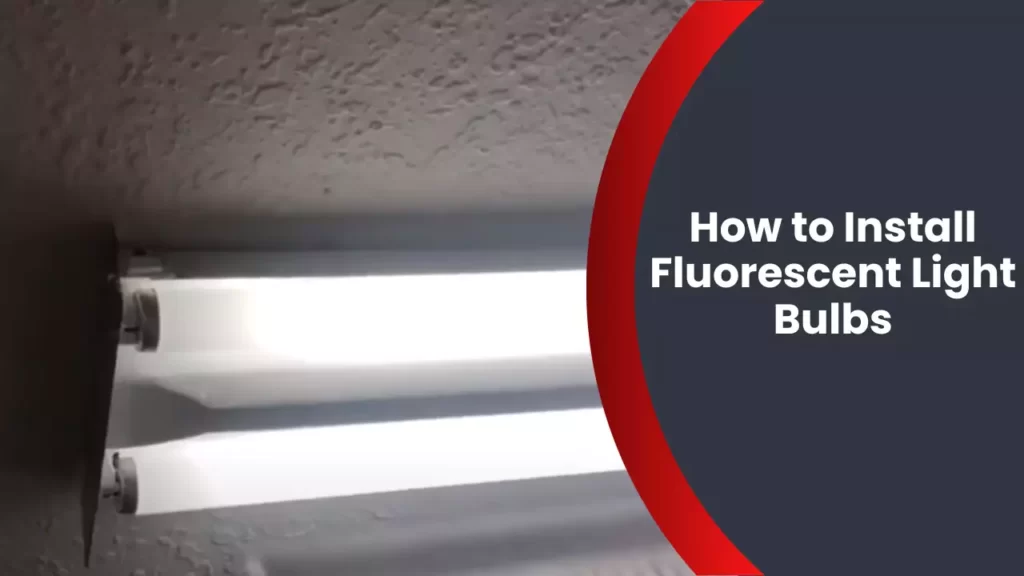
To install fluorescent light bulbs, place the bulb into the fixture and twist it until it is secure. Fluorescent light bulbs are commonly used in homes and workplaces due to their energy efficiency and long lifespan.
Installing these bulbs is a simple process that involves inserting the bulb into the appropriate fixture and giving it a twist to secure it in place. We will outline the step-by-step instructions for installing fluorescent light bulbs, as well as provide some helpful tips for maintaining and replacing them.
Whether you are a homeowner looking to upgrade your lighting or a professional electrician seeking guidance, this article will serve as a comprehensive guide for installing fluorescent light bulbs.
Selecting The Right Fluorescent Light Bulbs
When it comes to installing fluorescent light bulbs, selecting the right ones can make a significant difference in the quality of lighting and energy efficiency. In this section, we will explore the various types of fluorescent light bulbs, including compact fluorescent lamps (CFLs) and linear fluorescent tubes. Additionally, we will discuss wattage and color temperature considerations, helping you choose the most appropriate light bulbs for your needs.
Types of Fluorescent Light Bulbs
Fluorescent light bulbs come in different forms, each designed for specific purposes. Understanding the types available will help you determine which one suits your requirements. The two common types of fluorescent light bulbs are compact fluorescent lamps (CFLs) and linear fluorescent tubes.
Compact fluorescent lamps (CFLs)
CFLs are small, spiral-shaped fluorescent bulbs that are energy-efficient alternatives to traditional incandescent bulbs. They are available in various shapes, including spiral and twin-tube configurations, making them versatile for use in different fixtures, such as table lamps, ceiling fixtures, and recessed lighting. CFLs are known for their long lifespan and can save up to 75% of energy compared to incandescent bulbs.
Linear fluorescent tubes
Linear fluorescent tubes are long, tubular-shaped bulbs commonly found in commercial spaces, garages, warehouses, and kitchens. They provide bright, even illumination over large areas and are available in different lengths and diameters. Linear fluorescent tubes are often used in fixtures with ballasts that regulate the electrical current flowing through the bulb, ensuring optimal performance.
Wattage and Color Temperature Considerations
Choosing the appropriate wattage and color temperature for your fluorescent light bulbs is crucial for achieving the desired lighting effect and energy efficiency. Let’s explore these considerations in detail.
Choosing the Appropriate Wattage for Your Needs
Wattage refers to the amount of power a light bulb consumes. Higher wattage bulbs produce more light, but they also consume more energy. It is essential to choose the appropriate wattage based on the area you want to illuminate and the brightness you require. Refer to the manufacturer’s recommendations for the fixture or consult a professional to determine the ideal wattage for your space.
Understanding Color Temperature and Its Effects on Lighting
Color temperature is a measure of the warmth or coolness of the light produced by a bulb. It is expressed in Kelvin (K). Lower Kelvin values, such as 2700K-3000K, produce warm and cozy light, similar to traditional incandescent bulbs. Higher Kelvin values, such as 5000K-6500K, produce cool, bluish-white light, akin to natural daylight. Understanding the color temperature can help you create the desired ambiance in your space.
Moreover, color temperature can influence how colors appear under the light. For example, warm light enhances warm colors like red and yellow, while cooler light complements cooler colors like blue and green. Considering the purpose of the lighting and the color scheme of your environment, you can select the appropriate color temperature to achieve the desired effect.
By considering the different types of fluorescent light bulbs and understanding wattage and color temperature considerations, you can make informed decisions when selecting the right fluorescent light bulbs for your installation needs. This will not only improve the lighting quality but also contribute to energy efficiency and cost savings in the long run.
Preparing For Installation
When it comes to installing fluorescent light bulbs, it is crucial to have the necessary preparations in place. Ensuring safety precautions, turning off the power supply, gathering necessary tools, and using personal protective equipment (PPE) are essential steps to follow. Additionally, removing the old bulb, allowing it to cool down, and safely disposing of it are equally important. Let’s delve into each step in detail.
Ensure Safety Precautions are in Place
Before beginning the installation process, it is vital to prioritize safety. Take the time to assess the area and ensure there are no flammable materials nearby. Remove any obstacles that may hinder your work and make sure there is ample space to work comfortably. Wear appropriate clothing that covers your arms and legs to protect yourself from potential accidents or injuries.
Turn off the Power Supply
To avoid any electrical mishaps, it is crucial to turn off the power supply to the area where you will be installing the fluorescent light bulbs. Locate the circuit breaker or fuse box for the specific area and switch off the corresponding breaker or remove the fuse. This step ensures that no electricity is flowing to the fixture, minimizing the risk of electric shock.
Gather Necessary Tools
Having the right tools within reach makes the installation process more efficient. Before you start, make sure you have the following tools on hand:
- Screwdriver
- Wire cutters/strippers
- Needle-nose pliers
These tools will assist you in removing the old bulb, connecting the new bulb, and securing any necessary connections.
Use Personal Protective Equipment (PPE)
Prioritize your safety by wearing personal protective equipment (PPE). Essential items include safety goggles and protective gloves. These will shield your eyes from any debris or shattered glass and safeguard your hands from sharp edges. Wearing PPE adds an extra layer of protection throughout the installation process.
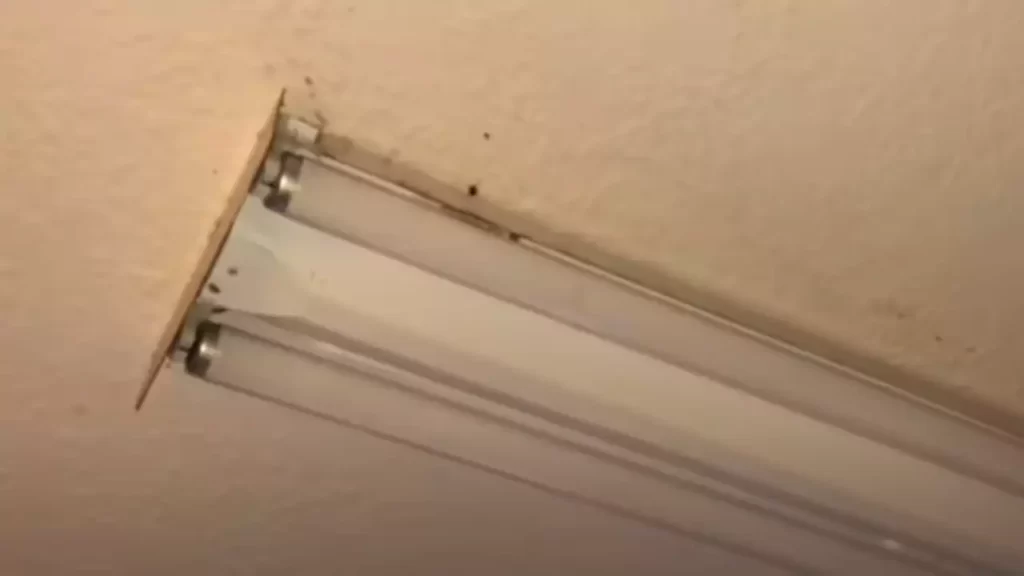
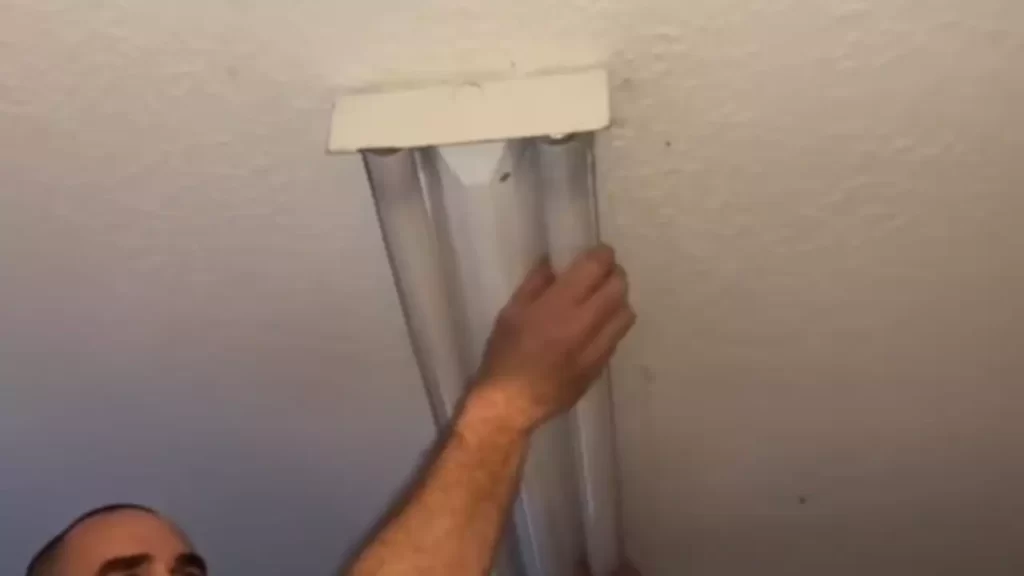
Removing the Old Bulb
Once the necessary precautions have been taken, it’s time to remove the old bulb. But before doing so, ensure that the bulb is turned off and has had enough time to cool down. This reduces the risk of burns from any residual heat. Gently twist the bulb counterclockwise until it loosens. Carefully lower the bulb out of the fixture and place it in a safe spot to be disposed of later.
Allow the Bulb to Cool Down
Before proceeding with the installation of the new bulb, give it some time to cool down. This prevents any accidental burns and ensures safe handling. Allow the bulb to rest for at least 10-15 minutes or until it is cool to the touch.
Safely Dispose of the Old Bulb
Proper disposal of the old bulb is essential to protect the environment and prevent any potential harm. Wrap the old bulb in newspaper or a plastic bag to contain any glass shards. Seal it tightly and label it as “Broken Bulb – Handle with Care” or follow the local waste disposal guidelines. Be sure to check whether your local municipality has specific disposal instructions for fluorescent bulbs to ensure safe and eco-friendly disposal.
Installing Fluorescent Light Bulbs
When it comes to installing fluorescent light bulbs, it’s essential to understand the proper procedure to ensure a secure fit and optimal performance. This section will guide you through the process, from aligning the pins and understanding pin types to securing the bulb and locking it in place.
Aligning the Pins
Before you start, it’s crucial to align the pins on the fluorescent light bulb correctly. The pins are located at each end of the bulb and serve as the connection points to the sockets. To align them properly, visually examine the pins and locate the notches or grooves on each end of the bulb. Align these notches or grooves with the corresponding features on the socket.
Understanding Pin Types (Bi-pin, Single Pin, etc.)
Fluorescent light bulbs come in various pin types, including bi-pin, single pin, and more. It’s important to know the pin type of the bulb you’re installing, as it determines the compatibility with the socket. Refer to the manufacturer’s specifications or packaging to identify the correct pin type, ensuring a proper fit and connection.
Ensuring Proper Alignment for a Secure Fit
Once you’ve identified the pin type and aligned the pins with the socket, it’s crucial to ensure a secure fit. Gently push the bulb into the socket while applying even pressure on both ends. Avoid excessive force, as this may damage the pins or the socket. If the bulb feels loose or does not sit flush with the socket, recheck the alignment and adjust as necessary.
Securing the Bulb
After aligning the pins and achieving a secure fit, the next step is to secure the bulb in place. Most fluorescent light fixtures come with securing mechanisms, such as clips or brackets, to hold the bulb securely. Locate these mechanisms and ensure they are engaged properly. Double-check that the bulb is securely held in place before proceeding.
Inserting the Pins into the Sockets
With the bulb secured, it’s time to insert the pins into the sockets. Hold the bulb firmly and guide the pins into the corresponding slots in the socket. Make sure the pins slide in smoothly without any resistance. If you encounter resistance or difficulty, do not force the pins into the socket. Instead, recheck the alignment and try again.
Rotating the Bulb to Lock it in Place
Once the pins are inserted into the sockets, the final step is to rotate the bulb to lock it in place. Gently twist the bulb clockwise until it stops rotating. This action ensures a secure connection and prevents the bulb from falling out or becoming loose. Confirm that the bulb is correctly locked by giving it a slight tug to ensure it remains firmly in place.
To summarize, installing fluorescent light bulbs involves aligning the pins, understanding pin types, ensuring proper alignment and a secure fit, securing the bulb, inserting the pins into the sockets, and rotating the bulb to lock it in place. By following these steps, you will have successfully installed your fluorescent light bulbs, providing bright and efficient lighting for your space.
Troubleshooting And Maintenance Tips
Now that you have successfully installed your fluorescent light bulbs, it’s important to know how to troubleshoot and maintain them. This will ensure optimal performance and prevent any potential issues in the future. In this section, we will cover essential tips for testing the installed bulb, turning on the power supply, checking for proper illumination, addressing common issues like flickering or dim light and buzzing or noisy fixtures, as well as regular maintenance practices such as cleaning the fixtures and bulbs and replacing bulbs when necessary.
Testing the installed bulb
After the installation process, it’s crucial to test the bulb to ensure it’s working correctly. Here’s how you can do it:
1. Make sure the power supply is turned off.
2. Carefully remove the cover or diffuser to access the bulb.
3. Gently press and twist the bulb counterclockwise to remove it.
4. Inspect the bulb for any visible damages such as cracks or dark spots.
5. Insert a new bulb by pressing and twisting it clockwise until it is securely in place.
6. Turn on the power supply to test the newly installed bulb.
Turning on the power supply
To power up the fluorescent light fixture, follow these steps:
1. Locate the light switch or breaker that controls the power to the fixture.
2. Make sure the switch or breaker is in the “off” position before proceeding.
3. Flip the switch or turn on the breaker to supply power to the fixture.
Checking for proper illumination
Once your fluorescent light fixture is powered on, check for proper illumination to ensure it’s working as expected. Here’s what you need to do:
1. Stand a few feet away from the fixture and observe the light output.
2. Look for an even distribution of light across the entire length of the bulb.
3. Ensure there are no flickering or dim areas.
4. If you notice any irregularities, refer to the next section for troubleshooting tips.
Addressing common issues
Fluorescent light fixtures may encounter common issues such as flickering or dim light, as well as buzzing or noisy fixtures. Here’s how to address them:
Flickering or dim light
Flickering or dim light may indicate a problem with the bulb, starter, or ballast.
Possible troubleshooting steps include:
– Checking for loose connections between the bulb and the socket.
– Replacing the ballast if it’s malfunctioning.
– Checking and replacing the starter if necessary.
– Checking the voltage and ensuring it’s within the recommended range.
Buzzing or noisy fixtures
Buzzing or noisy fixtures can be caused by various factors such as loose components or vibration.
To address this issue, consider the following:
– Tightening any loose screws or connections within the fixture.
– Ensuring the fixture is properly mounted and secured.
– Adding vibration-dampening materials if necessary.
– Contacting a professional electrician if the issue persists.
Regular maintenance practices
To keep your fluorescent light bulbs in optimal condition, regular maintenance is essential. Here are some practices to follow:
1. Cleaning the fixtures and bulbs:
– Turn off the power supply before cleaning.
– Use a soft cloth and a mild, non-abrasive cleaner to wipe the fixtures and bulbs.
– Remove any dust or debris that may accumulate over time.
2. Replacing bulbs when necessary:
– Monitor the brightness of the bulbs regularly.
– If you notice a significant decrease in light output or any darkening areas, it’s time to replace the bulbs.
– Follow the installation steps mentioned earlier to replace the bulbs safely.
Following these troubleshooting and maintenance tips will help ensure the longevity and efficient performance of your fluorescent light bulbs. Remember to always prioritize safety and consult a professional if you encounter any complex issues.
Frequently Asked Questions
How Do You Change A 2 Pin Fluorescent Light Bulb?
To change a 2 pin fluorescent light bulb, simply turn off the power and let the bulb cool. Locate the bulb, push in and twist counterclockwise to remove it. Insert the new bulb by pushing it in and twisting it clockwise.
Finally, turn on the power to confirm it’s working.
Is There A Right Way To Install Fluorescent Bulbs?
To install fluorescent bulbs correctly, follow these guidelines: 1. Turn off power before handling the bulbs. 2. Match the bulb size to the fixture’s rating. 3. Insert the pins of the bulb into the fixture’s sockets firmly. 4. Rotate the bulb slightly to lock it in place.
5. Restore power and check if the bulb is functioning.
Are Fluorescent Lights Easy To Install?
Yes, fluorescent lights are easy to install.
Do You Need An Electrician To Change A Fluorescent Light Bulb?
No, you do not need an electrician to change a fluorescent light bulb. It is a simple task that can be done by anyone. Just follow the manufacturer’s instructions and be sure to turn off the power before replacing the bulb.
Conclusion
Installing fluorescent light bulbs is a straightforward process that can greatly enhance the lighting in your space. By following the step-by-step instructions provided, you can ensure a safe and efficient installation. Remember to turn off the power, remove the old bulb carefully, and make sure the new bulb is secure.
With the right tools and a little know-how, you’ll be enjoying the benefits of energy-efficient fluorescent lighting in no time. Happy DIY-ing!