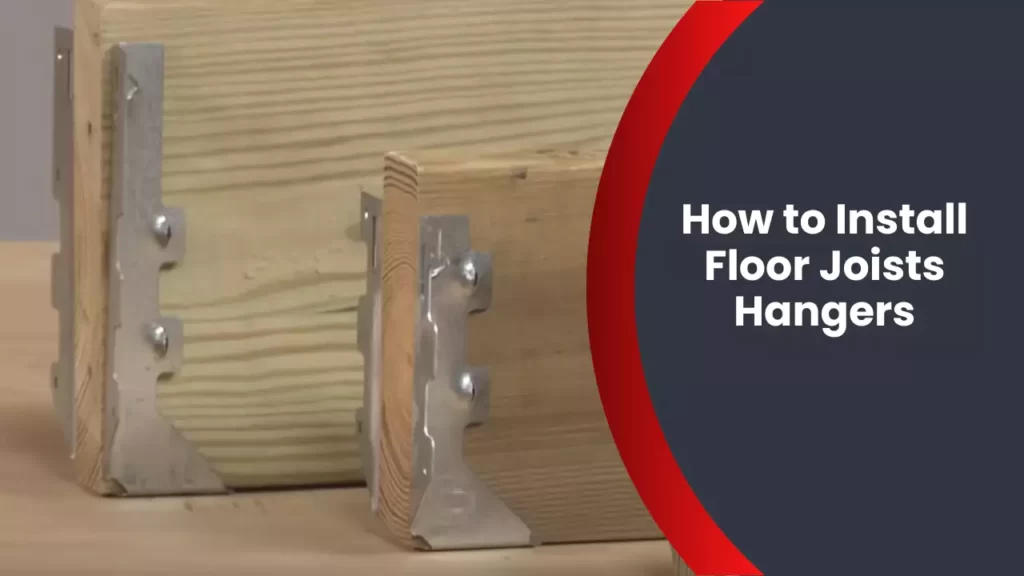
To install floor joist hangers, position the hangers on the wall and attach with screws. Installing floor joist hangers is an important step in constructing a stable and secure floor system.
These hangers provide support and reinforcement to the floor joists, ensuring they are properly aligned and connected to the wall. By following a few simple steps, you can easily install floor joist hangers and ensure the stability and durability of your floor structure.
We will guide you through the process of installing floor joist hangers, providing you with the necessary information and steps to complete the task successfully. So, let’s get started and learn how to install floor joist hangers effectively.
Choosing The Right Floor Joist Hangers
Choosing the Right Floor Joist Hangers
When it comes to installing floor joists, one crucial element that often goes overlooked is the choice of floor joist hangers. Though they may seem like a small detail, these hangers play a significant role in ensuring the stability and structural integrity of your floors. But how do you choose the right floor joist hangers for your project?
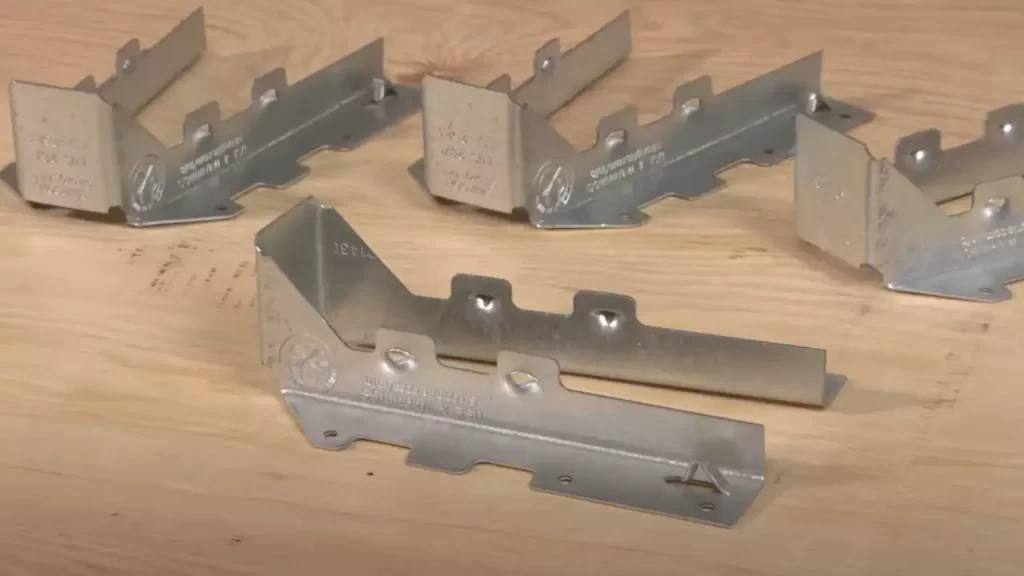
Types of Floor Joist Hangers
Before diving into the selection process, let’s take a look at the different types of floor joist hangers available in the market.
| Material | Description |
|---|---|
| Steel Hangers | Made from durable steel, these hangers are known for their strength and load-bearing capacity. They provide excellent support for heavy floor joists. |
| Galvanized Hangers | These hangers are coated with a layer of zinc to prevent corrosion and rust. They are suitable for areas with high moisture content. |
| Strap Hangers | Strap hangers are flexible metal straps that can be bent and adjusted to fit various joist sizes and angles. They offer versatility in installation. |
| Masonry Hangers | Designed for attaching floor joists to masonry walls, these hangers provide secure and reliable support in situations where traditional hangers may not be suitable. |
Factors to Consider When Selecting Floor Joist Hangers
Now that you’re familiar with the types of floor joist hangers, it’s essential to consider a few factors to ensure you choose the right hangers for your specific project.
- Load Capacity: Determine the weight that the floor joist hangers will need to support. Make sure to choose hangers that can handle the load without compromising safety.
- Size and Compatibility: Take accurate measurements of your floor joists to select hangers that are compatible in size. The hangers should fit snugly and provide a secure connection.
- Environmental Factors: Consider the environment where the hangers will be installed. If the area is prone to moisture, choose galvanized hangers that are resistant to rust and corrosion. Similarly, for masonry walls, opt for masonry hangers for optimal support.
- Building Codes and Regulations: Familiarize yourself with local building codes and regulations to ensure you choose hangers that meet the required standards. Compliance with these regulations is vital for the safety and legality of your construction project.
By carefully considering these factors, you can select the right floor joist hangers that will provide the necessary support and ensure the long-lasting durability of your floors. Remember, investing in high-quality hangers is a small price to pay for the added peace of mind and structural integrity it brings to your construction project.
Preparing The Work Area
Before you begin installing floor joist hangers, it’s crucial to prepare your work area properly. This step will ensure a smooth and efficient installation process while ensuring the structural integrity of your floor joists. In this section, we will guide you through the necessary steps to prepare your work area.
Gathering the necessary tools and materials
Before you start the installation process, gather all the tools and materials you will need for the job. This will save you time and prevent any unnecessary interruptions during the installation process. Here is a list of tools and materials you will need:
| Tools | Materials |
|---|---|
|
|
Measuring and marking the locations for the floor joist hangers
Accurate measurements and markings are crucial to ensure the proper installation of floor joist hangers. Follow these steps to measure and mark the locations for the floor joist hangers:
- Start by determining the layout of your floor joists, taking into consideration the load-bearing requirements and the recommended spacing between joists.
- Using a measuring tape, measure and mark the locations where the floor joist hangers will be installed, ensuring they are aligned with the layout you determined earlier.
- Double-check your measurements to ensure accuracy and make any necessary adjustments before proceeding with the installation process.
By measuring and marking the locations for the floor joist hangers accurately, you can ensure a sturdy and reliable floor structure.
Installing Floor Joist Hangers
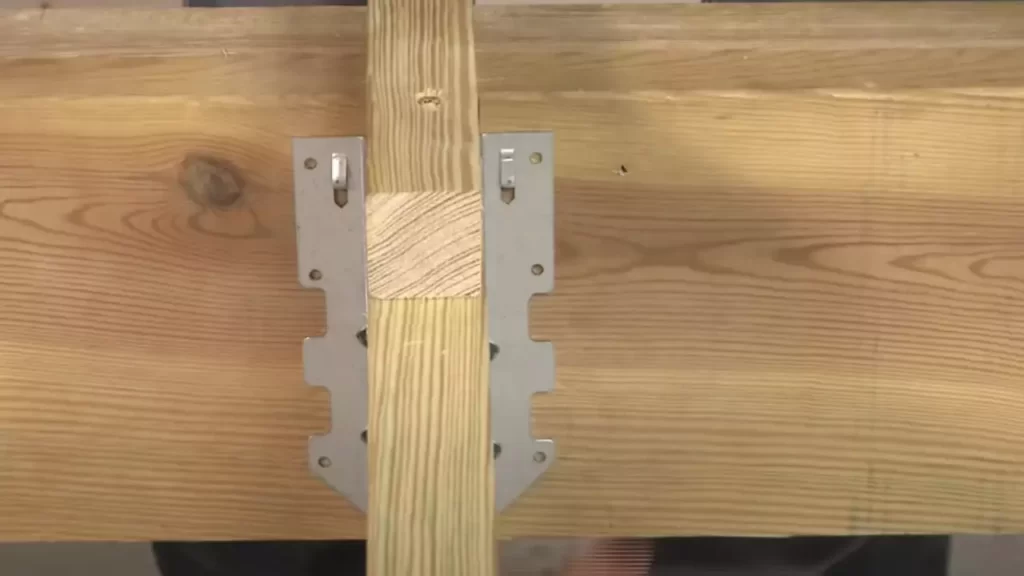
Installing floor joist hangers is a crucial step in building a sturdy and stable floor structure. These hangers provide support and ensure that the floor joists are securely attached to the beams or ledger board. Follow these step-by-step instructions to properly install your floor joist hangers and create a reliable foundation for your flooring.
Step 1: Positioning and Securing the First Floor Joist Hanger
The first step in installing floor joist hangers is positioning and securing the first hanger. This initial hanger will set the alignment and levelness for the rest of the hangers. Here’s how to do it:
- Positioning: Start by determining the position of the first hanger on the beam or ledger board. Make sure it aligns with the layout and spacing of the floor joists. Mark the location accurately.
- Attaching the Hanger: Place the floor joist hanger in the marked position and align it properly with the beam or ledger board. Secure the hanger using appropriate fasteners such as nails or screws. Ensure that the hanger is firmly attached for optimal stability.
- Ensuring Proper Alignment and Levelness: Check the alignment and levelness of the first hanger using a level. Make necessary adjustments to ensure that the hanger is parallel to the ground and in line with the layout plan. This will serve as a guide for installing the subsequent hangers accurately.
Step 2: Installing the Subsequent Floor Joist Hangers
After securing the first hanger, it’s time to install the subsequent floor joist hangers. Here’s what you need to do:
- Maintaining Consistent Spacing Between the Hangers: Measure and mark the correct spacing between each hanger. This will ensure that the floor joists are evenly supported. Use a measuring tape and pencil to mark the positions accurately.
- Using Appropriate Fasteners for Secure Attachment: Like the first hanger, attach the subsequent hangers to the beam or ledger board using the recommended fasteners. Ensure that each hanger is securely attached, as this will determine the overall stability of the floor structure.
Step 3: Checking the Stability and Alignment of Floor Joist Hangers
Once all the floor joist hangers are installed, it’s important to check their stability and alignment. This final step will ensure a solid and level floor structure. Here’s what you need to do:
- Ensuring Proper Weight Distribution: Check that the weight is distributed evenly across all the floor joist hangers. This will prevent any excessive stress on specific hangers and maintain the overall stability of the structure.
- Making Necessary Adjustments for a Level and Stable Structure: Use a level to check the alignment and levelness of the floor joist hangers. Make any necessary adjustments by adding or removing shims to ensure that the hangers are perfectly level. This will result in a flat and stable floor surface.
By following these steps, you can confidently install floor joist hangers and create a strong foundation for your flooring. Remember to prioritize stability, alignment, and proper weight distribution throughout the installation process. With a reliable floor structure in place, you can proceed with confidence to the next stages of your construction project.
Tips And Best Practices
When it comes to installing floor joist hangers, following proper tips and best practices can ensure a strong and secure foundation for your floors. In this section, we will discuss important safety precautions to take during installation, recommended maintenance for floor joist hangers, as well as common mistakes to avoid and troubleshooting tips.
Proper Safety Precautions to Follow During Installation
To ensure the safety of yourself and others during the installation process, it is important to adhere to the following safety precautions:
- Wear protective goggles and gloves to safeguard your eyes and hands from potential hazards.
- Use a sturdy ladder or scaffolding to access elevated areas. Avoid standing on unstable surfaces or overreaching.
- If working with power tools, always follow the manufacturer’s guidelines and wear appropriate safety gear, such as ear protection and a dust mask.
- Clear the work area of any debris or obstructions that may pose a tripping or falling hazard.
- Double-check the integrity of the floor structure before installing hangers. Ensure there are no weak or damaged areas that could compromise the stability of the hangers.
Recommended Maintenance for Floor Joist Hangers
To ensure the longevity and performance of your floor joist hangers, regular maintenance is crucial. Here are a few recommendations to keep in mind:
- Inspect the hangers periodically for signs of wear, corrosion, or damage. Replace any hangers that show significant deterioration.
- Keep the hangers clean and free from debris, as buildup can lead to potential issues and compromise their function.
- Monitor the condition of the fasteners used in the hangers. Tighten any loose screws or nails and replace any that are damaged or bent.
- Consider applying a protective coating or paint to the hangers to mitigate the risk of rust and corrosion.
Common Mistakes to Avoid and Troubleshooting Tips
Installing floor joist hangers may seem straightforward, but there are some common mistakes that can impact their effectiveness. Here are a few pitfalls to avoid and troubleshooting tips:
- Improper hanger placement: Ensure the hangers are positioned correctly and securely attached to the floor structure. Improper placement can lead to weak connections and compromised stability.
- Inadequate fastening: Ensure that the fasteners used to secure the hangers are of the appropriate size and properly installed. Insufficient fastening can result in the hangers pulling away from the structure over time.
- Overloading: Be mindful of the weight limits specified by the manufacturer for the floor joist hangers. Overloading the hangers can lead to structural failure and safety hazards.
- Uneven or sloping floors: If you notice your floors are uneven or sloping, it could be a sign that the floor joist hangers are not properly supporting the load. Consult a professional for evaluation and possible corrective measures.
By following these tips and best practices, you can ensure the proper installation, maintenance, and troubleshooting of your floor joist hangers. Remember to prioritize safety, conduct regular inspections, and address any issues promptly to maintain the integrity of your flooring structure.
Frequently Asked Questions
Is It Better To Screw Or Nail Joist Hangers?
It is better to use screws for joist hangers. Screws provide stronger and more secure connections compared to nails. They have better holding power and are less likely to loosen or pull out over time.
What Is The Most Common Mistake Made When Installing Joist Hangers?
The most common mistake when installing joist hangers is not properly securing them to the supports. This can lead to structural instability and potential safety hazards. Ensure the hangers are firmly attached to the joists and the supporting beams or walls to maintain a strong and secure structure.
Can I Use Screws On Joist Hangers?
Yes, you can use screws on joist hangers. However, it is important to follow manufacturer’s guidelines. Using appropriate screws ensures proper installation and structural integrity. Remember to use screws recommended specifically for joist hangers to ensure a secure and safe connection.
Do Joist Hangers Have To Be Nailed?
Yes, joist hangers need to be nailed in place to ensure proper installation and structural stability. Nailing helps secure the hanger to the joist and the supporting structure, preventing any potential shifting or movement.
Conclusion
To conclude, installing floor joist hangers is a crucial step in ensuring the structural stability and longevity of your building. By following the proper guidelines and using the right tools, you can accomplish this task with ease. Remember to accurately measure, position, and secure the hangers to provide solid support for your floor system.
With careful installation, you can enjoy a sturdy and reliable foundation for years to come. Don’t forget to regularly inspect and maintain your floor joists to avoid any potential issues in the future.