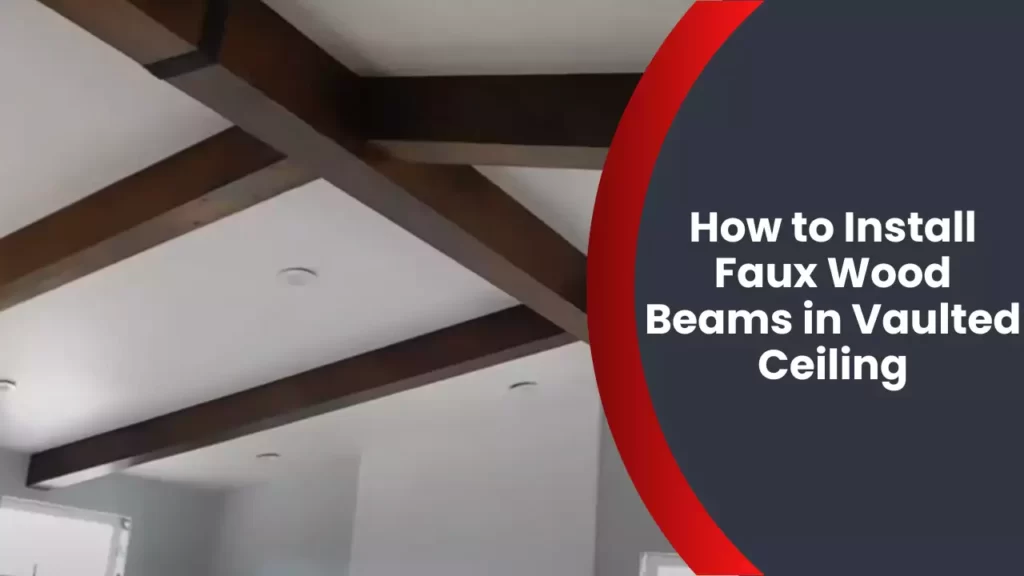
To install faux wood beams in a vaulted ceiling, begin by measuring the distance between beams, then cut the beams to fit and attach them using adhesive and screws. Then, paint or stain the beams to match the desired look.
Planning Your Faux Wood Beam Installation
Planning Your Faux Wood Beam Installation
Determine the Style and Size of Faux Wood Beams
When it comes to installing faux wood beams in a vaulted ceiling, the first step is to determine the style and size of the beams you want to use. This decision will largely depend on the aesthetic you want to achieve and the overall design of your space. Faux wood beams come in a variety of styles, including rustic, farmhouse, and contemporary, allowing you to choose the one that best suits your taste and complements your existing decor.
To determine the size of the beams, you’ll need to consider the dimensions of your vaulted ceiling. Measure the height and width of the area where you plan to install the beams. This will help you determine the length and thickness of the beams needed to achieve a proportionate and visually pleasing result. Keep in mind that the size of the beams should also be in proportion to the overall size of the room.
Measure the Dimensions of Your Vaulted Ceiling
Once you’ve decided on the style and size of the faux wood beams, it’s crucial to accurately measure the dimensions of your vaulted ceiling. This will ensure that you get the right lengths and angles for your beams. Start by measuring the height of the ceiling at the highest point and the width across the widest part of the ceiling.
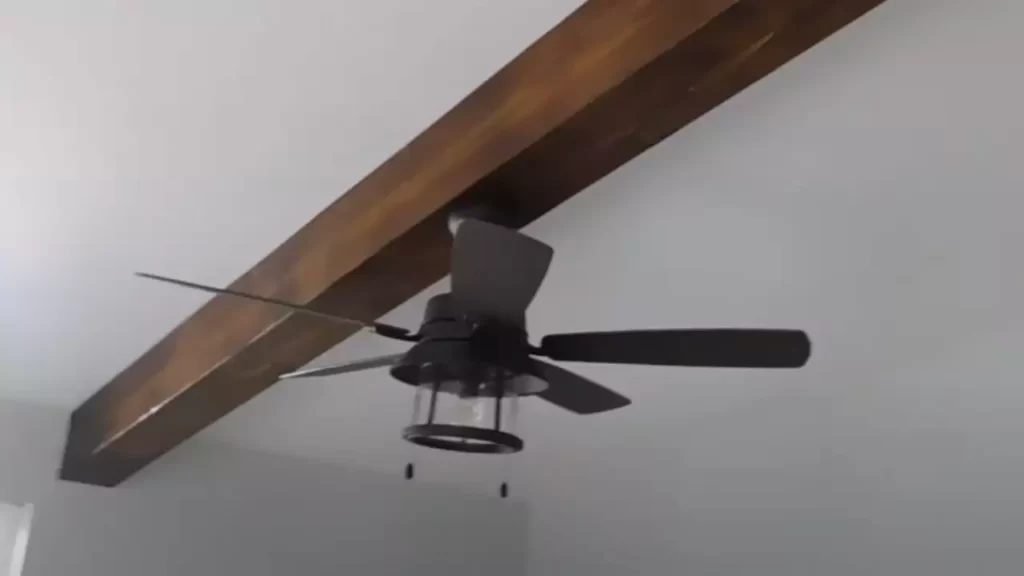
To get precise measurements, use a measuring tape and record the dimensions in inches or centimeters. Take multiple measurements at different points along the ceiling to account for any irregularities or variations in the ceiling’s shape. It’s also a good idea to take note of any existing light fixtures, ceiling fans, or other obstacles that may affect the installation.
Consider the Weight of the Beams and Ceiling Structure
Before proceeding with the installation, it’s essential to consider the weight of the faux wood beams and the capacity of your ceiling structure. Faux wood beams can be quite heavy, especially if they are made from high-density polyurethane or solid wood. Therefore, it’s crucial to ensure that your ceiling can support the additional weight.
Consult a professional or check with the manufacturer to determine the weight-bearing capacity of your ceiling. This will help you choose the appropriate type and size of faux wood beams that won’t strain or compromise the structural integrity of your ceiling. Additionally, you may need to reinforce or modify the ceiling structure if it’s not strong enough to support the beams.
By carefully planning your faux wood beam installation, you can achieve a stunning and visually appealing result while ensuring the safety and structural integrity of your vaulted ceiling. Remember to determine the style and size of the beams, measure the dimensions of the ceiling accurately, and consider the weight-bearing capacity of your ceiling structure. With proper planning and execution, your faux wood beam installation will transform your space into a captivating and inviting environment.
Preparing The Ceiling For Installation
Preparing the Ceiling for Installation
When it comes to installing faux wood beams in a vaulted ceiling, proper preparation is key. Before you embark on this exciting DIY project, it’s essential to prepare the ceiling for installation. This involves clearing the area, protecting furniture and flooring, locating the ceiling joists, determining the spacing and layout of the beams, and marking the positions for installation.
Clear the area and protect furniture and flooring:
To begin, make sure to clear the area directly underneath the vaulted ceiling where the installation will take place. Remove any furniture, decorations, or other items that may be obstructing the space. This will provide you with a clutter-free work area and minimize the risk of accidents during the installation process.
Additionally, it’s crucial to protect your furniture and flooring from any potential damage that could occur during the installation. Cover furniture with plastic sheets or drop cloths, ensuring complete coverage to shield them from dust, debris, or accidental spills. For the flooring, use protective floor coverings or heavy-duty tarps to prevent any scratches, stains, or other forms of damage.
Locate the ceiling joists:
Next, you need to locate the ceiling joists. These structural supports are essential for securely attaching the faux wood beams to your vaulted ceiling. Use a stud finder or a visual inspection to identify the joists. Mark their positions with a pencil to ensure accurate beam placement later on.
Determine the spacing and layout of the beams:
Once you’ve located the ceiling joists, it’s time to determine the spacing and layout of the faux wood beams. The spacing will depend on your preference and the dimensions of your room. Consider the size and style of the beams, as well as the overall aesthetic you wish to achieve.
For vaulted ceilings, it’s common to have beams running in parallel along the slope of the ceiling. You may also opt for crisscross patterns or a combination of horizontal and diagonal layouts. Whatever layout you choose, ensure it complements the existing architectural features of the room and enhances its overall design.
Mark the positions for the beam installation:
With the spacing and layout determined, mark the positions for the beam installation. Use a measuring tape, level, and pencil to achieve accuracy and precision. Measure and mark each beam’s starting and ending points on the ceiling, ensuring equal spacing between the beams.
To maintain a symmetrical and balanced look, it’s advisable to start marking from the centerline and work outwards. This method will help you avoid uneven spaces or awkward beam arrangements.
In conclusion, preparing the ceiling for faux wood beam installation involves clearing the area, protecting furniture and flooring, locating the ceiling joists, determining the spacing and layout of the beams, and marking the positions for installation. By following these steps, you’ll lay the foundation for a successful and visually appealing project. So, let’s move on to the next stage – installing the faux wood beams!
Installing The Faux Wood Beams
Installing faux wood beams in a vaulted ceiling can instantly add warmth and character to your space. Not only do these beams provide an architectural element, but they are also lightweight and easy to install. In this guide, we will take you through the step-by-step process of installing faux wood beams in a vaulted ceiling, ensuring a smooth and hassle-free installation.
Gather the necessary tools and materials
Before starting the installation process, make sure you have all the required tools and materials on hand. Having everything ready will make the installation process more efficient and convenient. Here is a list of the items you will need:
| Tools | Materials |
|
|
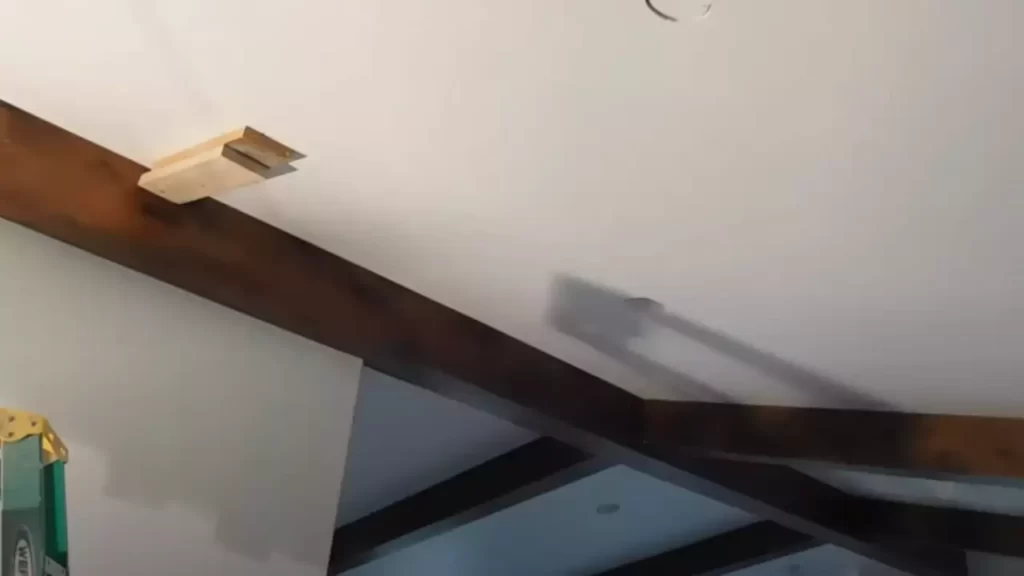
Attach support cleats to the ceiling joists
The first step in the installation process is to attach support cleats to the ceiling joists. These cleats will provide a secure base for the faux wood beams. Follow these steps:
- Locate the ceiling joists using a stud finder.
- Measure and mark the positions on the ceiling where the support cleats will be attached.
- Using a drill, attach the support cleats to the ceiling joists with wood screws.
Lift and secure the beams in place
Once the support cleats are securely in place, it’s time to lift and secure the faux wood beams. Follow these steps:
- Measure the length of each faux wood beam and mark the corresponding positions on the support cleats.
- Apply a thin layer of wood glue to the back of each faux wood beam.
- Lift the beam into position, aligning it with the marked positions on the support cleats.
- Using wood screws, secure the beams to the support cleats. Make sure to countersink the screws for a seamless look.
Check for level and adjust if necessary
After securing the beams, it’s essential to check for level and make any necessary adjustments. Here’s what you need to do:
- Place a level on top of each faux wood beam.
- If the beams are not level, use shims or sanding to adjust their position until they are perfectly level.
Secure the beams to the support cleats
Finally, once the beams are level, secure them to the support cleats for added stability. Follow these steps:
- Drill pilot holes through the beams into the support cleats.
- Insert wood screws into the pilot holes and tighten them until the beams are securely attached.
Congratulations! You have successfully installed faux wood beams in your vaulted ceiling. Take a step back and admire the instant transformation they bring to your space.
Enhancing The Faux Wood Beams
As you install faux wood beams in your vaulted ceiling, there are several ways to enhance their appearance and make them look even more realistic and visually appealing. These additional steps will help you achieve a smooth finish, a desired color or stain, and add decorative elements to complete the look of your faux wood beams.
Fill in any nail holes or gaps
Before proceeding with sanding and finishing the beams, it’s important to fill in any nail holes or gaps. This will ensure a seamless finish and prevent any potential visual distractions. To fill the holes and gaps, you can use wood filler or putty that matches the color of your faux wood beams. Apply the filler using a putty knife, making sure to fill the holes completely. Allow it to dry according to the manufacturer’s instructions, and then sand it down until it’s smooth and flush with the surface of the beams.
Sand the beams for a smooth finish
Once the filler has dried and been sanded down, it’s time to sand the entire surface of the faux wood beams. Sanding will help create a smooth finish and remove any imperfections or rough spots. Use a fine-grit sandpaper or sanding sponge and sand in the direction of the wood grain. Be gentle and consistent with your sanding motion to avoid damaging the beams. After sanding, wipe away any dust or debris using a damp cloth or a tack cloth.
Apply a stain or finish to match your desired look
To achieve the desired color or finish for your faux wood beams, consider applying a stain or finish. This step will enhance the natural wood look and provide protection to the beams. Before applying the stain or finish, make sure the beams are clean and dry. Use a brush or a cloth to apply the stain or finish evenly, following the manufacturer’s instructions. Allow it to dry completely before proceeding to the next step.
Consider adding decorative elements for extra visual appeal
Once the faux wood beams are sanded and finished, you can take the visual appeal to the next level by considering additional decorative elements. This could include adding decorative brackets or corbels to the beams. These elements can enhance the overall aesthetic and create a more distinct look for your vaulted ceiling. Choose decorative elements that complement the style and design of your space, and ensure they are securely attached to the beams according to the manufacturer’s instructions.
Maintenance And Care For Faux Wood Beams
Faux wood beams can add a touch of elegance and warmth to any room, especially when installed in a vaulted ceiling. While these beams are designed to be durable and low-maintenance, it’s important to implement regular maintenance and care practices to ensure their longevity and keep them looking their best. In this section, we will explore some essential steps to help you maintain and care for your faux wood beams.
Regularly Dust and Clean the Beams
Just like any other surface in your home, faux wood beams require regular dusting and cleaning to remove dirt, dust, and other debris that can accumulate over time. To keep your beams looking their best, follow these simple steps:
- Use a soft, dry cloth or feather duster to gently remove any loose dust and dirt from the beams.
- If necessary, use a slightly damp cloth to wipe away any stubborn stains or marks. Avoid using excessive water, as it can damage the faux wood finish.
- Once cleaned, use a dry cloth to wipe away any remaining moisture and ensure the beams are completely dry before moving on.
Inspect for Any Signs of Damage or Wear
Regular inspections are essential to identify any signs of damage or wear on your faux wood beams. This will enable you to address any issues promptly and prevent further damage. Here’s how to perform a thorough inspection:
- Check the beams for cracks, chips, or any other visible damage.
- Inspect the joints and connections to ensure they are secure and intact.
- Look for any discoloration or fading that may require touch-ups.
Make Necessary Repairs or Touch-ups as Needed
If you spot any damage or wear during your inspection, it’s important to make the necessary repairs or touch-ups as soon as possible. This will help maintain the integrity and appearance of your faux wood beams. Follow these steps to address any issues:
- Use a wood filler or putty to fill in any cracks or chips in the beams.
- Smooth out the filled areas using sandpaper to ensure a seamless finish.
- If needed, apply touch-up paint or stain to match the color of the beams and conceal any repairs.
Protect the Beams from Excessive Moisture or Heat
Excessive moisture and heat can damage faux wood beams over time. To protect your beams and maintain their appearance, consider these precautions:
- Avoid using excessive water or harsh cleaning solutions when cleaning the beams.
- Keep the beams away from direct heat sources, such as fireplaces or heating vents.
- Consider using a dehumidifier in rooms with high humidity levels to reduce moisture in the air.
- Apply a protective sealant or finish to the beams, following the manufacturer’s instructions, to enhance their resistance to moisture and heat.
By implementing these maintenance and care practices, you can ensure that your faux wood beams continue to enhance the beauty of your vaulted ceiling for years to come.
Frequently Asked Questions
Can You Add Wood Beams To Vaulted Ceiling?
Yes, you can add wood beams to a vaulted ceiling. It can enhance the aesthetic appeal and add a warm, rustic touch to your space.
How Are Faux Beams Attached To The Ceiling?
Faux beams are attached to the ceiling using construction adhesive and screws. First, apply adhesive along the top and one side of the beam. Then, position the beam against the ceiling and secure it with screws through the side of the beam into the ceiling.
How Do You Install Wood On A Vaulted Ceiling?
To install wood on a vaulted ceiling, follow these steps: 1. Measure and cut the wood to fit the ceiling dimensions. 2. Secure a ledger board along the perimeter of the ceiling as a starting point. 3. Use construction adhesive and nails or screws to attach the wood panels or planks to the ceiling joists.
4. Continue installing the wood, ensuring a snug fit and proper alignment. 5. Finish by sanding and staining the wood to your desired finish.
How Far Apart Should Beams Be On A Vaulted Ceiling?
Beams on a vaulted ceiling should typically be spaced about 16 to 24 inches apart. This spacing helps ensure structural support and aesthetic appeal.
Conclusion
To sum up, installing faux wood beams in a vaulted ceiling is an excellent way to enhance the beauty and character of your living space. With the right tools and a step-by-step approach, it is a manageable DIY project. These beams not only provide a stunning visual appeal but also add depth and warmth to an otherwise plain and ordinary ceiling.
So, go ahead and transform your space with faux wood beams and enjoy the timeless beauty they bring!