To install fans on top of a case, position the fans on the desired location and secure them using the provided screws. It is important to ensure proper alignment and a strong connection to prevent any movement or instability during operation.
Are you looking to improve your computer’s cooling system? Installing fans on the top of your case can help dissipate heat and enhance airflow. By directing the hot air out and allowing cool air to enter, these fans can contribute to the overall performance and longevity of your PC components.
However, it is crucial to follow the correct installation process to avoid any damage or inefficiency. In this guide, we will provide you with a step-by-step explanation of how to install fans on the top of your computer case to optimize its cooling capabilities. Read on to discover the simple yet effective techniques to keep your system running smoothly and cool under heavy workloads.
Choosing The Right Fans For Your Case
Different fan sizes and specifications
When it comes to choosing the right fans for your case, it’s important to consider the different sizes and specifications available. Fans come in various sizes, with the most common options being 120mm and 140mm. These sizes refer to the diameter of the fan blades and can impact the airflow and noise levels of your system.
Generally, larger fans tend to move more air at lower RPMs, resulting in quieter operation. On the other hand, smaller fans may need to spin faster to achieve the same airflow, which can lead to increased noise levels.
It’s worth noting that the size of your case and the available fan mounts will also determine the maximum size of fans you can install. Be sure to check your case’s specifications to ensure compatibility with your chosen fan sizes.
Considerations for airflow and noise levels
When selecting fans for your case, it’s essential to consider both the airflow and noise levels. Airflow refers to the volume of air that the fan can move, which plays a crucial role in cooling your system. Fans with higher airflow ratings can help dissipate heat more effectively.
However, it’s crucial to strike a balance between airflow and noise levels. Fans that move a large amount of air may generate more noise, which can be undesirable if you prefer a quieter system. Manufacturers often provide noise level ratings for their fans, typically measured in decibels (dB). Lower dB ratings indicate quieter operation.
It’s also important to consider the fan’s static pressure, especially if you have components that require better cooling, such as a CPU or GPU. Higher static pressure fans can push air through restricted spaces, like heatsinks or radiator fins, more efficiently.
Selecting fans suitable for top mounting
When it comes to top mounting fans, it’s essential to choose fans that are compatible with this specific configuration. Top-mounted fans can aid in expelling hot air that naturally rises within the case, helping maintain lower temperatures overall.
To ensure proper installation, check your case’s specifications for the maximum fan size and mounting options available at the top. This will help you select fans that fit without any clearance issues.
Additionally, consider the orientation of the fans. Depending on your case design, you may have options for exhaust or intake configurations. Exhaust fans pull hot air out of the case, while intake fans bring cooler air in. Determining which configuration is best suited for your system will depend on factors such as fan placement and airflow patterns within the case.
In conclusion, selecting the right fans for your case involves considering different sizes and specifications, as well as airflow, noise levels, and compatibility with top mounting. By carefully considering these factors, you can ensure optimal cooling and a quieter system, resulting in better overall performance.
Preparing The Case For Fan Installation
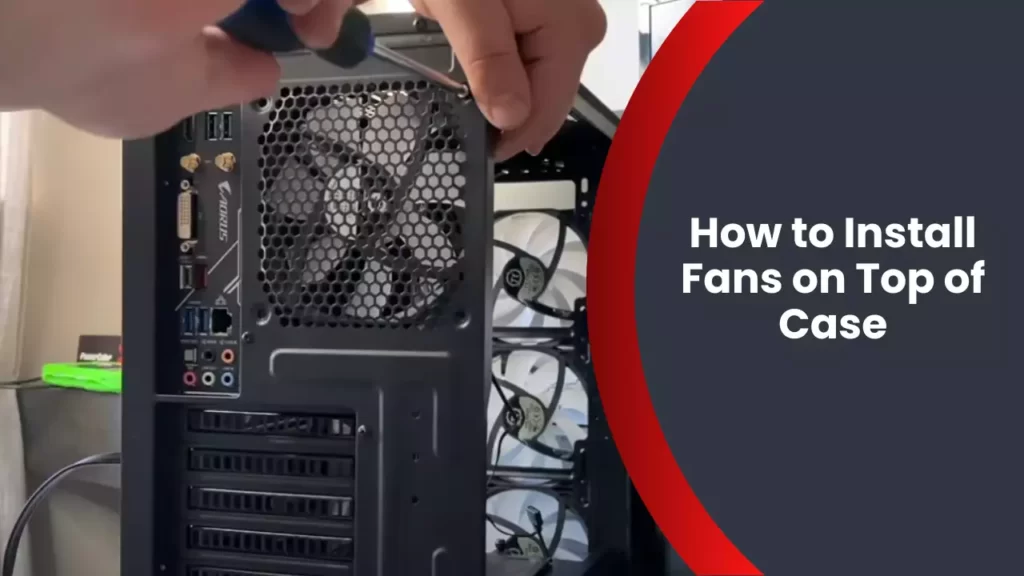
Installing fans on the top of your case can significantly improve the airflow and cooling performance of your computer. However, before you start attaching fans, it’s essential to properly prepare your case to ensure a smooth and successful installation. In this section, we will guide you through the necessary steps to prepare your case for fan installation.
Removing the case cover
The first step in preparing your case for fan installation is to remove the case cover. This will give you direct access to the interior of your computer case. Remember to power off your computer and unplug it from the electrical outlet before proceeding with this step. Once the power is off, locate the screws or fasteners that hold the case cover in place. Using a screwdriver or your hands, carefully remove these screws or fasteners and set them aside in a safe place. With the cover removed, you can now proceed to the next step.
Locating the top fan mounting points
After removing the case cover, it’s time to locate the mounting points for the top fans. These mounting points are typically pre-drilled holes or slots located at the top of your case. Take a closer look at the interior of your case and identify these mounting points. They are usually labeled or marked, indicating where the fans should be installed. If you’re having trouble finding them, consult the user manual or the manufacturer’s website for your specific case model. Once you have located the mounting points, proceed to the next step.
Clearing any obstacles or obstructions
Before you install your fans, it’s important to ensure that there are no obstacles or obstructions that could interfere with their operation. Carefully inspect the top of your case and remove any debris, cables, or other objects that may be blocking the way. These obstructions can disrupt the airflow and affect the performance of your fans. It’s important to have a clear and unobstructed path for the fans to operate efficiently. Take your time to clear any potential obstacles and ensure that the top of your case is clean and ready for fan installation.
By following these steps, you will have prepared your case for fan installation. With the case cover removed, the mounting points located, and any obstacles cleared, you are now ready to proceed with attaching the fans to the top of your case. Stay tuned for the next section where we will guide you through the fan installation process.
Installing The Fans
Installing fans on top of your computer case is a great way to improve airflow and keep your components cool. In this guide, we will walk you through the process of attaching fans to the mounting points, securing them with screws, and connecting the fan cables to your motherboard or fan controller.
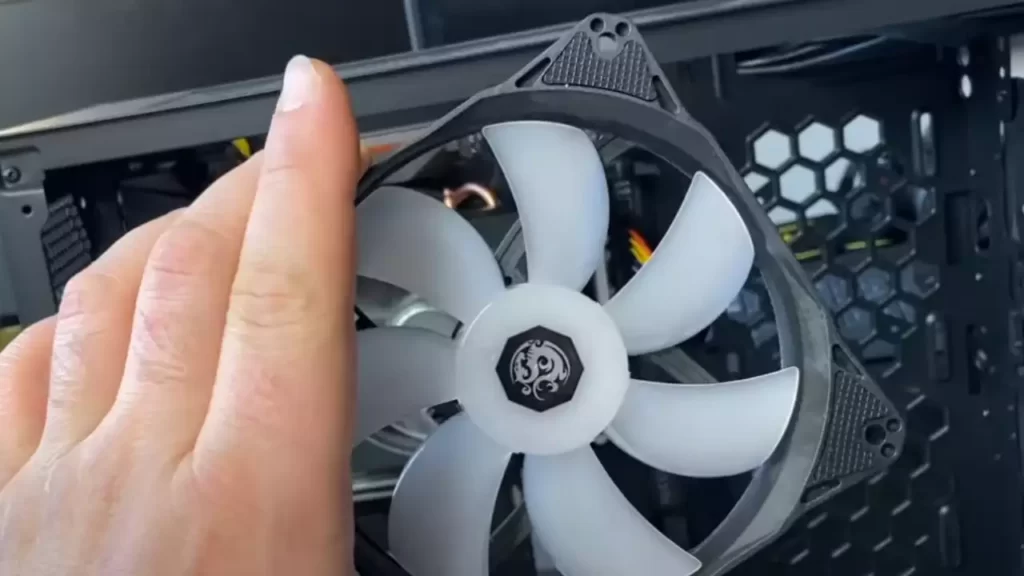
Attaching fans to mounting points
The first step in installing the fans is to identify the mounting points on the top of your computer case. These are typically located towards the rear of the case and may be marked with small arrows or icons. Once you have located the mounting points, follow these steps to attach the fans:
- Start by removing any dust or debris from the top of the case using a can of compressed air or a soft brush. Clean surfaces allow for better fan performance.
- Take one fan and position it over the first mounting point. Make sure the fan is facing the correct direction for airflow. Most fans have arrows on their frames indicating the direction of airflow.
- Align the screw holes on the fan with the mounting holes on the case. Insert the screws through the holes and tighten them using a screwdriver. Repeat this process for the remaining fans and mounting points.
Securing fans with screws
Once the fans are aligned and attached to the mounting points, it’s important to secure them properly. This will prevent any unwanted movement or vibrations that could affect the fan’s performance. Follow these steps to secure the fans with screws:
- Gently tighten the screws by hand until they are snug against the case. Avoid overtightening, as this can damage the fan or strip the screw holes.
- Using a screwdriver, tighten the screws in a crisscross pattern. This helps distribute the pressure evenly and ensures a secure fit.
- Double-check that all screws are tightened but be cautious not to overtighten. Over-tightening can crack the fan frame or strip the screw holes, resulting in a loose connection.
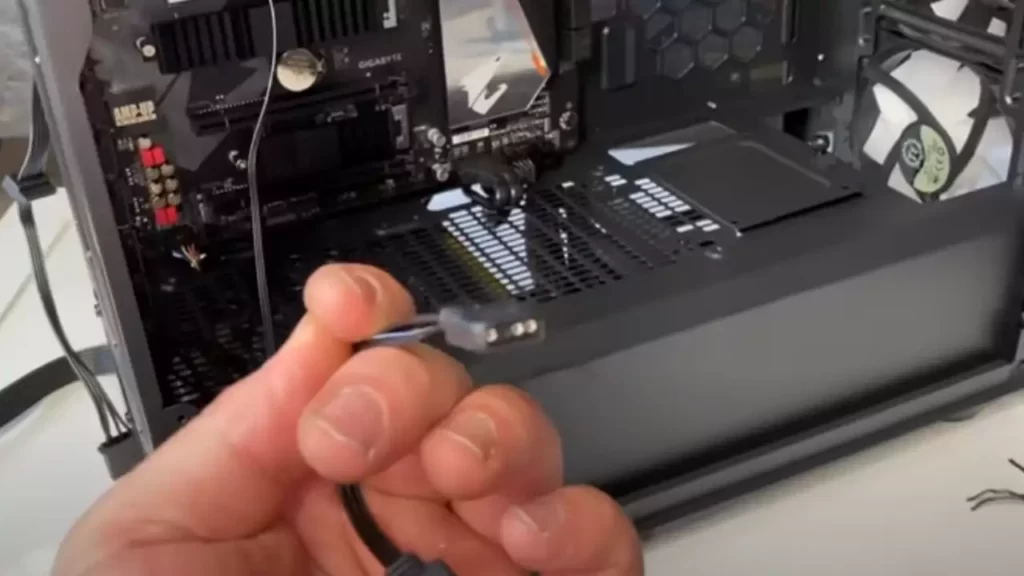
Connecting fan cables to motherboard or fan controller
After attaching the fans to the mounting points and securing them with screws, it’s time to connect the fan cables to either the motherboard or a fan controller. This allows the fans to receive power and enables you to control their speed. Follow these steps to connect the fan cables:
| Connection Method | Description |
|---|---|
| Connecting to the motherboard | Locate the fan headers on your motherboard. These are usually labeled “CHA_FAN” or “SYS_FAN” and can be found near the CPU socket. Align the fan connector with the header pins and gently press it down until it clicks into place. |
| Connecting to a fan controller | If you have a fan controller, check the documentation for specific instructions on connecting the fans. In most cases, you will need to connect the fan cables to the corresponding ports on the fan controller. Secure the connections by pressing them firmly into place. |
Once the fan cables are properly connected, you can use the motherboard BIOS or the fan controller software to adjust the fan speeds and monitor their performance.
By following these steps, you can easily install fans on the top of your computer case, improving airflow and keeping your components cool. Take your time during the installation process to ensure a secure fit and proper cable connections. Now you’re ready to enjoy a cooler and more efficient system!
Troubleshooting Common Installation Issues
While installing fans on top of your case is a great way to improve airflow and keep your system cool, there may be some common issues that you encounter along the way. Don’t worry, we’ve got you covered! In this section, we will address some of the most common installation problems and provide solutions to help you troubleshoot them.
Fans not spinning after installation
If you’ve installed your fans on top of the case but they are not spinning, it can be a frustrating experience. However, there are a few things you can check to resolve this issue:
- Double-check the power connection: Ensure that the fans are properly connected to the power supply or the motherboard. Sometimes, a loose connection can prevent the fans from spinning.
- Verify the fan orientation: Fans have arrows indicating the direction of airflow. Make sure they are aligned correctly; otherwise, the fans may get stuck and not spin.
- Check the fan speed settings: Some motherboards have fan control options in the BIOS. Ensure that the fan speed is set to automatic or a desired level.
- Test with a different power source: If the fans still don’t spin, try connecting them to a different power source to determine if the issue lies with the initial power supply.
Addressing cable management and organization
Cable management plays a crucial role in maintaining a clean and organized build. When it comes to installing fans on top of the case, it’s important to ensure proper cable management to avoid any restrictions or potential damage. Here are some tips to address cable management:
- Plan your cable routing: Before installing the fans, plan how you want to route the cables. Identify the optimal paths that allow for efficient airflow and prevent cables from interfering with the fans.
- Use cable ties or clips: Secure and bundle cables using cable ties or clips to keep them tidy and prevent them from obstructing the fans.
- Utilize cable management features: Many modern cases have built-in cable management features such as routing holes, Velcro straps, or rubber grommets. Take advantage of these features to keep your cables organized.
- Consider custom-length cables: If you’re up for it, custom-length cables can help minimize excess cabling and improve overall cable management.
Dealing with excessive noise or vibration
Excessive noise or vibration can be a common problem when installing fans on top of the case. Here are a few steps to address this issue:
- Check fan mounting: Ensure that the fans are securely and evenly mounted on top of the case. Loose or uneven mounting can cause vibrations and noise.
- Inspect fan blades: Verify that there are no obstructions or debris on the fan blades that could contribute to noise. Cleaning the blades may resolve the issue.
- Consider rubber dampening pads: Some cases come with rubber dampening pads or mounts to absorb vibrations. If your case has these, use them to minimize noise and vibration.
- Explore fan speed control: Adjusting the fan speed can often help to reduce noise. You can utilize software or hardware options to control the fan speeds.
By following these troubleshooting tips, you should be able to overcome common installation issues when installing fans on top of your case. Enjoy optimal airflow, maintain a tidy build, and keep your system running cool and quiet!
Frequently Asked Questions
Should I Put A Fan On The Top Case?
Yes, putting a fan on the top case can help with airflow and cooling. It can extract hot air that rises, preventing overheating and improving overall system performance. Make sure to choose a fan that fits your case and consider the noise level it may produce.
Do Top Exhaust Fans Make A Difference?
Yes, top exhaust fans do make a difference. They effectively remove excess moisture and odors from your space, improving air quality and reducing the risk of mold and mildew. They also help to ventilate the area, keeping it fresh and comfortable.
What Header Do You Plug Case Fans Into?
You should plug case fans into the motherboard’s fan headers.
How Should Case Fans Be Positioned?
Position case fans in a way that promotes effective cooling. Place intake fans at the front and bottom, while exhaust fans should be at the back and top. This helps maintain a good airflow within the case. Additionally, ensure that the fan blades are facing the right direction for proper air circulation.
Conclusion
Installing fans on the top of your case can greatly improve airflow and cooling performance. By carefully following the step-by-step guide outlined in this blog post, you can ensure that your fans are installed correctly. This will help prevent overheating and extend the lifespan of your computer components.
Remember to measure and position the fans properly, secure them using screws, and connect them correctly to your motherboard or fan controller. Whether you are a gaming enthusiast or a professional who relies on a high-performance computer, installing fans on top of your case is a valuable upgrade.
Enjoy improved cooling and optimal system performance!