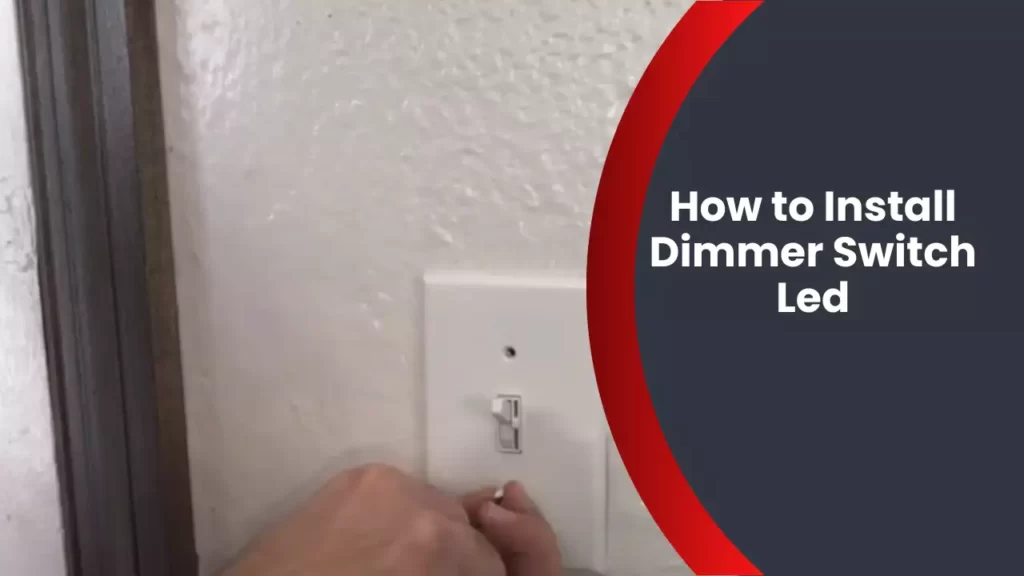
To install a dimmer switch for LED lights, follow these steps: turn off power at the breaker, remove the existing switch plate, disconnect the wires from the old switch, connect the dimmer switch according to the manufacturer’s instructions, and attach the switch plate. Integrating dimmer capabilities into your LED lighting can transform the ambience of any room and offer more control over the brightness levels.
Whether you want to create a cozy atmosphere or adjust the lighting for specific activities, installing a dimmer switch is a simple and effective solution. By following a few straightforward steps, you can easily install a dimmer switch for your LED lights and enjoy personalized lighting in your home or office.
This guide will walk you through the process, ensuring you safely and confidently complete the installation.
Things To Consider Before Installation
When it comes to installing a dimmer switch for LED lights, there are a few important things to consider before diving into the installation process. By taking the time to properly evaluate these factors, you can ensure a smooth and successful installation that will optimize the functionality and longevity of your dimmer switch.
Compatibility of Dimmer Switch with LED Bulbs
One of the first things to consider before installing a dimmer switch for LED lights is the compatibility between the switch and the LED bulbs you plan to use. Not all dimmer switches are designed to work with LED bulbs, so it’s crucial to check the specifications and ensure that they are compatible with each other.
When choosing an LED-compatible dimmer switch, look for products that are explicitly labeled as compatible with LED lights. These dimmer switches are specifically designed to work with the unique electrical properties of LED bulbs, allowing for smooth dimming and avoiding issues such as flickering or buzzing.
Check the Wattage and Load Capacity
Another important consideration is the wattage and load capacity of both the dimmer switch and the LED bulbs. The wattage refers to the power consumption of the bulbs, while the load capacity refers to the maximum amount of power that the dimmer switch can handle.
Before installation, carefully review the wattage requirements of your LED bulbs and compare them to the load capacity of the dimmer switch. If the wattage of the bulbs exceeds the load capacity of the dimmer switch, it can lead to overheating and even damage to the switch or bulbs. On the other hand, if the load capacity of the switch is much higher than the wattage of the bulbs, it can result in inefficient energy use.
Ensure Proper Wiring Setup
Proper wiring setup is crucial to the performance and safety of a dimmer switch installation. It’s essential to follow the manufacturer’s instructions and guidelines when connecting the dimmer switch to the electrical circuit.
Make sure to turn off the power supply to the circuit before starting the installation process. Incorrect wiring can lead to electrical hazards or malfunctioning of the dimmer switch.
An easy way to determine the proper wiring configuration is to reference the product manual or consult with a licensed electrician. Following these guidelines will ensure that the dimmer switch is wired correctly, reducing the risk of electrical issues and guaranteeing optimal performance.
Step-By-Step Installation Process
Installing a dimmer switch for LED lights is a straightforward process that can enhance the ambiance and functionality of your space. By following these step-by-step instructions, you can have your dimmer switch installed in no time.
Turn off Power Supply to the Switch
To ensure your safety during the installation process, it is crucial to turn off the power supply to the switch. Locate the circuit breaker or fuse that controls the switch’s electrical flow and turn it off. Remember, safety should always be your top priority.
Remove Existing Switch Cover Plate
Once the power supply is switched off, you can proceed to remove the existing switch cover plate. Typically, the cover plate is held in place by screws. Using a screwdriver, remove these screws and gently pull the plate away from the wall.
Test Circuit to Ensure Power is Off
Before proceeding further, it is essential to confirm that the power to the switch has been completely cut off. You can test the circuit by using a voltage tester. Simply place the tester against the wires to check for any electrical current. If the tester does not detect any current, proceed with the installation.
Detach the Switch from the Wall
After confirming the power supply is off, it’s time to detach the switch from the wall. To do this, loosen the screws connecting the switch to the electrical box. Once the screws are loose, carefully pull the switch away from the wall, exposing the wiring.
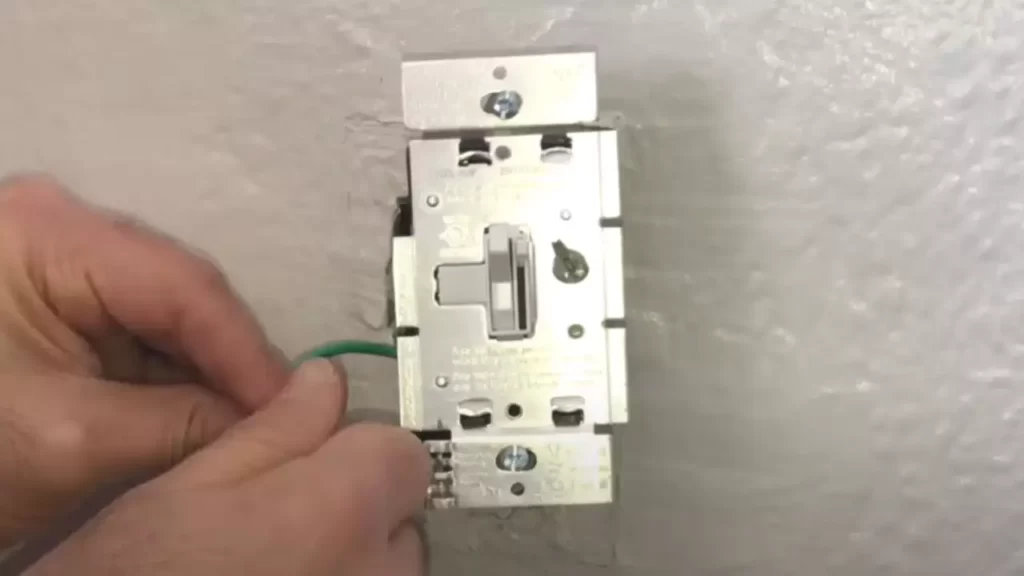
Connect the Dimmer Switch Wires to the Circuit
Now that the existing switch has been detached, you can connect the dimmer switch wires to the circuit. Start by joining the corresponding wires together. Usually, this involves connecting the black wire from the circuit to the black wire from the dimmer switch, and the white wire from the circuit to the white wire from the switch. Use wire connectors to secure the connections.
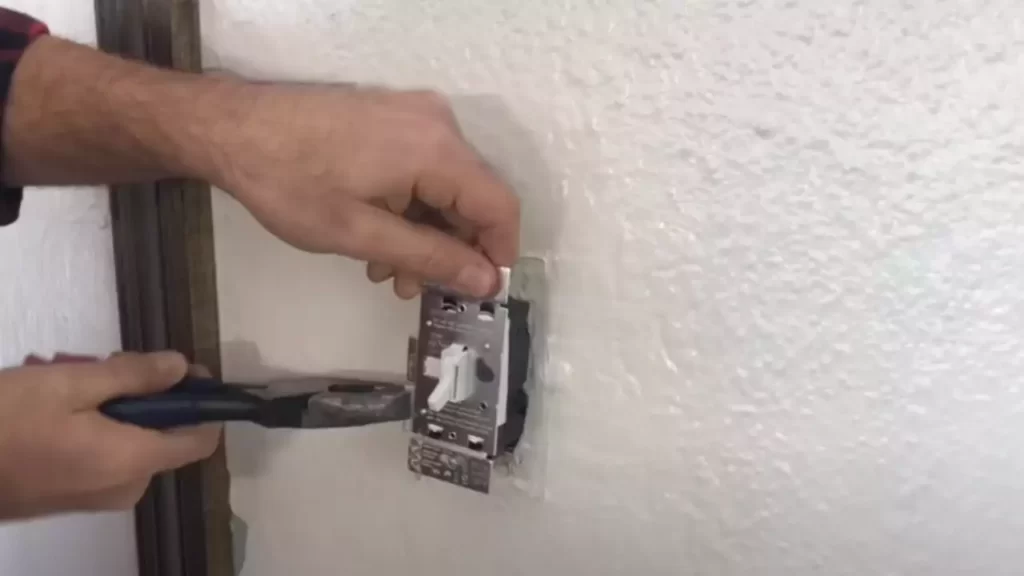
Attach the Dimmer Switch to the Wall
After connecting the wires, it’s time to secure the dimmer switch to the wall. Position the switch in the desired location and align it with the screw holes on the electrical box. Once aligned, use screws to fasten the switch to the box securely. Ensure the switch is flush against the wall for a neat and professional appearance.
Screw the Switch Plate onto the Dimmer Switch
The final step is to screw the switch plate onto the dimmer switch. Align the plate with the switch and insert the screws provided into the screw holes. Tighten the screws until the plate is firmly attached. Make sure the plate is not too tight, as it may prevent the switch from operating smoothly.
And there you have it! By following this step-by-step installation process, you can enjoy the benefits of a dimmer switch for your LED lights. Remember, if you are uncertain or uncomfortable with any part of the installation, it’s always best to consult a professional electrician.
Tips For A Successful Installation
Dimmer Switch Wiring Best Practices
When it comes to installing a dimmer switch LED, there are a few key best practices to keep in mind. By following these tips, you can ensure a successful installation that provides optimal functionality and safety for your dimmer switch.
Use Wire Nuts to Secure Connections
One of the most important steps in the installation process is securing the wiring connections. To ensure a secure and reliable connection, it is essential to use wire nuts. Wire nuts are small caps that twist onto the exposed ends of the wires, creating a secure connection. By using wire nuts, you can prevent any loose connections that may lead to flickering lights or other issues.
Ensure Proper Grounding
Proper grounding is crucial for dimmer switch installation. The ground wire provides a path for electrical current to dissipate safely, preventing the risk of electrical shock. Make sure that the ground wire is securely connected to the dimmer switch and the electrical box. Additionally, check that the grounding wire is properly tightened to ensure a solid connection.
Double-check Wiring Connections
Before finalizing the installation, it is essential to double-check all wiring connections. Ensure that each wire is connected to the correct terminal on the dimmer switch. Take the time to inspect each connection for any signs of loose or exposed wires. By double-checking the wiring connections, you can avoid any potential problems that may arise from incorrect or faulty connections.
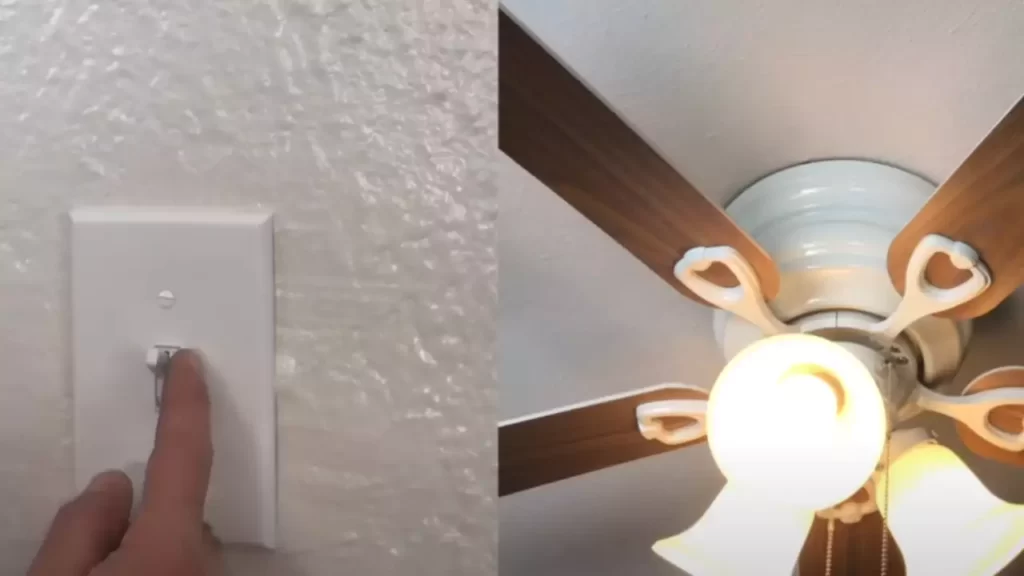
Test the Dimmer Switch Functionality
Once the installation is complete, it is crucial to test the dimmer switch functionality. Turn on the power and verify that the dimmer switch is working correctly. Adjust the dimmer switch to different levels to check for smooth dimming functionality. Furthermore, ensure that the lights do not flicker or make any unusual buzzing sounds. Testing the dimmer switch functionality will ensure that everything is working as intended and provide peace of mind.
Common Issues And Troubleshooting
Installing a dimmer switch for LED lights can provide a convenient way to adjust the brightness in a room. However, like any electrical installation, it’s not uncommon to encounter a few issues along the way. In this section, we’ll discuss the most common problems that you might come across when installing a dimmer switch for LED lights and provide troubleshooting tips to help you resolve them.
Dimmer Switch Not Working Properly
If you find that your dimmer switch is not working as expected, there could be a few reasons behind this issue. Here are some possible causes and troubleshooting steps you can try:
- Check the wiring connections: Make sure all wires are properly connected to the dimmer switch, following the manufacturer’s instructions.
- Inspect the dimmer switch compatibility: Ensure that your dimmer switch is specifically designed for LED lights. Using an incompatible switch can lead to functionality problems.
- Verify the dimmer switch load capacity: Ensure that the dimmer switch is rated to handle the wattage of your LED lights. Overloading the switch can cause it to malfunction.
- Test the dimmer switch with different LED bulbs: Sometimes, certain LED bulbs may be incompatible with a particular dimmer switch. Try using different LED bulbs to see if the problem persists.
Flickering or Dim LED Lights
Experiencing flickering or dim LED lights when using a dimmer switch can be frustrating. Here are a few steps you can take to troubleshoot this issue:
- Check for loose connections: Ensure that all wiring connections are secure and properly tightened.
- Adjust the dimming range: Some dimmer switches have adjustable dimming ranges. Try adjusting the range to find the optimal brightness level.
- Install a compatible dimmable LED bulb: Not all LED bulbs are dimmable. Make sure you are using dimmable LED bulbs that are specifically designed to work with dimmer switches.
- Consider the LED bulb wattage: LED bulbs have different wattages, and using bulbs with wattages that are too low for the dimmer switch can cause flickering or dimming.
Buzzing or Humming Noises
If you notice buzzing or humming noises coming from your dimmer switch, try these troubleshooting steps:
- Ensure proper grounding: Make sure that the dimmer switch is properly grounded based on the manufacturer’s instructions.
- Consider replacing the dimmer switch: Some dimmer switches are more susceptible to causing buzzing or humming noises. If the noise is persistent, you may want to consider replacing the switch with a different model or brand.
Incompatibility with CFL Bulbs
If you have CFL bulbs in your fixtures and encounter compatibility issues with your dimmer switch, follow these steps:
- Check the dimmer switch compatibility: Verify that your dimmer switch is specifically compatible with CFL bulbs. Some dimmer switches are designed exclusively for LED lights.
- Replace CFL bulbs with LED bulbs: Consider replacing your CFL bulbs with dimmable LED bulbs. LED bulbs are more commonly compatible with dimmer switches and provide better dimming performance.
Dealing with Overheating
Overheating can be a potential concern when using a dimmer switch, especially if the switch is overloaded or not functioning properly. Here’s what you can do:
- Check the dimmer switch load capacity: Ensure that you are not exceeding the recommended load capacity for the dimmer switch. Overloading the switch can cause overheating.
- Inspect the wiring: Make sure the wiring connections are secure and not damaged. Loose or faulty connections can lead to overheating.
- Consider replacing the dimmer switch: If the switch continues to overheat even when the load is within the specified range, it may be faulty. Consider replacing it with a new dimmer switch.
Safety Precautions And Warnings
When it comes to installing a dimmer switch for LED lights, it’s crucial to prioritize safety. Electrical work can be dangerous, so it’s essential to follow proper precautions and take the necessary steps to ensure a safe installation.
Turn off Power at Circuit Breaker
Before beginning any electrical work, the first step is to turn off the power at the circuit breaker. This will prevent any accidental electric shocks or injuries while working on the dimmer switch. Locate the appropriate circuit breaker and flip the switch to the “off” position.
Use Insulated Tools
When handling electrical components, it’s crucial to use insulated tools. Insulated tools are specifically designed to provide protection against electric shock. They have non-conductive handles that help to minimize the risk of accidents. Make sure to use insulated screwdrivers and pliers when performing the installation.
Avoid Overloading the Dimmer Switch
Each dimmer switch has a specific wattage capacity, which indicates the maximum amount of power it can handle. It’s important not to overload the dimmer switch by connecting too many LED lights or devices that exceed its wattage capacity. Overloading the dimmer switch can result in overheating, shorts, or even damage to the switch itself. Always check the wattage ratings of your dimmer switch and ensure that your LED lights are within the recommended range.
Consult a Licensed Electrician if Unsure
If you are unsure about any aspect of installing a dimmer switch for LED lights, it’s best to consult a licensed electrician. They have the expertise and experience to handle electrical work safely and effectively. Attempting to do electrical work without proper knowledge can lead to serious risks and potential hazards. Don’t hesitate to seek professional help to ensure a safe and successful installation.
Frequently Asked Questions
Can You Install A Dimmer Switch On Led Lights?
Yes, you can install a dimmer switch on LED lights. Dimmer switches are compatible with LED technology, allowing you to adjust the brightness level to your preference. It’s a simple and effective way to create ambiance and save energy.
Do Led Lights Need A Special Dimmer Switch?
No, LED lights do not necessarily need a special dimmer switch. Most LED lights are compatible with standard dimmer switches, but it is recommended to check the specifications of the LED lights to ensure compatibility.
How Do You Connect Led Lights To A Dimmer?
To connect LED lights to a dimmer, follow these steps: 1. Ensure the LED lights are compatible with the dimmer. 2. Turn off the power supply. 3. Remove the existing switch and disconnect the wires. 4. Connect the dimmer according to its instructions.
5. Test the dimmer with the LED lights.
What Type Of Dimmer Switch Is Needed For Led Lights?
LED lights require a specific type of dimmer switch, called an LED-compatible dimmer switch. These dimmer switches are designed to work with the unique electrical characteristics of LED lights and ensure smooth dimming without flickering or buzzing. Be sure to choose an LED-compatible dimmer switch for optimal performance.
Conclusion
To sum up, installing a dimmer switch for LED lights is a simple and effective way to enhance your lighting experience. This versatile device allows you to control the brightness of your lights, creating the perfect ambiance for any occasion.
With the right tools and a step-by-step guide, you can easily tackle this DIY project. So, why wait? Upgrade your lighting system and enjoy the benefits of a dimmer switch today!