To install ceiling speakers with volume control, follow these steps: mount the speakers in the desired location, connect the speaker wires to the amplifier or receiver, and attach the volume control knob to the wall. This article will guide you through the process of installing and setting up ceiling speakers with volume control, ensuring a seamless audio experience in your space.
Whether you want to enhance the sound quality of your home theater or create a multi-room audio system, installing ceiling speakers with volume control is a convenient and aesthetically pleasing solution. By following the instructions provided, you can easily enjoy high-quality audio throughout your home or office.
Why Choose Ceiling Speakers With Volume Control
Benefits of Installing Ceiling Speakers with Volume Control
When it comes to creating an immersive audio experience in your home or office, ceiling speakers with volume control are the way to go. These innovative audio devices not only provide superior sound quality but also seamlessly blend into your room decor. Let’s explore the key benefits of choosing ceiling speakers with volume control:
Enhanced Audio Experience
One of the primary advantages of installing ceiling speakers with volume control is the exceptional audio experience they deliver. Unlike traditional speakers, ceiling speakers are strategically positioned above you, creating a surround sound effect that immerses you in every note, beat, and dialogue. Whether you are watching a movie, listening to music, or hosting a party, these speakers provide a crisp and balanced sound that enhances your overall listening pleasure.
In addition to the immersive audio experience, ceiling speakers with volume control offer the convenience of adjusting the sound level according to your preference. The built-in volume control feature allows you to increase or decrease the volume whenever needed, ensuring that you never miss a whisper or overload your ears with excessive noise.
Seamless Integration with Room Decor
Another compelling reason to choose ceiling speakers with volume control is their ability to seamlessly integrate with your room decor. Unlike bulky floor-standing or bookshelf speakers, ceiling speakers are discreetly mounted on the ceiling, creating a clutter-free and visually appealing ambiance.
Since these speakers are installed flush with the ceiling, they blend seamlessly with the existing design, giving your room a clean and polished look. Whether you have a modern or traditional interior style, ceiling speakers with volume control can be a perfect addition, complementing the aesthetics of your space without compromising on sound quality.
Moreover, the compact and low-profile design of ceiling speakers eliminates the need for visible cables or wirings, further enhancing the seamless integration. This makes them an ideal choice for those who value both style and functionality.
With their enhanced audio experience and seamless integration with room decor, it’s no wonder that ceiling speakers with volume control are gaining popularity among audio enthusiasts and interior design enthusiasts alike. Be it in your living room, bedroom, office, or any other space, these speakers elevate your listening experience while adding a touch of sophistication to your surroundings.
Step-By-Step Guide To Installing Ceiling Speakers With Volume Control
Step-by-step Guide to Installing Ceiling Speakers with Volume Control
Ceiling speakers with volume control can enhance the audio experience in any room, providing even sound distribution and allowing you to adjust the volume to your liking. Whether you’re a tech enthusiast or simply looking to upgrade your home audio system, installing ceiling speakers with volume control can be a rewarding DIY project. In this step-by-step guide, we’ll walk you through the entire process, from planning the speaker placement to testing and adjusting the system. So put on your handyman hat and let’s get started!
1. Planning the speaker placement
Before you begin the installation process, it’s essential to plan the optimal placement of your ceiling speakers to ensure even sound distribution throughout the room. Consider the room layout and acoustics, taking note of any obstructions or potential sound reflections. This will help you determine the best locations for the speakers. Additionally, identify a suitable spot for the volume control, ideally within easy reach.
2. Preparing the necessary tools and materials
To get started with the installation, gather the following tools and materials:
Tools required for installation:
– Stud finder
– Wire cutter/stripper
– Drill
– Fish tape or wire snake
– Screwdriver
– Utility knife
Materials:
– Ceiling speakers with volume control
– Speaker wire
– Mounting brackets or backcans for the speakers
– Drywall saw
3. Prepping the room
First, ensure the safety of the installation process by turning off power to the room at the main circuit breaker. Next, remove furniture or any items that may obstruct your work area. To protect surfaces from dust and debris, cover them with a drop cloth or plastic sheet. Lastly, using a stud finder, mark the locations where you plan to install the speakers and volume control.
4. Running the speaker wire
Measure the required length of speaker wire from the audio source to each speaker location. Add some extra length to allow for any necessary adjustments. Using a drill, create small holes in the ceiling where the speakers will be installed. Then, run the speaker wire through the ceiling, making sure to avoid any obstacles such as electrical wiring or plumbing. Properly secure the wire using clips or staples to prevent it from sagging or becoming a tripping hazard.
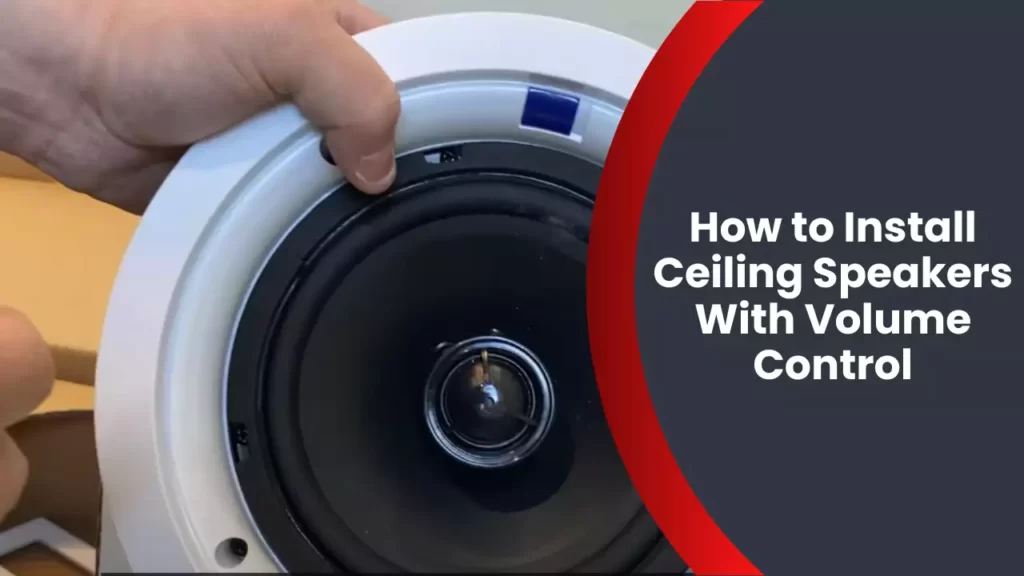
5. Installing the ceiling speakers
Using a drywall saw, carefully cut out the speaker holes in the ceiling at the marked locations. Be precise, as the size should fit the speakers snugly. Connect the speaker wire to the terminals on the back of each speaker, ensuring proper polarity. Mount the speakers in the ceiling using either the provided mounting brackets or backcans, following the manufacturer’s instructions for a secure and flush installation.
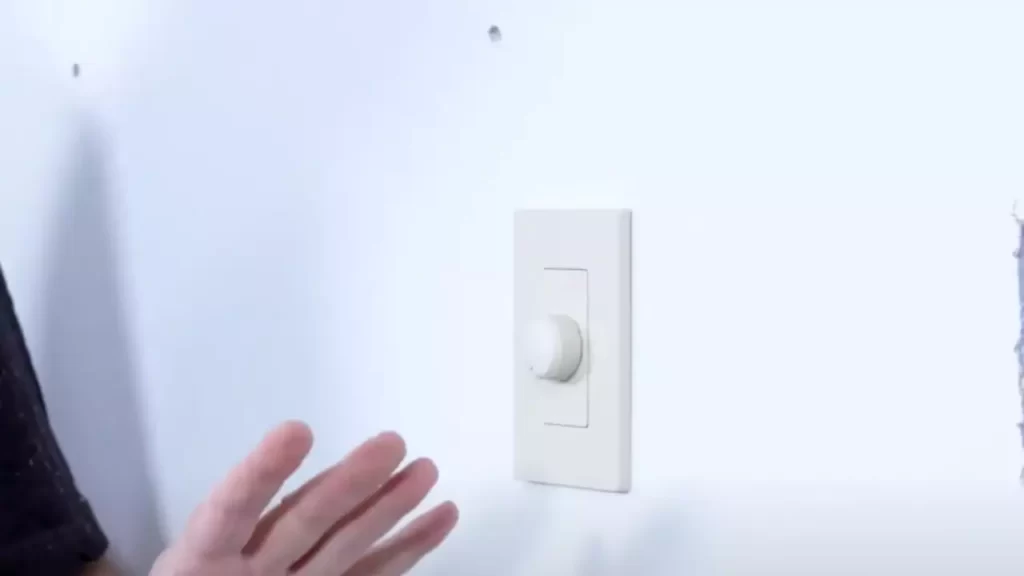
6. Mounting the volume control
Choose an appropriate location on the wall near the speakers for the volume control. Connect the volume control to the speaker wire, again paying attention to the correct polarity. Install the volume control on the wall, following the manufacturer’s instructions. Ensure it is securely mounted and readily accessible for easy volume adjustments.
7. Connecting the speakers and volume control to the audio source
Identify the audio source connections, usually located on an AV receiver or amplifier. Connect the speaker wire from each speaker to the corresponding speaker output terminals on the audio source. Likewise, connect the volume control to the audio source’s appropriate input terminals. Ensure all connections are tight and secure, as loose connections can lead to poor sound quality or intermittent operation.
8. Testing and adjusting the system
Finally, turn on power to the room at the main circuit breaker. Test the speakers and volume control to ensure they are operating correctly. Start by playing some music or audio from your chosen source and adjust the volume levels for optimal sound quality. Fine-tune the volume control to balance the audio output from the ceiling speakers with the room’s acoustics, providing an immersive and enjoyable audio experience.
Now that you’ve successfully installed ceiling speakers with volume control, sit back, relax, and enjoy your enhanced audio system. With careful planning and precise installation, you’ve transformed your room into a home theater or audio haven. So go ahead and rock out, binge-watch your favorite shows, or immerse yourself in the world of gaming – all with the perfect sound at your fingertips!
Final Tips For Installing Ceiling Speakers With Volume Control
Installing ceiling speakers with volume control can greatly enhance your audio experience and create a seamless environment for music and entertainment. To ensure the best possible outcome, it’s important to follow some final tips that will help you with the proper maintenance and care of your speakers, troubleshooting common installation issues, and utilizing additional features and accessories for a customized audio experience.
Proper Maintenance and Care for Your Installed Speakers
Once your ceiling speakers with volume control are installed, it’s essential to take proper care of them to ensure longevity and optimal performance. Here are some tips for maintaining and caring for your installed speakers:
- Regularly clean the speaker grills to prevent dust and debris buildup. This can be done by gently dusting them or using a soft brush.
- Avoid using abrasive cleaning agents or solvents that may damage the speakers. Instead, use a mild cleaning solution or water-dampened cloth for cleaning purposes.
- Inspect the speaker wires periodically to make sure they are securely connected. Loose or damaged wires can lead to poor sound quality or even speaker failure.
- Keep an eye on the volume control knobs and make sure they are functioning properly. If you notice any issues or unusual behavior, it’s advisable to seek professional assistance.
Troubleshooting Common Installation Issues
While installing ceiling speakers with volume control can be relatively straightforward, you may encounter some common installation issues. Here are some troubleshooting tips to overcome these challenges:
- If you experience poor sound quality or lack of bass, check the speaker placement. Make sure they are properly positioned and not obstructed by any objects or furniture.
- If you encounter any connectivity issues, ensure that the wires are correctly connected to the speakers and the audio source. It’s also helpful to double-check the settings on your audio equipment.
- If you notice any buzzing or humming noises, it may indicate a ground loop problem. To resolve this, try plugging your audio equipment into a different power outlet or consider using a ground loop isolator.
- In case of any persistent issues or difficulties, it’s recommended to consult the user manual provided with the speakers or contact the manufacturer’s customer support for further assistance.
Utilizing Additional Features and Accessories for a Customized Audio Experience
Maximize the potential of your ceiling speakers with volume control by exploring additional features and accessories that can enhance your audio experience. Consider the following:
- Experiment with different sound settings on your audio equipment, such as equalizer presets or surround sound options, to customize the sound output to your liking.
- Invest in speaker stands or brackets if you prefer not to mount the speakers to the ceiling directly. This allows for more flexibility in positioning and angling the speakers.
- Explore wireless connectivity options, such as Bluetooth receivers or Wi-Fi streaming devices, to easily stream audio from your preferred devices.
- Consider installing a subwoofer to enhance the bass response and overall audio quality, especially for music and movie enthusiasts.
By utilizing these additional features and accessories, you can create a truly customized audio experience that suits your preferences and elevates your enjoyment of music, movies, and more.
Frequently Asked Questions
Can You Add A Volume Control To A Speaker?
Yes, a volume control can be added to a speaker. The addition of a volume control allows you to adjust the sound level according to your preference. It is a simple and effective way to customize your listening experience.
How To Wire 4 Speakers To One Volume Control?
To wire 4 speakers to one volume control, connect all speaker wires to the volume control’s input terminals. Then, connect the output terminals of the volume control to each speaker. Make sure to check the speaker impedance and adjust the volume accordingly for optimal sound quality.
What Do I Connect My Ceiling Speakers To?
You need to connect your ceiling speakers to an audio amplifier or receiver for power and signal input.
How Does Speaker Volume Control Work?
Speaker volume control adjusts the loudness or softness of sound produced by a speaker. It works by changing the electrical signal sent to the speaker, which in turn amplifies or attenuates the sound waves produced. This allows users to adjust the volume to their desired level for a better audio experience.
Conclusion
Installing ceiling speakers with volume control can greatly enhance your audio experience at home or in the office. By following the step-by-step instructions provided in this blog post, you can easily set up these speakers without any hassle. Remember to consider the placement, wiring, and volume control options to ensure optimal sound quality.
With this simple yet effective installation process, you can enjoy superior audio performance and create a more immersive environment in any space. Upgrade your audio system today and enjoy the benefits of ceiling speakers with volume control!