To install a brake light switch, locate the switch near the brake pedal and disconnect the electrical connector. Then, remove the old switch and install the new one by attaching it to the brake pedal assembly and reconnecting the electrical connector.
Installing a brake light switch is a simple process that can be done with just a few steps. The brake light switch is a critical component in your vehicle’s braking system, as it activates the brake lights when you press the brake pedal.
If your brake lights are not working, it is important to check the brake light switch and replace it if necessary. In this guide, we will walk you through the steps to install a brake light switch, so you can ensure the safety of yourself and others on the road. Let’s get started with the installation process.
Understanding The Brake Light Switch
“Understanding the Brake Light Switch”
The brake light switch is a small but crucial component of your vehicle’s braking system. It plays a key role in ensuring the safety of both you and others on the road. In this section, we will delve into what a brake light switch is, its function, and why it’s important to have a properly functioning one.
What is a brake light switch and its function?
A brake light switch is an electrical component that is typically located near the brake pedal. It is designed to activate the brake lights when you apply pressure to the pedal. When the brake pedal is not being pressed, the switch remains open, preventing the flow of electricity to the brake lights. However, when the pedal is pressed, the switch closes, completing the circuit and illuminating the brake lights.
The brake light switch is a simple yet ingenious device that serves two primary functions:
- Alerting other drivers: When you press the brake pedal, the brake lights turn on, signaling to drivers behind you that you are slowing down or stopping. This allows them to react promptly and adjust their speed accordingly, reducing the risk of rear-end collisions.
- Disengaging cruise control: In modern vehicles equipped with cruise control systems, the brake light switch is also responsible for deactivating the system when the brake pedal is pressed. This ensures that the vehicle decelerates appropriately and prevents unwanted acceleration while braking.
Importance of a properly functioning brake light switch
A properly functioning brake light switch is vital for several reasons:
- Safety: Brake lights are essential for communicating your intentions to other drivers on the road. By having functional brake lights, you enhance vehicle visibility and reduce the likelihood of accidents.
- Legal compliance: Driving without working brake lights can lead to traffic violations and fines. It is crucial to maintain a functioning brake light switch to comply with traffic regulations.
- Prevention of unnecessary wear: When the brake light switch malfunctions, the brake lights may stay on continuously or fail to illuminate at all. This can drain your vehicle’s battery or prevent the brake lights from alerting drivers when you need to slow down or stop.
- Peace of mind: Knowing that your brake lights are operating correctly provides reassurance while driving, especially in situations where quick reaction times are crucial.
In conclusion, the brake light switch plays a critical role in ensuring your safety on the road. Understanding its function and the importance of keeping it in proper working condition is vital for maintaining a well-functioning braking system. If you suspect any issues with your brake lights or the brake light switch, it is advisable to have them checked and repaired by a qualified mechanic.
Step-By-Step Guide To Installing A Brake Light Switch
Welcome to our step-by-step guide on how to install a brake light switch. If your brake lights are not functioning properly, it could be due to a faulty brake light switch. Replacing the switch is a relatively simple task that you can do yourself, saving you time and money. In this guide, we will take you through the process, from gathering the necessary tools and materials to testing the new brake light switch. Let’s get started!
Gathering the necessary tools and materials
Before you start installing the brake light switch, make sure you have the following tools and materials ready:
- Socket wrench set
- Wire cutters
- Electrical tape
- New brake light switch (make sure it is compatible with your vehicle’s make and model)
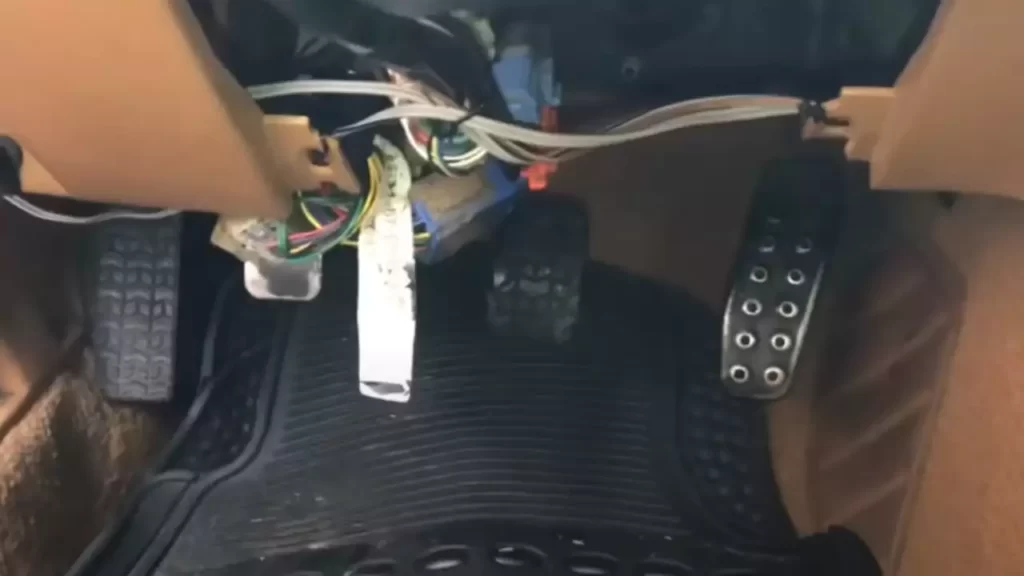
Locating the brake light switch
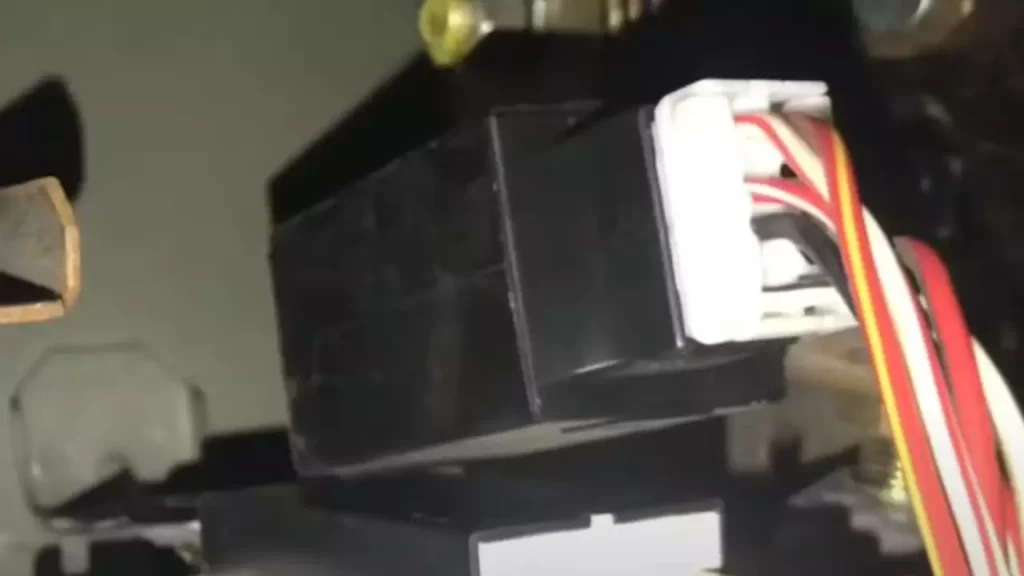
The brake light switch is usually located near the brake pedal. It may be attached to the pedal arm or the support bracket. Refer to your vehicle’s manual or consult an online resource to help you locate the switch.
Disconnecting the battery
Before proceeding with the installation, it is important to disconnect the battery to prevent any electrical mishaps. Locate the negative terminal on the battery and use a wrench to loosen the bolt. Once the bolt is loosened, carefully remove the negative cable from the terminal.
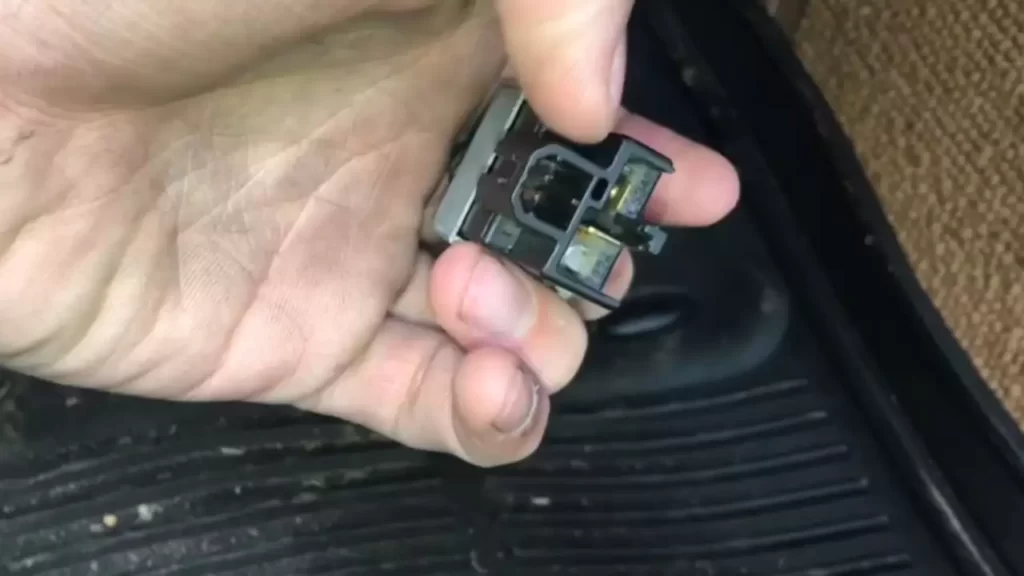
Removing the old brake light switch
Now that the battery is disconnected, it’s time to remove the old brake light switch. Start by unplugging the electrical connector attached to the switch. Next, use a socket wrench to loosen and remove the mounting bolts that hold the switch in place. Take note of the switch’s orientation as you remove it.
Installing the new brake light switch
With the old switch removed, it’s time to install the new brake light switch. Place the new switch in the same position and orientation as the old switch. Use the socket wrench to tighten the mounting bolts, ensuring the switch is securely in place. Reconnect the electrical connector to the switch.
Testing the new brake light switch
Once the new switch is installed, it’s important to test whether it is functioning correctly. Reconnect the negative cable to the battery terminal and start your vehicle. Press the brake pedal and check if the brake lights illuminate. If they do, congratulations! You have successfully installed a new brake light switch. If the lights do not turn on, double-check the installation and consult a professional if needed.
That concludes our step-by-step guide on how to install a brake light switch. By following these instructions and taking the necessary precautions, you can ensure that your brake lights are working properly and safely. Remember, if you are unsure or uncomfortable with any step of the process, it is always best to seek assistance from a qualified professional. Happy DIY-ing!
Troubleshooting Common Issues With Brake Light Switches
Brake light switches are an essential component of your vehicle’s braking system, ensuring that your brake lights illuminate when you apply the brakes. However, like any other electronic component, brake light switches can encounter issues over time. In this section, we will discuss some common problems that you may encounter with your brake light switch and how to troubleshoot them effectively.
Brake Lights Not Illuminating
If you find that your brake lights are not illuminating at all when you press the brake pedal, there are a few potential causes to consider:
- The brake light bulb may be burnt out. Check the bulb and replace it if necessary.
- The brake light fuse could be blown. Inspect the fuse box and replace any blown fuses.
- The brake light switch itself could be faulty. In this case, replacing the switch may be necessary.
Brake Lights Staying On Continuously
If your brake lights remain illuminated even when you are not pressing the brake pedal, it can be a safety concern and may drain your vehicle’s battery. Here are some possible causes:
- The brake light switch may be out of adjustment. Check the switch’s position and adjust it if necessary.
- There could be a short circuit in the wiring. Inspect the wiring for any signs of damage or exposed wires and repair them accordingly.
- The brake pedal itself may be sticking. Lubricate the pedal mechanism and ensure it moves freely.
Brake Lights Flickering or Dimming
If you notice that your brake lights flicker or appear dimmer than usual, it may indicate a problem with the electrical connection. Consider the following possibilities:
- The battery terminals may be loose or corroded. Clean and tighten the terminals to ensure a secure connection.
- There might be a faulty ground connection. Inspect the grounding wire and repair or replace it if necessary.
- The brake light switch could be worn out or damaged. In this case, installing a new switch should resolve the issue.
Brake Lights Not Turning Off
If your brake lights continue to stay illuminated even after releasing the brake pedal, it can drain your vehicle’s battery and confuse other drivers. Here’s what you can try:
- Check for a misadjusted brake pedal switch. Adjust the switch’s position so that it is released when the pedal is not pressed.
- Inspect the brake pedal itself for any obstructions or mechanical issues. Lubricate or repair as needed to ensure smooth operation.
- There could be a short circuit in the wiring. Inspect the wiring for any exposed or damaged sections and repair them accordingly.
By addressing these common issues with brake light switches, you can ensure that your brake lights function correctly, enhancing safety on the road and preventing potential accidents. Regular maintenance and inspections are key to identifying and resolving any problems with your brake light switch promptly.
Tips For Maintaining Brake Light Switches
Regularly inspecting the brake light switch
Keeping the brake light switch clean
Checking for any signs of wear or damage
Following the manufacturer’s recommendations for maintenance
Regularly inspecting the brake light switch
Inspecting your brake light switch on a regular basis is crucial for ensuring its proper functioning and avoiding any potential issues. One tip for inspecting the brake light switch is to visually examine it for any signs of wear or damage. Look for any loose connections, frayed wires, or broken parts. Additionally, you can perform a simple test to ensure the switch is functioning correctly. Apply the brakes and have someone check if the brake lights illuminate each time the pedal is pressed. If the lights do not turn on, it may be an indication that the brake light switch needs to be replaced.
Keeping the brake light switch clean
Keeping your brake light switch clean is essential for its optimum performance. Over time, dirt, dust, and debris can accumulate on the switch, hindering its functionality. To clean the brake light switch, first, locate it under the dashboard, near the brake pedal. Use a soft cloth or a small brush to gently remove any dirt or debris. Make sure not to use any abrasive cleaners or excessive force as it can damage the switch.
Checking for any signs of wear or damage
Regularly checking for signs of wear or damage on the brake light switch can help detect potential issues early on. Look for any cracks, rust, or corrosion on the switch. Pay attention to any abnormal sounds or sensations when pressing the brake pedal, as these may also indicate a faulty switch. If you notice any signs of wear or damage, it is recommended to replace the switch as soon as possible to prevent any safety hazards on the road.
Following the manufacturer’s recommendations for maintenance
Each brake light switch comes with specific maintenance guidelines provided by the manufacturer. It is crucial to follow these recommendations to ensure the longevity and proper functioning of the switch. The manufacturer’s guidelines may include information on how often to inspect and clean the switch, as well as when to replace it. Adhering to these recommendations will help keep your brake light switch in optimal condition and provide you with the peace of mind knowing that your brake lights will work when needed.
Frequently Asked Questions
How Do You Install A Brake Light Switch?
To install a brake light switch, start by disconnecting the negative battery cable. Locate the brake light switch, typically located near the brake pedal. Disconnect the wiring harness and remove the old switch. Install the new switch and reconnect the wiring harness.
Finally, test the brake lights to ensure they are working properly.
What Are The Symptoms Of A Faulty Brake Light Switch?
A faulty brake light switch can cause multiple symptoms. The most common signs include the brake lights not illuminating when the brake pedal is pressed, cruise control not working properly, and the gear shifter not moving out of park. If you experience any of these issues, it may be time to replace the brake light switch.
Can You Drive Without A Brake Light Switch?
Driving without a functioning brake light switch is not recommended. The brake lights are an essential safety feature that alerts other drivers when you are stopping or slowing down. Without properly working brake lights, the risk of accidents and collisions increases significantly.
It is important to replace a faulty brake light switch as soon as possible.
Conclusion
Installing a brake light switch is a necessary task for maintaining the safety of your vehicle. By following the step-by-step instructions outlined in this guide, you can easily replace this essential component. Remember, a properly functioning brake light switch ensures that your brake lights illuminate when you apply the brakes, alerting other drivers and helping to prevent accidents.
So, don’t procrastinate and get started on this simple yet important maintenance task.