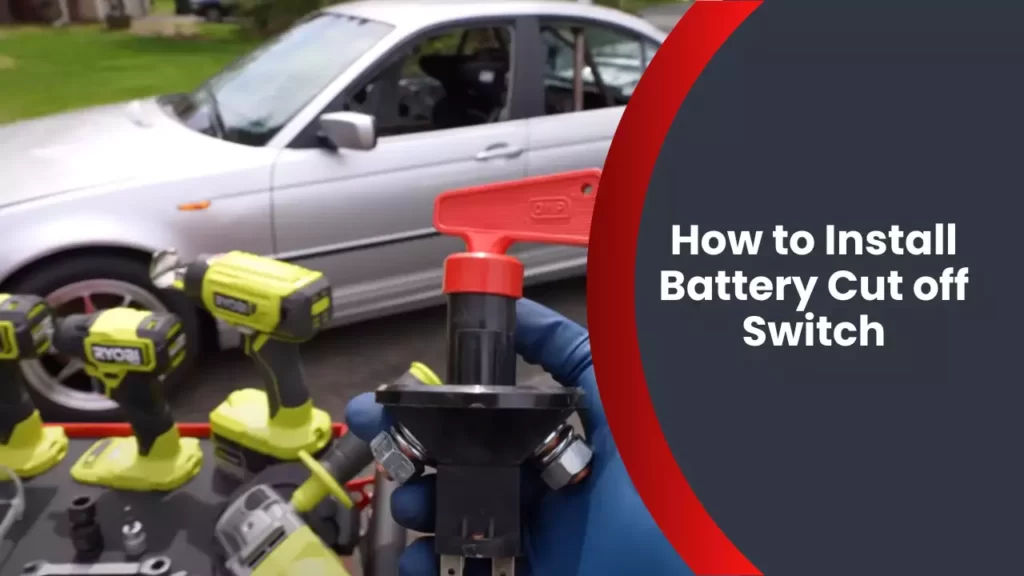
To install a battery cut-off switch, disconnect the negative battery cable and attach the switch between the battery and ground cable. Ensure the switch is in the off position before starting the installation process.
Battery cut-off switches are commonly used to prevent battery drain and improve safety by isolating the battery from the electrical system when the vehicle is not in use. This simple installation can be completed by following a few basic steps.
By installing a battery cut-off switch, you can protect your battery and avoid unexpected electrical issues while enhancing overall safety.
Why Install A Battery Cut Off Switch?
The installation of a battery cut off switch is a smart choice for any vehicle owner as it offers several key benefits. Whether you own a car, boat, or recreational vehicle, a battery cut off switch can prove to be a crucial addition to your electrical system. This blog post will focus on the important question – Why Install a Battery Cut off Switch?
Benefits of installing a battery cut off switch
When it comes to managing the power supply in your vehicle, installing a battery cut off switch is a simple yet effective solution. Let’s take a closer look at the benefits you can enjoy by incorporating this switch into your electrical system:
Protecting your battery from draining
One of the primary reasons for installing a battery cut off switch is to prevent any unnecessary battery drain. When your vehicle is parked for an extended period or not in use, certain components like alarms, clocks, and even parasitic loads can slowly drain the battery. By installing a battery cut off switch, you can cut off the power flow to these components, ensuring that your battery remains fully charged for when you need it the most.
Ensuring safety and preventing electrical fires
In addition to protecting your battery, a battery cut off switch plays a crucial role in ensuring the safety of your vehicle. Electrical fires are a real threat, especially in vehicles where wiring may be prone to wear and tear. By installing a battery cut off switch, you can effectively disconnect the power supply, minimizing the risk of any short circuits or electrical malfunctions that could lead to dangerous fires. This simple yet effective safety measure can provide you with much-needed peace of mind.
If you are looking to enhance the safety and performance of your vehicle’s electrical system, installing a battery cut off switch is a wise investment. By protecting your battery from draining and minimizing the risk of electrical fires, you can enjoy a more efficient and reliable electrical system for years to come.
Tools And Materials Needed
Installing a battery cut-off switch can be a straightforward process if you have the right tools and materials on hand. Below, we have compiled a list of everything you will need to complete the installation successfully.
List of Tools Required for the Installation
When it comes to installing a battery cut-off switch, having the right tools is essential. Here is a list of tools you will need:
- Wire cutters
- Wire strippers
- Screwdriver set
- Socket set
- Electrical tape
- Heat shrink tubing
- Crimping tool
- Drill with drill bits
Necessary Materials to Have on Hand
In addition to the tools mentioned above, there are also several materials you will need to have on hand for a successful battery cut-off switch installation. Here’s a list of the necessary materials:
- Battery cut-off switch
- Wire connectors
- Battery terminal wrench
- Battery terminal cleaner
- Assorted electrical wires
- Wire loom
- Mounting hardware
Where to Purchase the Items Needed
If you don’t already have the tools and materials required for the battery cut-off switch installation, you can purchase them from various online and offline stores. Here are a few options:
| Item | Where to Purchase |
|---|---|
| Battery cut-off switch | Online automotive parts stores, local auto supply stores |
| Wire connectors | Hardware stores, electrical supply stores |
| Battery terminal wrench | Auto supply stores, online retailers |
| Battery terminal cleaner | Auto supply stores, online retailers |
| Assorted electrical wires | Electrical supply stores, online retailers |
| Wire loom | Automotive parts stores, online retailers |
| Mounting hardware | Hardware stores |
By having these tools and materials readily available, you can ensure a smooth and efficient battery cut-off switch installation process. Now that you have everything you need, let’s move on to the step-by-step guide on how to install a battery cut-off switch.

Step-By-Step Installation Guide
Welcome to our step-by-step installation guide for installing a battery cut off switch. In this guide, we will walk you through the entire process, from preparing the vehicle to testing the installation. Installing a battery cut off switch is a crucial safety measure that helps prevent battery drain and protects your vehicle from electrical fires. So, let’s get started with the installation process!
Preparing the vehicle for installation
Before you begin the installation, it’s important to ensure that your vehicle is prepared. Here are a few simple steps to follow:
- Park your vehicle on a flat surface and engage the parking brake.
- Turn off all electrical systems, including lights, radio, and air conditioning.
- Ensure that the ignition is in the off position.
- Take the necessary safety precautions to protect yourself and the vehicle.
Safety precautions to take
Prior to starting any installation, ensuring your safety is paramount. Here are a few safety precautions to consider:
- Wear safety goggles and gloves to protect your eyes and hands from potential hazards.
- Disconnect the negative terminal of the battery to avoid accidental electrical shock.
- Handle all electrical components with care, following the manufacturer’s instructions closely.
Turning off the engine and disconnecting the battery
To start the installation, turn off the engine and disconnect the battery. Follow these steps:
- Locate the vehicle’s battery. It is usually found under the hood or in the trunk.
- Use a wrench to loosen the nut on the negative terminal of the battery.
- Once the nut is loosened, carefully remove the negative cable from the battery.
- Set the cable aside in a safe location, away from the battery terminal.
Locating the battery and selecting the ideal placement for the switch
The next step involves locating the battery and selecting the ideal placement for the cut off switch. Here’s what you need to know:
Locating the battery:
- If your battery is under the hood, open the hood and locate the battery near the engine.
- If your battery is in the trunk, open the trunk and locate the battery near the rear of the vehicle.
Selecting the ideal placement:
When choosing a location for the cut off switch, consider the following factors:
- Accessibility: Choose a location that is easy to reach and operate the switch.
- Visibility: Ensure the switch is easily visible so that you can quickly identify its status.
- Protection: Select a location that provides protection from the elements, such as rain or extreme heat.
Installing the cut off switch
Now that you have chosen the ideal placement for the cut off switch, it’s time to install it. Follow these steps:
-
- Mounting the switch securely:
Using the appropriate tools, mount the switch in the chosen location securely. Make sure it is tightly secured to avoid any accidental movement or damage.
-
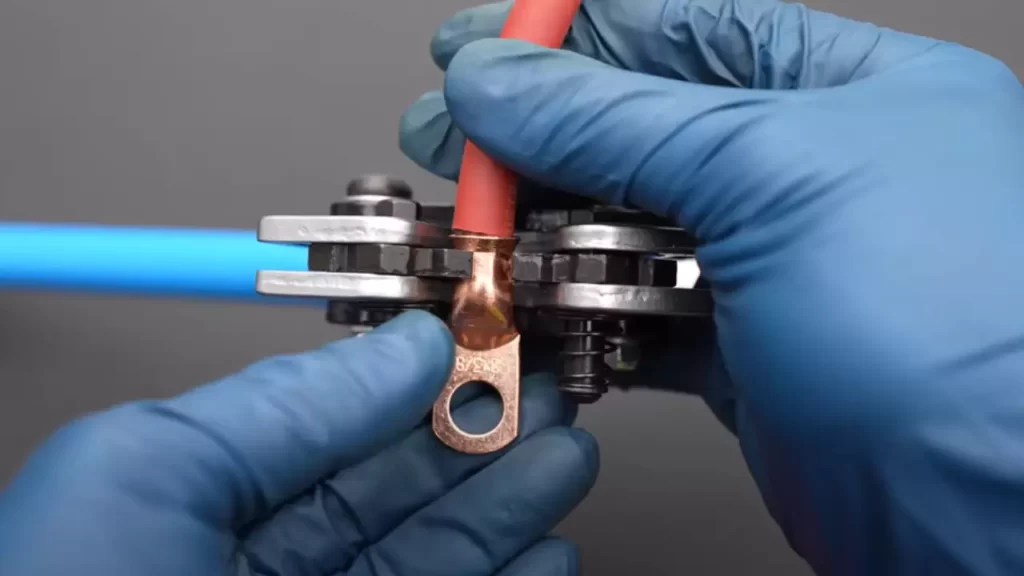
- Connecting the necessary wires:
Refer to the manufacturer’s instructions or wiring diagram provided with the switch. Connect the wires as instructed, ensuring proper connections and avoiding any loose or exposed wires.
Testing the installation
To ensure the cut off switch is properly installed and functioning correctly, follow these testing steps:
-
- Verifying the functionality of the switch:
Toggle the switch on and off to ensure it functions as expected. You should notice the electrical systems in the vehicle turning on and off accordingly.
-
- Ensuring all connections are secure:
Double-check all connections to ensure they are secure. Make sure there are no loose or exposed wires that could potentially cause an electrical issue.
Congratulations! You have successfully installed a battery cut off switch. This safety measure will give you peace of mind and help protect your vehicle against electrical issues and unwanted battery drain. Remember to regularly maintain and inspect the switch to ensure it remains in good working condition.
Troubleshooting Common Issues
Installing a battery cut-off switch can greatly enhance the safety and performance of your vehicle’s electrical system. However, like any mechanical device, it’s not uncommon to encounter a few hiccups along the way. In this section, we’ll discuss some potential problems that you may encounter during the installation process and provide solutions to address them.
Identifying potential problems
Before diving into troubleshooting, it’s important to identify potential problems that may arise when installing a battery cut-off switch. By taking a proactive approach, you can save time and effort in the long run. Here are a few common issues to be aware of:
- Switch not working properly
- Wiring issues
- Resolving common installation challenges
Switch not working properly
If your battery cut-off switch is not functioning as expected, there are a few things you can check:
- Make sure the switch is in the correct position. Depending on the type of switch you have, it may need to be turned clockwise or counterclockwise to activate or deactivate the electrical circuit.
- Inspect the switch for any visible damage or corrosion. Clean the switch terminals using a wire brush or suitable cleaning agent if necessary.
- Test the switch using a multimeter to ensure it is providing the appropriate levels of conductivity when engaged and disengaged.
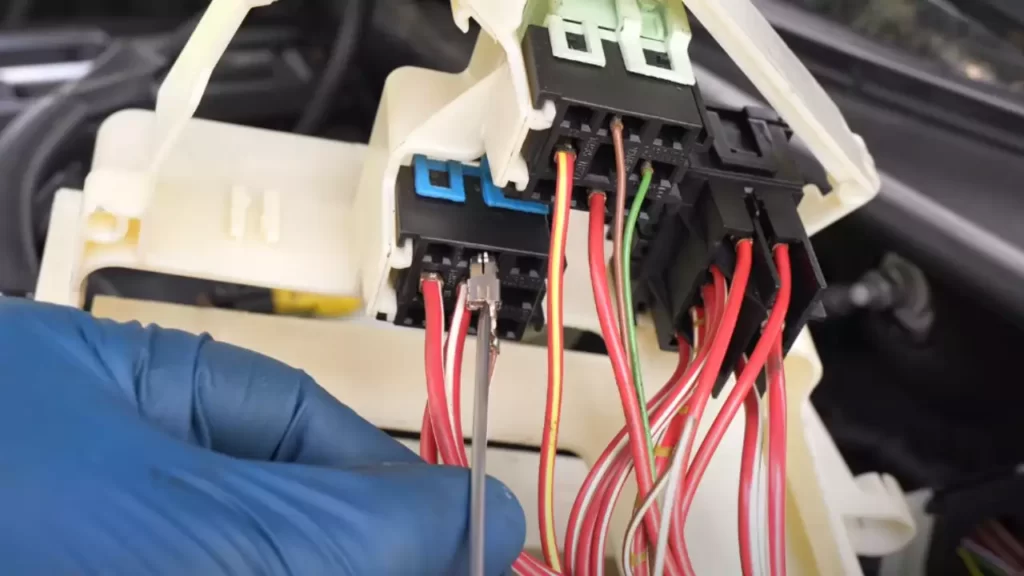
Wiring issues
Incorrect wiring can cause a variety of problems when installing a battery cut-off switch. Check the following areas to ensure everything is connected properly:
- Inspect the wires for any signs of damage or wear, such as fraying or exposed copper.
- Verify that the wires are securely connected to the appropriate terminals on the switch and battery.
- Ensure that the wire connections are tight and free of any loose strands that may disrupt the electrical flow.
Resolving common installation challenges
During the installation process, you may encounter a few common challenges. Here are some tips to help you overcome them:
Loose connections
If you find that the switch is not working properly or experiencing intermittent functionality, loose connections may be the culprit. Check all wire connections and terminal screws to ensure they are tightened securely.
Inconsistent switch functionality
If the switch is behaving erratically, such as turning on and off unexpectedly, it could be due to an issue with the installation. Double-check the wiring connections and ensure that no bare wires are making contact with metal surfaces.
By identifying potential problems, addressing switch malfunctions, troubleshooting wiring issues, and resolving common installation challenges, you can ensure the successful installation and proper functioning of your battery cut-off switch. With these troubleshooting tips, you’ll be able to enjoy the enhanced safety and convenience that this device provides.
Maintenance And Usage Tips
Proper maintenance and usage of a battery cut off switch are essential for its effective and long-lasting operation. By following these tips, you can ensure that your switch functions optimally and contributes to the overall performance of your vehicle’s battery.
Maintaining the battery cut off switch
Maintaining the battery cut off switch is crucial to avoid any malfunction or deterioration over time. Here are a few maintenance tips to keep in mind:
- Regularly checking the connections
- Cleaning the switch
Regularly checking the connections
Periodically inspecting the connections of your battery cut off switch ensures that they are secure and free of any corrosion or loose wires. Loose connections can affect the switch’s ability to effectively disconnect the battery, rendering it unreliable when needed. Take a few minutes to assess the connections and tighten them if necessary.
Cleaning the switch
Cleaning the battery cut off switch is a simple yet impactful way to maintain its functionality. Over time, dust, dirt, and grime can accumulate on the switch, hindering its performance. Regularly cleaning it with a soft cloth and mild cleaning solution can help remove any debris and keep the switch in optimal condition.
Best practices for using the cut off switch
Adhering to best practices when utilizing the battery cut off switch can enhance its effectiveness and extend the lifespan of your vehicle’s battery. Consider the following tips:
- Activate the switch only when the vehicle is not in use for an extended period.
- Make sure the switch is easily accessible in case of emergencies.
- Inform other individuals who may access your vehicle about the existence and location of the switch.
- Regularly test the switch to ensure it functions properly.
When to activate the switch
Knowing the appropriate times to activate the battery cut off switch is vital in preserving the battery’s charge and avoiding unnecessary drain. Activate the switch when:
- Storing your vehicle for an extended period, such as during the winter season or vacations.
- Performing maintenance work on your vehicle that requires the battery to be disconnected.
- Leaving your vehicle unused for an extended time, such as during long trips or sabbaticals.
Benefits of disconnecting the battery when the vehicle is not in use
Disconnecting the battery using a cut off switch offers several advantages for vehicle owners. Some benefits include:
- Prolonging the battery’s lifespan by preventing unnecessary discharge.
- Minimizing the risk of accidental electrical faults or short circuits.
- Preserving the battery’s charge and ensuring it retains optimal power when needed.
- Enhancing overall vehicle safety by reducing the likelihood of electrical-related incidents.
Frequently Asked Questions
Should Battery Cut Off Switch Be On Positive Or Negative?
The battery cut off switch should be placed on the positive terminal.
How Do You Install A Battery Disconnect Switch?
To install a battery disconnect switch, first, locate the negative (-) battery terminal and disconnect it. Then, attach one end of the switch to the battery terminal and the other end to the battery cable. Tighten the connections and ensure they are secure.
Finally, test the switch to ensure it functions properly.
Can You Install A Kill Switch For Car Battery?
Yes, you can install a kill switch for your car battery. It will allow you to disconnect the battery power, preventing unauthorized use and potential theft.
Are Battery Disconnect Switches Safe?
Yes, battery disconnect switches are safe. They help to cut off the electrical power in your vehicle, preventing accidental fires and battery drain. With a simple on/off function, they provide a convenient and reliable way to control power flow and ensure the safety of your battery.
Conclusion
To summarize, installing a battery cutoff switch is a simple and effective way to protect your vehicle’s battery from draining. With just a few steps, you can easily disconnect the battery when your vehicle is not in use, preventing any unwanted power consumption.
This small yet powerful device can save you from the hassle of jump-starting your car and prolong the life of your battery. Don’t let a dead battery leave you stranded—install a battery cutoff switch today for peace of mind and convenience.