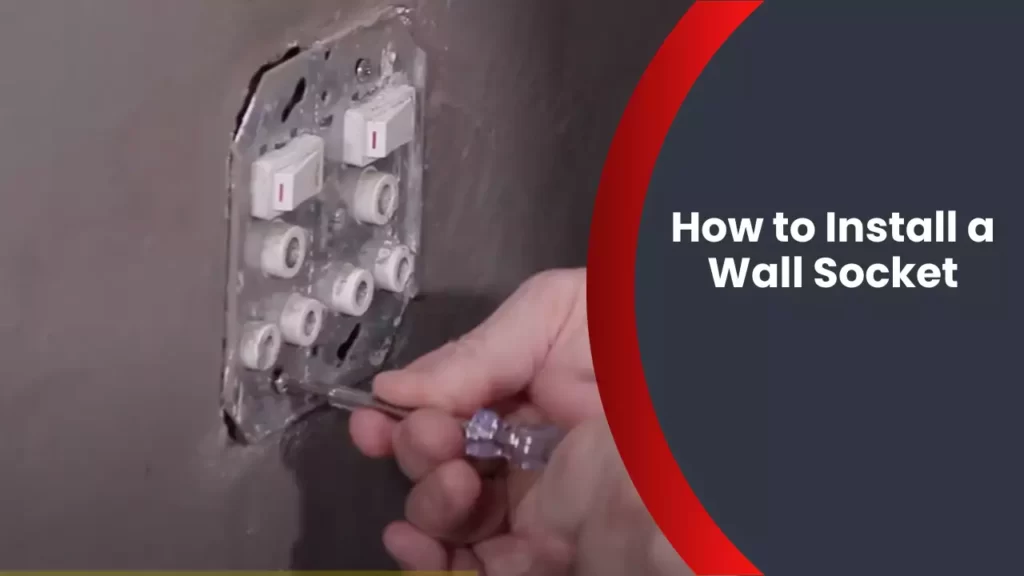
To install a wall socket, turn off the power, remove the old socket, attach the wires to the new socket, and secure the socket to the wall. Installing a wall socket is a simple process that can be done by following these steps.
First, ensure that the power is turned off to prevent any accidents. Next, remove the old socket by unscrewing the faceplate and disconnecting the wires. Then, attach the wires to the corresponding terminals on the new socket, making sure they are securely fastened.
Finally, screw the faceplate back on and secure the socket to the wall.
Understanding The Basics Of Wall Sockets
When it comes to installing a wall socket, it’s important to start with a clear understanding of the basics. A wall socket, also known as an electrical outlet or power outlet, is a device that allows you to connect and power electrical devices by providing access to electricity from your home’s electrical system.
Different Types of Wall Sockets
There are several different types of wall sockets available, each with its own specifications and purposes. Understanding these variations can help you select the right socket for your needs.
| Socket Type | Description |
|---|---|
| Standard Socket | This is the most commonly used socket, also known as Type A or Type B. It has two vertical slots and can accommodate a variety of plug shapes. |
| Grounded Socket | Also known as Type C or Type E, grounded sockets provide an additional grounding pin for enhanced safety. These sockets are suitable for appliances that require grounding, such as refrigerators or washing machines. |
| USB Socket | USB sockets, commonly found in modern homes and offices, allow you to directly charge your devices using a USB cable. They are often installed alongside traditional power sockets for added convenience. |
The Importance of Choosing the Right Socket for Your Needs
Choosing the right socket for your needs is crucial to ensure the safe and efficient operation of your electrical devices. Here are a few reasons why selecting the appropriate socket is important:
- Compatibility: Different devices and appliances require specific plug shapes and power ratings. By choosing the right socket, you can ensure that your devices are compatible and can be safely connected.
- Safety: Using the wrong socket can pose a safety risk. For example, plugging a high-power device into an inadequately rated socket can lead to overheating and electrical hazards. Selecting the correct socket with the appropriate power rating and grounding capabilities helps prevent such risks.
- Convenience: Installing sockets that cater to your specific needs can greatly enhance convenience. For example, having USB sockets in your bedroom or office can eliminate the need for bulky adaptors or chargers.
Safety Precautions Before Starting the Installation Process
Prior to installing a wall socket, it’s crucial to take certain safety precautions to ensure the process is carried out properly and without risk. Here are a few steps to follow:
- Turn off the power: Before starting any electrical work, it’s essential to turn off the power to the circuit you’ll be working on. This can be done by flipping the corresponding circuit breaker in your home’s electrical panel.
- Use appropriate tools: Ensure you have the necessary tools for the installation, such as a screwdriver and wire stripper, and make sure they are in good condition.
- Inspect the wires: Before disconnecting an existing socket or wiring a new one, carefully inspect the wires for any damage or signs of wear and tear. Replace any damaged wires to avoid potential electrical issues.
- Double-check connections: Once the new socket is installed, double-check all connections to ensure they are secure and properly attached. Loose or improper connections can lead to power failures or electrical accidents.
- Test with a voltage tester: After completing the installation, use a voltage tester to ensure the power is off before connecting any devices to the socket.
Gathering The Tools And Materials
Gathering the right tools and materials is the first step towards successfully installing a wall socket. By ensuring you have everything you need before you begin, you can streamline the installation process and avoid delays. In this section, we will explore the essential tools required for socket installation, selecting the right socket and accessories, and the common materials needed for a successful installation.
The essential tools required for socket installation
Before you begin installing a wall socket, it’s crucial to have the right tools at your disposal. Here are some essential tools you’ll need:
- Screwdriver set – Make sure to have both flat-head and Phillips screwdrivers of various sizes, as they may be required to remove and install screws.
- Wire cutter/stripper – This tool will help you cut and strip the insulation from electrical wires, making them ready for connecting to the socket.
- Voltage tester – Before handling any electrical connections, it’s important to check if the power is turned off. A voltage tester will help you ensure that the circuit is not live.
- Power drill – In some cases, you may need to drill holes in the wall to accommodate the socket box or mounting screws. Having a power drill will make this task easier and quicker.
- Tape measure – Accurate measurements are crucial when installing a wall socket. A tape measure will help you determine the precise positioning of the socket in relation to nearby objects or switches.
- Wire nuts – These small connectors are used to secure the electrical wires together. They are essential for creating secure and reliable connections inside the socket.
Selecting the right socket and accessories
When installing a wall socket, it’s important to choose the right socket and accessories that meet your specific needs. Here are a few factors to consider:
- Socket type – There are various types of sockets available, including standard, USB, and HDMI sockets. Determine the type of socket you require based on your intended usage.
- Number of outlets – Consider the number of outlets you need on your wall socket. If you plan to connect multiple devices, opting for a socket with multiple outlets will be beneficial.
- Decorative options – Wall sockets come in different colors, finishes, and designs. Select a socket that complements the aesthetics of your room.
- Additional features – Some sockets come with built-in safety features, such as surge protection or childproof mechanisms. Assess your needs and choose a socket that offers the desired additional features.
Common materials needed for a successful installation
In addition to the tools mentioned above, you’ll also need certain materials to ensure a successful installation:
- Wall socket – The main component of the installation, the socket should be of good quality and meet your requirements.
- Socket box – This is the enclosure that holds the socket in place. Ensure you have a suitable box that fits securely into the wall cavity.
- Electrical wires – Depending on the wiring in your home, you may need to purchase appropriate gauge electrical wires to connect the socket to the electrical system.
- Outlet cover – After installation, you’ll need an outlet cover to protect the socket and provide a finished look. Choose a cover that matches the style and finish of the socket.
- Mounting screws – These screws are used to secure the socket box into the wall. Make sure you have the correct size and type of screws for your specific socket box.
- Electrical tape – Used to insulate exposed wires and ensure a safe electrical connection.
By gathering these essential tools and materials, you’ll be well-prepared to install a wall socket efficiently and effectively. Having everything within reach will save you time and ensure a successful installation process.
Step 1: Switch Off The Power Supply
In this step-by-step guide, we will walk you through the process of installing a wall socket. Our first step is a crucial one that ensures your safety. Before starting any electrical work, it is essential to switch off the power supply to avoid any accidents or electrical shocks.
Locating the circuit breaker
The first thing you need to do is locate the circuit breaker in your home. It is usually found in the electrical panel box, which is commonly situated in the basement, garage, or utility room. If you’re unsure where the panel is, check your home’s blueprint or consult with an electrician. Once you have located the panel, you’re ready to continue with the next steps.
Ensuring the power is completely turned off
After finding the circuit breaker, make sure you have a clear view of it. To ensure the power supply is completely turned off, follow these simple steps:
- Identify the correct circuit breaker: Start by identifying the circuit breaker that controls the power supply to the area where you’ll be installing the wall socket. Refer to your blueprint or consult an electrician if needed.
- Switch off the circuit breaker: Flip the switch of the identified circuit breaker to the “Off” position. You should hear a click, and the switch should stay in the “Off” position.
- Verify the power is off: To be certain the power is off, test the existing socket with a voltage tester. Insert the tester into the socket, and it should not indicate any voltage. Double-check by testing nearby sockets as well. If the tester detects any voltage, go back to the circuit breaker and ensure the correct one is switched off.
Remember, safety should always be your priority when working with electricity. By following these steps and verifying that the power supply is completely turned off, you can proceed with confidence to the next step of installing your wall socket.
Step 2: Preparing The Socket Installation Area
Step 2: Preparing the Socket Installation Area
Before you can proceed with installing a wall socket, it’s important to prepare the installation area. This step involves assessing the ideal location for the socket, measuring and marking the wall for the socket position, and clearing the area of any obstacles to ensure a clean workspace.
Assessing the Ideal Location for the Socket
When installing a wall socket, it’s crucial to select an ideal location that meets your specific requirements. Consider the following factors when assessing the ideal location:
- The socket’s proximity to the electrical panel for easier wiring.
- The socket should be easily accessible to avoid any inconvenience.
- Ensure the area is clear of any flammable materials or hazards to maintain safety standards.
- Consider the aesthetics of the room and the socket’s placement in relation to furniture or other fixtures.
Measuring and Marking the Wall for the Socket Position
Accurately measuring and marking the wall for the socket position is essential for a successful installation. Follow these steps:
- Using a measuring tape, locate the desired height for the socket on the wall.
- Make a small mark on the wall to indicate the center point of the socket.
- If you are installing multiple sockets, measure the desired distance between them.
- Use a spirit level to ensure the marks are level and straight.
Clearing the Area of Any Obstacles and Ensuring a Clean Workspace
Prior to installation, it’s important to clear the area of any obstacles and create a clean workspace. Follow these steps:
- Remove any furniture, decor, or objects that may obstruct access to the installation area.
- Clean the wall surface to remove any dust, dirt, or debris that could affect the adhesion of the socket.
- Ensure there are no loose wires or cables in the vicinity that could potentially interfere with the installation process.
By assessing the ideal location, measuring and marking the wall accurately, and clearing the area of any obstacles, you are now ready to proceed with the socket installation. Following these steps will help facilitate a smooth and efficient installation process.
Step 3: Preparing The Wiring
Once you have gathered all the necessary tools and materials for installing a wall socket, it’s time to prepare the wiring. This step involves understanding the different wiring types and configurations, properly stripping and preparing the wires for installation, and testing them for any faults or damages. By following these steps, you can ensure a safe and successful installation.
Understanding the different wiring types and configurations
Before you begin preparing the wires, it’s essential to have a good understanding of the different wiring types and configurations. This knowledge will help you ensure that you are working with the correct wires and prevent any potential hazards. The most common types of wiring you will come across are:
| Wiring Type | Configuration |
|---|---|
| Live Wire | Brown or Red |
| Neutral Wire | Blue or Black |
| Earth Wire | Green and Yellow |
Properly stripping and preparing the wires for installation
Before connecting the wires to the wall socket, it is crucial to properly strip and prepare them. Follow these steps to ensure a secure connection:
- Using a wire stripper or a knife, carefully strip off about 1.5 cm of the protective insulation from the end of each wire. Be cautious not to damage the actual wire while stripping.
- With the insulation removed, use your fingers or a wire cutter to twist and shape the exposed wire strands together. This will prevent any stray strands from causing a short circuit.
- Repeat the same process for each wire, ensuring that they are properly prepared for installation.
Testing the wires for any faults or damages
Before finalizing the wiring installation, it is vital to test the wires for any faults or damages. This step will help identify any issues that could cause electrical problems in the future. Here’s how you can test the wires:
- Using a multimeter, set it to the continuity test mode.
- Touch one probe of the multimeter to the exposed end of the live wire and the other probe to the corresponding terminal on the wall socket.
- If the multimeter beeps or shows a reading, it indicates that the wire is continuous and properly connected.
- Repeat the same process for the neutral wire and the earth wire.
- If the multimeter does not show any continuity or you notice any fluctuations in the readings, it suggests a fault or damage in the wire. In such cases, it is essential to replace the wire before proceeding further.
By understanding the different wiring types, properly preparing the wires, and testing them for any faults or damages, you can ensure a safe and effective installation of a wall socket. Taking these precautions will not only protect your electrical system but also give you peace of mind in knowing that the installation has been done correctly.
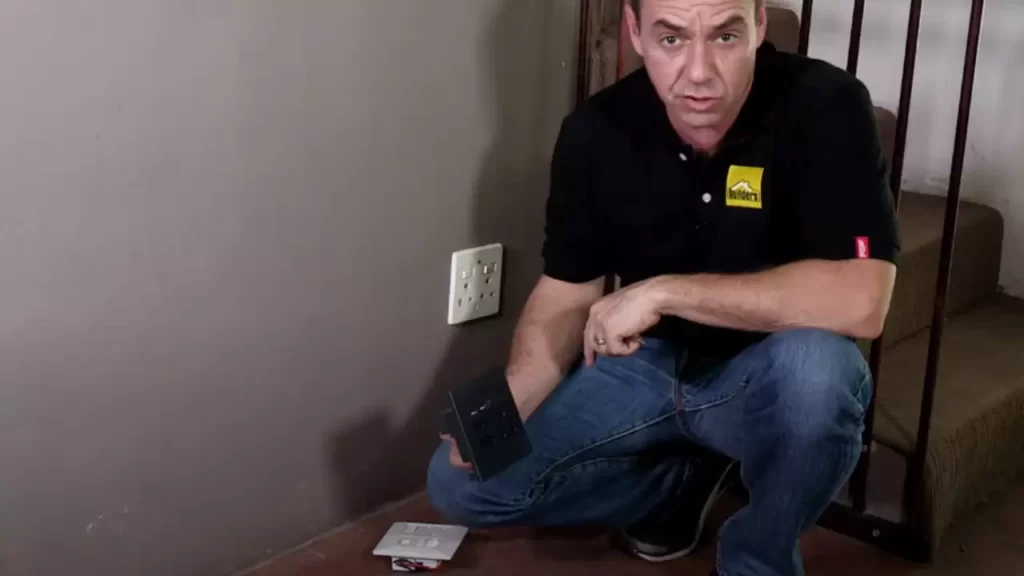
Step 4: Mounting The Socket Box
Now that you have successfully prepared the electrical wiring and the cutout in the wall, it’s time to mount the socket box securely. This step is crucial in ensuring a safe and secure installation of the wall socket. In this step, you will learn how to select the appropriate socket box for the wall type, position and attach it securely, and ensure it is level and properly aligned.
Selecting the Appropriate Socket Box for the Wall Type
Before mounting the socket box, it’s important to consider the type of wall you are working with. Different walls require different socket boxes to ensure a proper fit and stability. Here are some guidelines to follow:
- For solid walls, such as concrete or brick, use a masonry box. These boxes are specifically designed for mounting on solid surfaces and provide maximum stability.
- If you are working with a hollow wall, such as drywall, plasterboard, or paneling, it’s best to use an electrical box designed for these types of walls. These boxes typically have flanges or wings that can be attached to the wall studs or internal bracing for added support.
- For walls with an uneven or irregular surface, consider using an adjustable box that can be adjusted to fit the contour of the wall. This will ensure a secure and flush mounting.
Positioning and Attaching the Socket Box Securely to the Wall
Once you have chosen the appropriate socket box for your wall type, it’s time to position and attach it securely. Follow these steps:
- Hold the socket box against the cutout in the wall, ensuring that it is centered and level.
- Using a pencil, mark the mounting holes on the wall through the holes in the socket box.
- Remove the socket box and drill pilot holes at the marked locations. Make sure the pilot holes are slightly smaller than the diameter of the screws you will be using.
- Place the socket box back against the wall and line up the mounting holes with the pilot holes.
- Using appropriate screws for your wall type (e.g., wall anchors for hollow walls), attach the socket box securely to the wall by driving the screws through the mounting holes and into the pilot holes.
Ensuring the Box is Level and Properly Aligned
After securely attaching the socket box to the wall, it’s essential to ensure that it is level and properly aligned. Follow these steps to ensure a professional-looking installation:
- Place a spirit level on top of the socket box to check for levelness. Adjust as needed by loosening the screws and repositioning the box.
- Use a measuring tape or ruler to check that the box is aligned vertically and horizontally with other nearby sockets or fixtures.
- Make any necessary adjustments by slightly repositioning the box until it is level and properly aligned.
Once you have successfully mounted the socket box, you can proceed to the final step of connecting the wires and installing the wall socket. Stay tuned for Step 5!
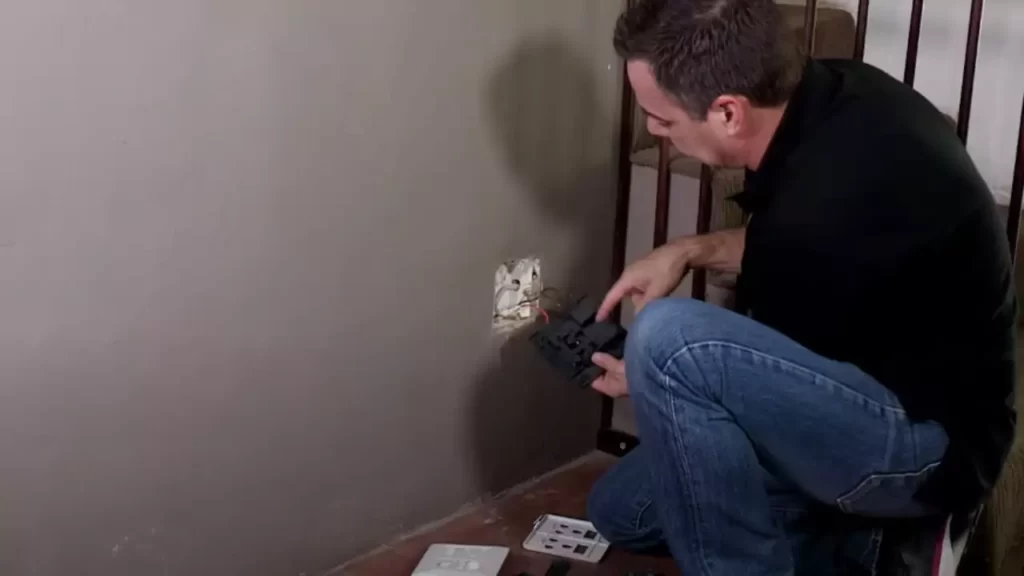
Step 5: Connecting The Wiring
Now that you have identified the different wires, it’s time to connect them to the socket terminals. This step requires precision and caution to ensure the safety and accuracy of the connections. Follow the instructions below to correctly connect the live, neutral, and ground wires.
Identifying the different wires and their respective connections
The first and most crucial step in connecting the wiring is to identify the different wires and their respective connections. Each wire has a specific color and function, and understanding this will help you make the correct connections.
Here are the common wire colors and their functions:
| Wire Color | Function |
|---|---|
| Live wire (also known as phase wire) | Carries the current from the electrical supply to the socket |
| Neutral wire | Returns the current back to the electrical supply |
| Ground wire | Provides a path for electrical faults to the ground, preventing electrical shocks |
Correctly connecting the live, neutral, and ground wires to the socket terminals
Once you have identified the wires, you need to connect them to the socket terminals. Follow these steps carefully:
- Live wire (phase wire): The live wire is usually colored black, brown, or red. Connect it to the terminal marked with the letter “L” (Live) or “P” (Phase). Ensure the wire is tightly secured and there are no loose strands that might cause a short circuit.
- Neutral wire: The neutral wire is typically colored blue. Connect it to the terminal marked with the letter “N” (Neutral). Like the live wire, make sure the connection is tight and secure.
- Ground wire: The ground wire usually has a green or yellow-green color. Connect it to the terminal marked with the grounding symbol (∞) or the letters “GND” (Ground). This connection is crucial for safety purposes, as it helps redirect electrical faults away from individuals and equipment.
Double-checking all connections for accuracy and safety
Once you have connected all the wires, it is essential to double-check the connections for accuracy and safety. Take your time to inspect each connection and ensure there are no loose wires or faulty connections.
Here are some key points to consider during the double-checking process:
- Tightness: Ensure all wires are tightly connected to their respective terminals. A loose connection can cause electrical hazards.
- Insulation: Check if the insulation on the wires is intact and there are no exposed conductors. Exposed wires increase the risk of electrical shocks.
- No crossed wires: Verify that the wires are connected to the correct terminals and there are no crossed connections. Crossed wires can lead to circuit malfunctions or damage to electrical devices.
By following these steps and double-checking all connections, you can ensure the accuracy and safety of your wall socket installation.
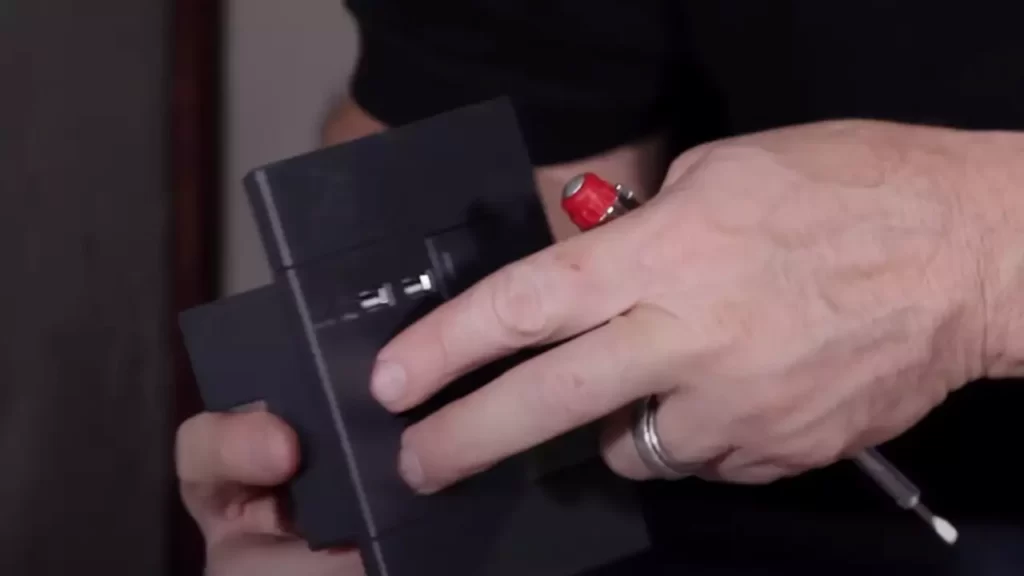
Step 6: Installing The Socket
Now that you have prepared the wiring and the socket box, it’s time to install the socket itself. Properly installing the socket is crucial to ensure a safe and functional electrical outlet. Follow these steps to complete the installation:
Inserting the socket into the socket box
To start, carefully insert the socket into the socket box. Ensure that the wires are not being pinched or tangled as you position the socket. Take note of the orientation of the socket, as there are usually keying features that will help align it correctly.
If you are unsure about the correct positioning, refer to the manufacturer’s instructions or consult a professional electrician. It’s important to place the socket securely in the box to avoid any loose connections or potential hazards.
Securing the socket in place using screws or clips
Once the socket is properly positioned in the socket box, it’s time to secure it in place. Depending on the type of socket and box you are working with, you may need to use screws or clips to fasten the socket securely.
If your socket has screw terminals, carefully align the screw holes in the socket with the corresponding holes in the socket box. Use the appropriate screws provided with the socket and tighten them to secure the socket in place. Be careful not to overtighten the screws, as it may damage the socket or strip the screw holes.
On the other hand, if your socket uses clips for installation, slide the clips into the designated slots in the socket box. Apply gentle pressure to ensure that the clips are firmly attached to the box. Double-check the clips to make sure they are properly aligned, as any misalignment may result in an unstable socket.
Verifying that the socket is securely attached and level
Once you have secured the socket using screws or clips, it’s essential to verify that the socket is securely attached and level. This step is crucial to guarantee the stability and functionality of the socket.
Start by gently pressing and wiggling the socket to ensure there is no excessive play or movement. If the socket feels loose, double-check the screws or clips and tighten them if necessary.
Additionally, use a spirit level to verify that the socket is perfectly horizontal or vertical, depending on its orientation. This step ensures that your socket appears neat and level when you attach the faceplate.
By rapidly inspecting the socket for any loose connections, double-checking the screws or clips, and verifying its levelness, you can have confidence that your wall socket is secure and ready for use.
Step 7: Testing The Socket
After successfully installing a wall socket, it is essential to test it thoroughly to ensure that it is functioning properly and meets all safety requirements. This step is crucial as it guarantees that the socket is safe to use and eliminates any potential hazards. In this section, we will discuss how to restore the power supply, use a tester to check the correct wiring and functionality, and troubleshoot any issues that may arise during the testing process.
Restoring the power supply after installation
Once the wiring for the wall socket is complete and all connections and components are securely fastened, it is time to restore the power supply. To do this, follow the steps below:
- Go to the main electrical panel in your home or building.
- Locate the circuit breaker or fuse that controls the power supply to the room where the wall socket is installed.
- If the circuit breaker is tripped, reset it to the “on” position; if a fuse is blown, replace it with a new one of the same amperage.
- Once the power is restored, use caution and verify that the area around the socket is clear of any tools or debris before proceeding.
Using a tester to ensure correct wiring and functionality
To validate the correct wiring and functionality of the newly installed wall socket, you can use a tester specifically designed for this purpose. Follow the steps below to conduct the test:
- Ensure that the power supply is still turned on and that the socket is securely mounted on the wall.
- Using an electrical tester, carefully check the voltage at the wall socket. The readings should match the expected voltage for your location.
- Next, test each socket outlet individually. Insert the tester into each socket and verify that it lights up, indicating the presence of power.
- If any of the outlets do not light up, there might be an issue with the wiring. In such cases, it is best to consult a qualified electrician to identify and rectify the problem.
Troubleshooting any issues that may arise
During the testing process, it is possible that you may encounter certain issues with the newly installed wall socket. Here are a few troubleshooting tips to help you address these problems:
- Ensure that the socket is wired correctly according to the manufacturer’s instructions.
- Double-check all connections and make sure they are secure. Loose connections can result in a faulty socket.
- Inspect the wires for any damage, such as cuts or exposed copper. Replace or repair any damaged wires as necessary.
- If you are still experiencing issues, it is advisable to seek professional assistance from a licensed electrician to diagnose and resolve the problem.
Testing the wall socket is a crucial step in the installation process. It ensures the proper functioning of the socket and helps identify and address any potential issues. By following the steps outlined above, you can have peace of mind knowing that your newly installed wall socket is safe and ready to use.
Additional Tips And Considerations
Installing a wall socket may seem like a simple task, but there are a few additional tips and considerations that can ensure a safe and successful installation. By following these best practices for socket installation, understanding local electrical regulations and codes, and considering when to hire a professional electrician, you can avoid potential hazards and enjoy the convenience of a reliable power source. Let’s delve into each aspect in detail.
Best practices for socket installation
When it comes to installing a wall socket, it is important to adhere to best practices to ensure a secure and proper connection. Here are some key points to keep in mind:
- Always shut off the electricity supply to the area where you will be working. This ensures your safety and prevents shorts or electrical shocks.
- Ensure that you have the necessary tools, including a screwdriver, wire stripper, and electrical tester.
- Inspect the wiring and outlet box for any signs of damage before proceeding with the installation.
- Use appropriate wire gauges and connectors for the specific voltage and amperage requirements.
- Securely fasten the wires to the outlet terminals using the correct screw sizes for a tight connection.
- Double-check your work and test the socket with an electrical tester before putting it back into service.
Understanding local electrical regulations and codes
It is essential to have a good understanding of local electrical regulations and codes when installing a wall socket. Different regions may have variations in requirements, such as grounding methods or specific wire color schemes. By familiarizing yourself with these regulations, you can ensure compliance and avoid any potential legal issues or safety hazards.
Consulting local building authorities or checking online resources can provide you with the necessary information regarding electrical regulations and codes applicable to your area. While it may require some extra effort, this due diligence will help you carry out the installation smoothly and confidently.
Hiring a professional electrician for complex installations or if unsure
Installing a simple wall socket may be a DIY project for many, but certain situations call for the expertise of a professional electrician. If you encounter any of the following scenarios, it is recommended to hire a qualified electrician:
- If the installation involves complex wiring setups or requires modifications to the existing electrical system.
- If you are uncertain about the electrical calculations, such as determining the proper wire size or load capacity.
- If the installation is part of a larger home renovation project that involves multiple electrical modifications.
By entrusting the task to a professional, you can ensure that the installations are done correctly, reducing the risk of electrical faults or accidents. Additionally, a trusted electrician will also be knowledgeable about local electrical codes and regulations, further ensuring compliance and safety.
Keep these additional tips and considerations in mind when installing a wall socket, and you’ll be well-prepared to tackle the task with confidence. Following best practices, understanding local regulations, and seeking professional help when needed, will provide you with a safe and reliable electrical connection that meets all the necessary guidelines.
Frequently Asked Questions
Is It Easy To Install A Wall Socket?
Installing a wall socket is a relatively easy task. With the right tools and some basic electrical knowledge, you can install a wall socket in no time. Just make sure to turn off the power before starting and follow the proper wiring instructions to ensure safety.
Can I Install An Electrical Outlet Myself?
No, it is not recommended to install an electrical outlet yourself. It is best to hire a professional electrician for installation to ensure safety and compliance with electrical codes.
How Do You Install An Outlet In The Wall?
To install an outlet in the wall, first, turn off the power supply. Then, cut a hole in the wall using a saw. Connect the wires from the outlet to the main electrical circuit using a screwdriver. Secure the outlet into the hole and attach the faceplate.
Finally, turn the power back on to test the outlet.
Does It Matter Which Wire Goes Where On An Outlet?
It matters which wire goes where on an outlet. The black wire connects to the brass terminal for hot power, the white wire connects to the silver terminal for neutral power, and the green or bare wire connects to the green terminal for grounding purposes.
Conclusion
Installing a wall socket may seem daunting at first, but with this step-by-step guide, it becomes a breeze. By following these simple instructions, you can safely and successfully add a wall socket to any room in your home. From gathering the right tools to connecting the wires, we have covered all the necessary steps to ensure a smooth installation process.
So, next time you need an additional socket, you can confidently tackle the task yourself.