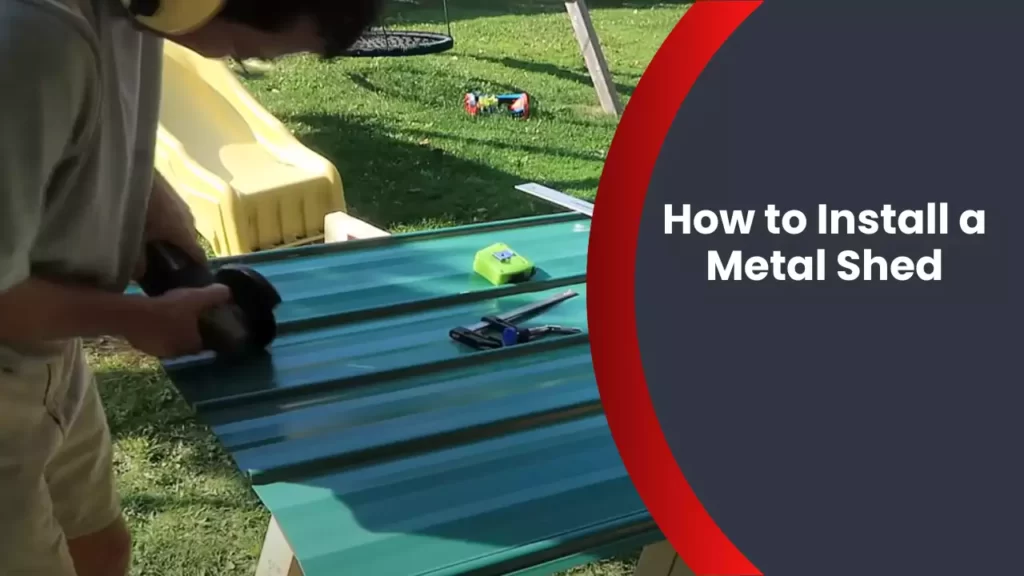
To install a metal shed, start by selecting a level area and assembling the shed according to the manufacturer’s instructions.
Planning And Preparation
Before beginning the installation of your metal shed, it is crucial to plan and prepare adequately. This will ensure a smooth and successful installation process, saving you time and avoiding any potential setbacks. In this section, we will guide you through the essential steps for planning and preparing the installation of your metal shed.
Choose the ideal location for your metal shed
One of the first decisions you need to make is selecting the ideal location for your metal shed. Consider factors such as accessibility, available space, and the terrain of your property. Here are a few points to keep in mind:
- Choose a level area with proper drainage to prevent water from pooling around the shed.
- Select a location that is easily accessible and convenient for your needs, providing enough space for the shed itself and any additional clearance required for maintenance.
- Avoid placing the shed under overhanging trees or power lines to prevent potential damage.
- Ensure the location adheres to any local building codes or restrictions regarding setbacks or zoning requirements.
Measure and mark the area for installation
Once you have chosen the location for your metal shed, it is essential to measure and mark the area accurately. This will help ensure proper alignment and efficient installation. Follow these steps:
- Using a tape measure, measure the dimensions of your metal shed to determine the exact area it will occupy.
- Mark the corners of the shed’s footprint using stakes or spray paint. This will provide a visual reference during the installation process.
- Double-check your measurements to ensure accuracy before proceeding with the installation.
Check the local building codes and obtain necessary permits
Before starting the installation of your metal shed, it is crucial to check the local building codes and regulations in your area. Some regions may have specific requirements for shed installations. Follow these steps:
- Contact your local building department or authority to inquire about any necessary permits or approvals for installing a metal shed.
- Ask about any specific guidelines or restrictions that need to be followed during the installation process.
- Obtain any required permits or approvals before proceeding with the installation to avoid any potential legal issues or penalties.
Gather all the materials and tools needed for the installation
To ensure a smooth and efficient installation, gather all the necessary materials and tools before you begin. This will prevent any unnecessary delays and interruptions during the process. Here is a list of materials and tools you may need:
| Materials | Tools |
|---|---|
|
|
Having all the necessary materials and tools at hand will ensure a more efficient and hassle-free installation process.
Preparing The Foundation
Preparing the Foundation
Before you start the installation process of your metal shed, it’s essential to prepare a solid foundation. A well-prepared foundation ensures the stability and longevity of your structure. In this section, we will discuss the necessary steps to prepare a strong and stable foundation for your metal shed.
Clear the selected area from any debris or vegetation
The first step in preparing your foundation is to clear the area where you’ll be installing the metal shed. Ensure that there is no vegetation, debris, or any other obstacles in the way. This will provide a clean and level surface for the foundation.
Level the ground to ensure a stable foundation
Once the area is clear, the next step is to level the ground. A level surface is crucial for the stability of your metal shed. Uneven ground can cause the shed to shift and may lead to structural issues. Use a level or a laser level to check the ground and make any necessary adjustments.
Construct a concrete or gravel base for the shed
Now it’s time to construct the base for your metal shed. There are two popular options: concrete or gravel. Concrete provides a solid foundation and is ideal if you’re looking for a permanent structure. On the other hand, gravel is a cost-effective option that allows for easy drainage. Choose the option that suits your needs and budget.
If you opt for a concrete base, dig a hole according to the size of your shed and pour the concrete mix. Use a trowel to smooth the surface and let it cure according to the product instructions.
For a gravel base, spread a layer of gravel in the prepared area. Make sure to lay a weed barrier to prevent weed growth from below. Level the gravel using a rake or a shovel, ensuring it is evenly spread.
Install anchor bolts for added stability
To enhance the stability of your metal shed, it’s recommended to install anchor bolts. These bolts will secure the shed to the foundation, preventing any movement during strong winds or storms. Place the anchor bolts strategically around the perimeter of the shed.
To install the anchor bolts, mark the spots on the foundation where the bolts will go. Drill holes using a masonry bit, ensuring the diameter is suitable for the size of the bolts. Insert the bolts into the holes and tighten them securely.
By following these steps and preparing a solid foundation, you are setting the stage for a successful metal shed installation. A well-prepared foundation will provide a sturdy and secure base for your shed, ensuring its longevity for years to come.
Assembling The Metal Shed
Now that you’ve unpacked and familiarized yourself with the shed parts, it’s time to start assembling your metal shed. Follow these steps to ensure a smooth and successful installation.
Unpack and familiarize yourself with the shed parts
Before diving into the assembly process, take a few minutes to unpack and organize all the shed parts. Lay them out in an easy-to-access area, grouping similar parts together. This will help you identify the components as you progress through the installation.
Double-check that all the necessary parts are present, including panels, screws, brackets, and any additional features like doors and windows. It’s important to have everything you need before starting the installation to avoid unnecessary delays.
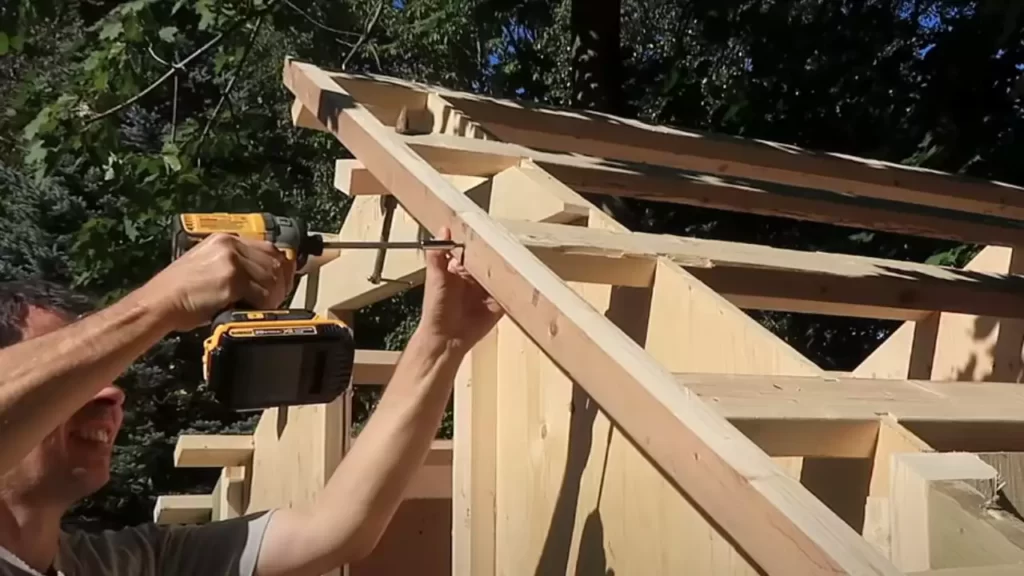
Follow the manufacturer’s instructions for assembly
The manufacturer’s instructions are your go-to guide when it comes to assembling your metal shed. These instructions are specifically designed for the shed model you purchased and provide step-by-step guidance on how to put it together. Following the instructions carefully ensures that the shed is assembled correctly and safely.
Make sure to read through the instructions thoroughly before starting the assembly process. Pay close attention to any specific warnings, recommended tools, or techniques that the manufacturer suggests. This will help you avoid common mistakes and ensure a hassle-free installation.
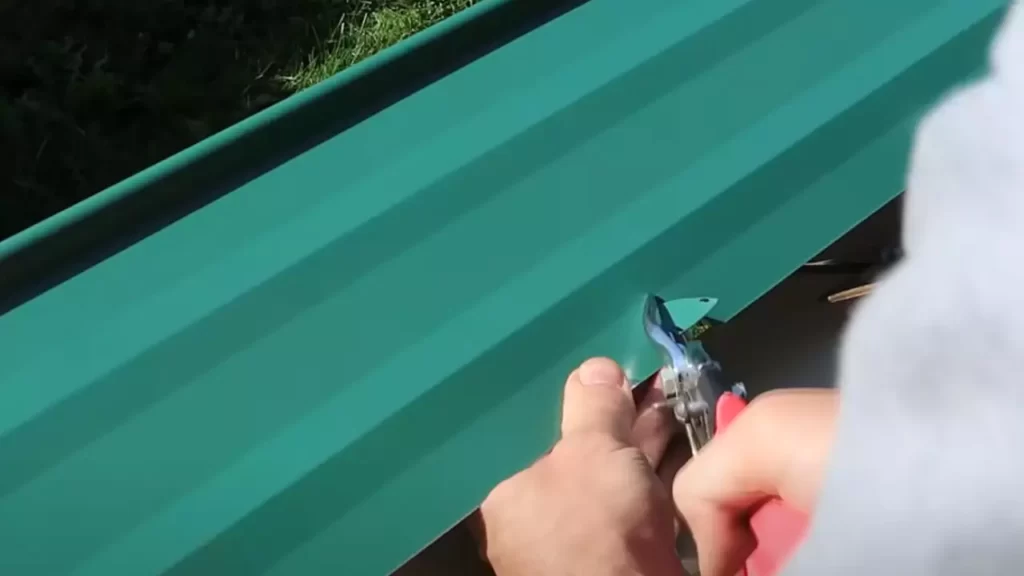
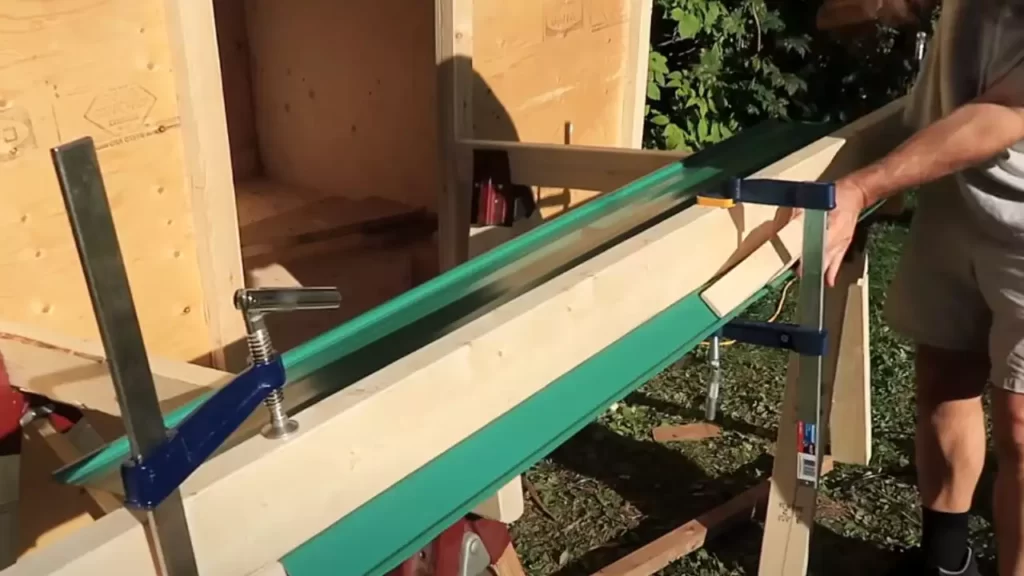
Connect the metal panels and secure them properly
The metal panels form the main structure of your shed, so it’s crucial to connect them securely. Start by aligning the panels according to the manufacturer’s instructions. Use screws or fasteners provided by the manufacturer to attach the panels together firmly.
As you connect the panels, check for any gaps or misalignments. Adjust the panels as necessary to ensure a tight fit. When securing the panels, make sure to tighten the screws or fasteners adequately, but avoid overtightening, as this can cause damage to the metal.
Install doors, windows, and any additional features
Once the main structure is assembled, it’s time to install any doors, windows, and other additional features you may have purchased. Follow the manufacturer’s instructions for each specific component, as the installation process may vary.
When installing doors and windows, ensure they are properly aligned and level. Double-check that they open and close smoothly without any obstructions or misalignment. This ensures proper functionality and enhances the overall appearance of your metal shed.
Additionally, if your shed comes with any other features such as shelves or hooks, install them according to the provided instructions. These features can greatly enhance the organization and storage capacity of your shed.
Congratulations! You’ve successfully assembled your metal shed, creating a durable and functional storage space. Now it’s time to start utilizing it to its fullest potential.
Securing And Finishing Touches
Once you have successfully assembled your metal shed, it’s crucial to secure it to the foundation and add those final touches to ensure its durability and functionality. This section will guide you through the essential steps to anchor the shed, seal any gaps or joints, protect it from the elements, and optimize its storage potential. Keep reading to get started!
Anchor the shed to the foundation using appropriate fasteners
The first step in securing your metal shed is to properly anchor it to the foundation using appropriate fasteners. This ensures that the shed remains stable and protected, even during strong winds or storms. When choosing fasteners, it’s important to consider the type of foundation you have and the specific requirements of your shed manufacturer.
For example, if you have a concrete foundation, you may need concrete anchors such as expansion bolts or wedge anchors. On the other hand, for a wooden foundation, you may require heavy-duty screws or lag bolts.
Before inserting the fasteners, make sure to align the mounting holes of the shed with the anchor points on the foundation. This will ensure a secure attachment. Once aligned, drive the fasteners through the shed’s pre-drilled holes and into the foundation, using a power drill or wrench. Make sure the fasteners are tight, but be cautious not to overtighten them, as this could damage the shed or foundation.
Seal any gaps or joints to prevent water leakage
Preventing water leakage is essential for maintaining the integrity of your metal shed. Even the smallest gaps or joints can allow water to seep in, leading to rust, corrosion, or damage to your stored items. To avoid this, it’s crucial to seal all potential entry points.
Start by inspecting the shed for any visible openings or gaps. Common areas where water may enter include seams, joints, and around doors or windows. Apply a high-quality silicone caulk or weather-resistant sealant to seal these areas, ensuring a tight and watertight seal. Smooth the caulk with your finger or a caulk smoother for an even finish.
Remember to check the sealant regularly and reapply it as needed, especially after heavy rain or extreme weather conditions, to maintain its effectiveness.
Apply a weather-resistant coating or paint to protect the shed
Protecting your metal shed from the elements is paramount for its long-term durability. Applying a weather-resistant coating or paint not only enhances its appearance but also acts as a barrier against rust, corrosion, and other forms of damage.
Before applying any coating, thoroughly clean the shed’s surface to remove any dirt, dust, or grease. Follow the manufacturer’s instructions for the specific coating or paint you choose, as application methods may vary. Use a brush or paint sprayer to evenly apply the coating or paint, making sure to cover all surfaces.
Allow the coating or paint to dry completely before exposing the shed to the elements. Regularly inspect the shed for any chipping or peeling and touch up those areas as needed to maintain its protective barrier.
Install shelving, hooks, or other organizational accessories
To optimize the storage capacity of your metal shed, consider installing shelving, hooks, or other organizational accessories. These additions can help you make the most of the available space and keep your belongings neatly organized.
First, determine the optimal placement for your shelving or hooks based on your storage needs. Once determined, use a level to ensure they are installed straight and secure. There are various shelving systems specifically designed for metal sheds, featuring adjustable shelves and easy installation. Alternatively, hooks can be attached directly to the shed’s walls or hung from overhead beams.
When installing shelving, make sure to evenly distribute the weight and avoid overloading each shelf. Test their stability before placing heavy items on them. For hooks, choose strong and durable options that can support the weight of your belongings without bending or breaking.
By installing these organizational accessories, you can make your metal shed a functional and efficient space for storage.
Securing and adding the finishing touches to your metal shed is essential for its longevity, protection, and usability. By anchoring the shed to the foundation, sealing any gaps or joints, applying a weather-resistant coating or paint, and installing organizational accessories, you can ensure that your shed remains sturdy, free from leaks, and optimized for your storage needs.
Maintenance And Care
Maintenance and care are important aspects of owning a metal shed. By regularly inspecting, cleaning, lubricating, and repairing the shed, you can ensure its longevity and functionality. In this section, we will discuss some key maintenance and care tasks that will help you keep your metal shed in optimal condition.
Regularly inspect the shed for any signs of damage or wear
To maintain the durability of your metal shed, it is crucial to regularly inspect it for any signs of damage or wear. Look for rust spots, dents, or loose screws, as they can compromise the structural integrity of the shed. Inspect the roof, walls, and floor for any cracks or holes that can lead to leaks or pests entering the shed. By promptly identifying and addressing these issues, you can prevent further damage and ensure the safety of your belongings.
Clean the shed and remove any debris or leaves
Cleaning your metal shed is essential to prevent dirt and debris buildup. Regularly remove any leaves, branches, or other organic materials that may accumulate around the shed. Use a broom or leaf blower to sweep away the debris from the roof, walls, and floor. For stubborn stains, you can use a mild soap solution and a soft-bristle brush to gently scrub the affected areas. Cleaning your shed not only improves its appearance but also helps protect against corrosion and damage caused by dirt and moisture.
Lubricate hinges and locks to maintain their functionality
Proper lubrication of hinges and locks is crucial to maintain their functionality and ensure easy access to your metal shed. Use a silicone or graphite-based lubricant to grease the hinges, handles, and locks. Apply the lubricant to the moving parts and gently work it in to ensure smooth operation. Lubricating these components regularly not only prevents rust and corrosion but also reduces wear and tear, extending the lifespan of your shed.
Repair any damages promptly to extend the shed’s lifespan
If you notice any damages during your regular inspection, it is important to repair them promptly. Whether it’s a small dent, a loose screw, or a crack in the wall, addressing the issues early on can prevent further deterioration and extend the lifespan of your metal shed. Replace any damaged parts, seal any gaps or openings, and repaint any areas affected by rust to maintain the shed’s structural integrity and appearance.
Frequently Asked Questions
What Do You Put Under A Metal Shed?
You can put a level and stable base like concrete or gravel under a metal shed. It ensures proper support and prevents shifting or sinking of the shed.
Can I Put A Metal Shed Directly On The Ground?
Yes, you can put a metal shed directly on the ground. However, it’s important to prepare the ground properly by leveling it and using a solid foundation, such as concrete or gravel. This will help prevent moisture buildup and ensure stability for the shed.
Do You Need A Foundation For A Metal Shed?
Yes, a foundation is necessary for a metal shed. It provides stability and helps to prevent sinking or shifting. A solid and level surface such as concrete or gravel is recommended to ensure the shed is properly supported.
How To Build A Base For A Metal Shed?
To build a base for a metal shed, start by leveling the ground and removing any debris. Next, lay down a layer of gravel or crushed stone to provide a stable foundation. Then, use pressure-treated lumber or concrete blocks to construct a perimeter frame for the shed.
Finally, anchor the shed to the base to ensure stability.
Conclusion
Installing a metal shed doesn’t have to be a daunting task. By following the step-by-step process outlined in this blog post, you can successfully set up your own metal shed in no time. Remember to prepare the site, assemble the shed according to the manufacturer’s instructions, and secure it properly for long-lasting durability.
With careful planning and attention to detail, you’ll have a functional and stylish metal shed that meets all your storage needs. Happy shed installation!