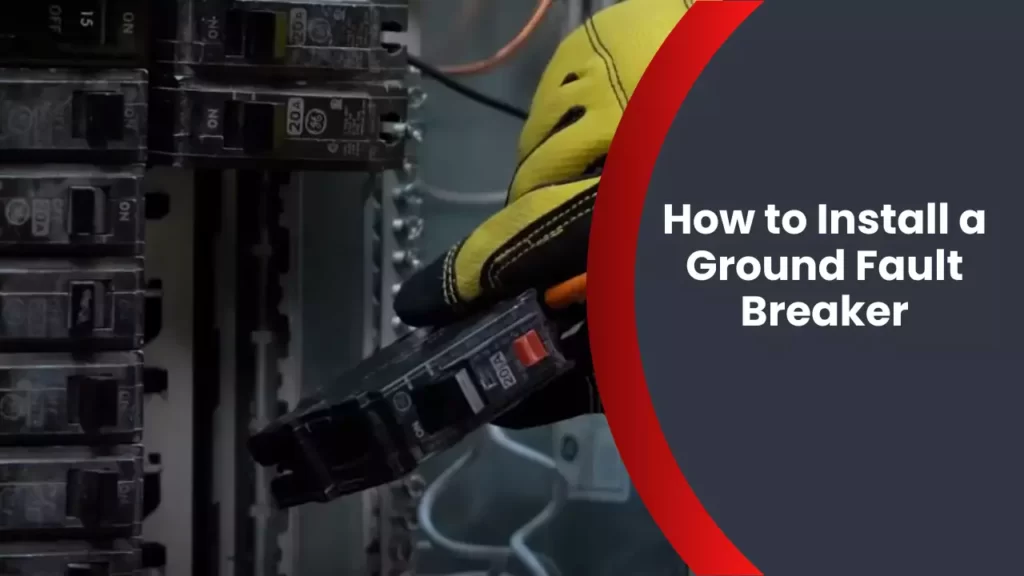
To install a ground fault breaker, first, turn off the power supply and remove the panel cover. Then, locate the appropriate slot in the breaker panel and insert the breaker, connecting it to the neutral and hot bus bars.
Finally, reconnect the panel cover and restore power. Installing a ground fault breaker is a straightforward process that can help protect against electrical fires and shocks caused by ground faults. By following a few simple steps, you can ensure the safety of your electrical system and your home.
Ground fault breakers are an essential component of electrical systems that help prevent serious accidents and damage. A ground fault occurs when an electrical current inadvertently flows to the ground instead of following its intended path through the circuit. This can happen due to faulty appliances, damaged wiring, or other electrical issues.
Installing a ground fault breaker interrupts the circuit and shuts off the power in case of a ground fault, reducing the risk of electrical fires, electric shocks, and potential harm to individuals. In this guide, we will walk you through the step-by-step process of installing a ground fault breaker in your electrical panel.
Reasons For Installing A Ground Fault Breaker
Reasons for Installing a Ground Fault Breaker
Importance of Ground Fault Breakers for Electrical Safety
Installing a ground fault breaker is an essential step for ensuring electrical safety in both homes and commercial buildings. A ground fault breaker, also known as a GFCI (Ground Fault Circuit Interrupter), is designed to protect against electrical shocks and potential electrical fires. It provides a means to detect and interrupt the flow of current in the event of a ground fault, which occurs when there is an unintended electrical connection between a current-carrying conductor and the grounding system.
Common Scenarios where Ground Fault Breakers are Required
Ground fault breakers are required in various scenarios to meet electrical safety standards and regulations. Knowing these scenarios is crucial to determine where you need to install a ground fault breaker.
1. Bathrooms: In bathrooms, the combination of water and electrical outlets can be hazardous. Installing a ground fault breaker near the bathroom outlets ensures that it quickly shuts off power in the event of a ground fault, preventing potential electrocution accidents.
2. Kitchens: Kitchens are another area where water and electricity meet regularly. Ground fault breakers should be installed near kitchen countertops, sinks, and any other locations where the risk of electrical shock is heightened.
3. Outdoor Areas: Outdoor electrical outlets are exposed to various weather conditions, making ground fault breakers a necessity. Whether it’s for power tools, holiday decorations, or outdoor kitchen appliances, using a GFCI outlet or a ground fault breaker helps protect against electrical accidents.
4. Garages and Workshops: Garages and workshops often house power tools and other electrical equipment that are prone to causing ground faults. Installing a ground fault breaker in these areas helps mitigate the risk of electrical shock or fire.
5. Swimming Pools and Spas: Water and electricity near swimming pools and spas can be a lethal combination. Ground fault breakers are mandated near these areas to protect swimmers and prevent accidents caused by faulty electrical systems.
6. Laundry Rooms: The presence of water and high-powered electrical appliances in laundry rooms makes them potential hazards. Ground fault breakers are necessary near washing machines, dryers, and utility sinks to reduce the risk of electrical accidents.
By installing ground fault breakers in these common scenarios, you can significantly enhance electrical safety and protect yourself, your family, and your property from potential electrical hazards. Remember, it’s always better to prioritize safety and take preventive measures.
Understanding Ground Fault Circuit Interrupters (Gfcis)
GFCIs, or Ground Fault Circuit Interrupters, are an essential component in electrical systems to protect us from the dangers of electric shocks. In this blog post, we will delve into the definition and purpose of GFCIs, as well as how they work to prevent electric shocks. Whether you are a homeowner embarking on a DIY project or an aspiring electrician, understanding GFCIs is crucial to ensure safety in electrical installations.
Definition and Purpose of GFCIs
GFCIs, also known as ground fault breakers or residual current devices (RCDs), are electrical safety devices designed to protect against electrical shocks. They are typically installed in circuit breakers or outlet receptacles in areas where water is present, such as kitchens, bathrooms, garages, and outdoor electrical outlets.
The purpose of GFCIs is to monitor the flow of electricity in a circuit and detect any imbalances that may indicate a ground fault or leakage current. A ground fault occurs when the electrical current finds an alternative path to ground, such as through a person’s body. If left unchecked, this can lead to severe electric shock and potential injury or electrocution.
GFCIs are equipped with a built-in sensor that continuously measures the current entering and leaving a circuit. When the sensor detects even a slight imbalance—such as when electricity flows through a person—the GFCI reacts swiftly to interrupt the circuit within milliseconds, preventing the person from receiving a potentially dangerous electric shock.
How GFCIs Work to Prevent Electric Shocks
To better understand how GFCIs work, let’s break down the process into simple steps:
- Step 1: Monitoring the Current—When you plug in an electrical device into a GFCI-protected outlet, the GFCI constantly monitors the current flowing between the hot and neutral wires. It compares the current entering the circuit with the current returning from the circuit through the neutral wire.
- Step 2: Detecting Imbalance—If there is an imbalance of as little as 4-6 milliamperes between the incoming and outgoing currents, the GFCI recognizes it as a ground fault and quickly interrupts the circuit.
- Step 3: Interrupting the Circuit—When the GFCI detects an imbalance, it instantly trips a mechanical switch, cutting off the power supply to the circuit. This swift reaction significantly reduces the risk of electric shock to anyone in contact with the faulty equipment or wiring.
- Step 4: Testing the GFCI—It is important to regularly test your GFCIs to ensure they are functioning correctly. Most GFCIs feature a built-in test button that, when pressed, simulates a ground fault. If the GFCI is working correctly, it should trip and cut off the electrical supply, indicating that it is protecting your safety.
By interrupting the circuit and cutting off the power supply almost instantaneously, GFCIs provide a vital layer of protection against electric shocks. Their quick response time and ability to sense even minor imbalances make them an indispensable safety device in any electrical system, especially in areas where water contact is a possibility.
Installing GFCIs should be a priority for anyone who wants to ensure the safety of their household or workspace. In the next section, we will provide step-by-step instructions on how to install a ground fault breaker, allowing you to implement this essential safety measure in your electrical system.

Required Tools And Materials For Installation
Before you begin installing a ground fault breaker, it’s essential to have the necessary tools and materials at hand. Having the right equipment will ensure a smooth and successful installation. In this section, we will provide you with a comprehensive list of tools and materials required for the installation process. This will help you gather everything you need before getting started.
List of Tools and Equipment needed
Below is a list of tools and equipment you will require to install a ground fault breaker:
| Tools and Equipment | Description |
|---|---|
| Screwdriver | A standard screwdriver for securing the breaker into the electrical panel. |
| Wire cutters/strippers | To cut and strip the electrical wires as necessary during the installation process. |
| Voltage tester | A tool to verify that the power has been cut off before working on the breaker. |
| Wire nuts | Used to connect or secure electrical wires together during the installation. |
| Electrical tape | To insulate and protect electrical connections. |
| Label maker | Optional but useful for labeling the breaker and its corresponding circuit. |
List of Materials required for the installation process
Here is a list of materials you will need for installing a ground fault breaker:
- Ground fault breaker – Determine the appropriate amperage and size based on your electrical needs.
- Electrical cable – Ensure you have enough cable to connect the breaker to the electrical panel.
- Wire connectors – Used to secure wires to the breaker and electrical panel.
- Screws – For mounting the breaker in the electrical panel.
- Grounding wire – Required to establish a grounding connection.
- Wire staples or conduit – To secure the electrical cable and protect it from damage.
Steps To Install A Ground Fault Breaker
Installing a ground fault breaker can be a crucial step in ensuring the safety of your electrical system. They provide an added layer of protection against electrical shock and are required in certain areas of your home, such as bathrooms, kitchens, and outdoor outlets. In this section, we will guide you through the process of installing a ground fault breaker step by step. Let’s get started!
Step 1: Ensuring Safety Precautions
Before beginning any electrical work, it is vital to prioritize safety precautions. Make sure to turn off the power supply to the area where you will be working. This can be done by switching off the specific circuit breaker or by shutting off the main power supply to your home. It is also advisable to use personal protective equipment such as safety goggles and insulated gloves to protect yourself from any potential hazards.
Step 2: Locating the Main Electrical Panel
The main electrical panel, also known as the breaker box, is where all the electrical circuits in your home are connected. It is usually located in a utility room, basement, or garage. Take a moment to familiarize yourself with the panel’s location and ensure there is sufficient space to work around it comfortably.
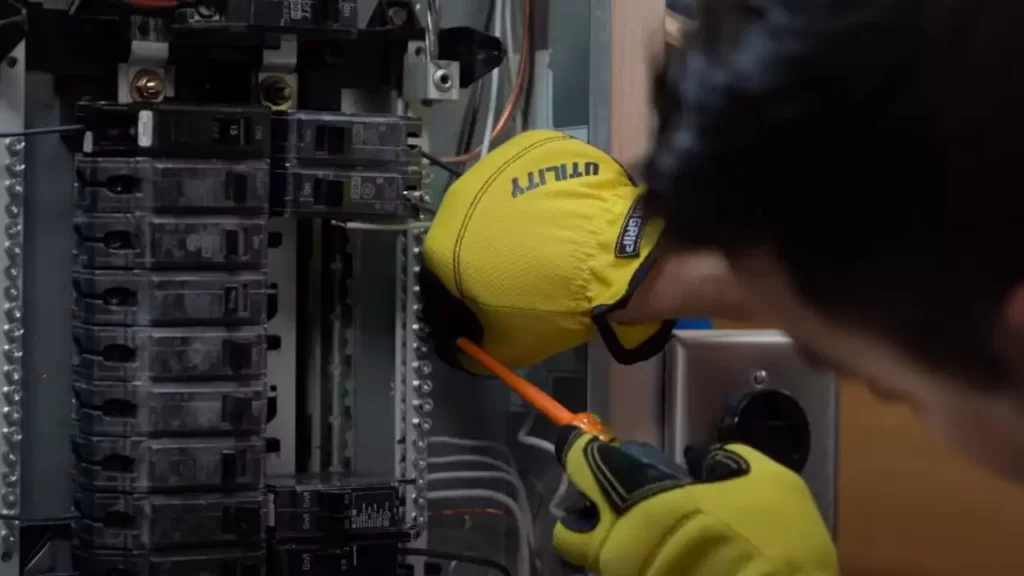
Step 3: Turning off Power and Removing the Panel Cover
Once you have located the main electrical panel, it’s time to turn off the power and remove the panel cover. Using a voltage tester, check that there is no electricity running to the panel by touching the tester to the circuit breaker terminals. If the tester does not indicate any voltage, it is safe to proceed. Carefully remove the screws or fasteners securing the panel cover and set it aside in a safe place.
Step 4: Identifying the Breaker Slot
Next, you need to identify the slot where the ground fault breaker will be installed. This is typically located near the top or bottom of the breaker panel. Refer to the manufacturer’s instructions or the circuit diagram on the inside of the panel cover to determine the appropriate slot.
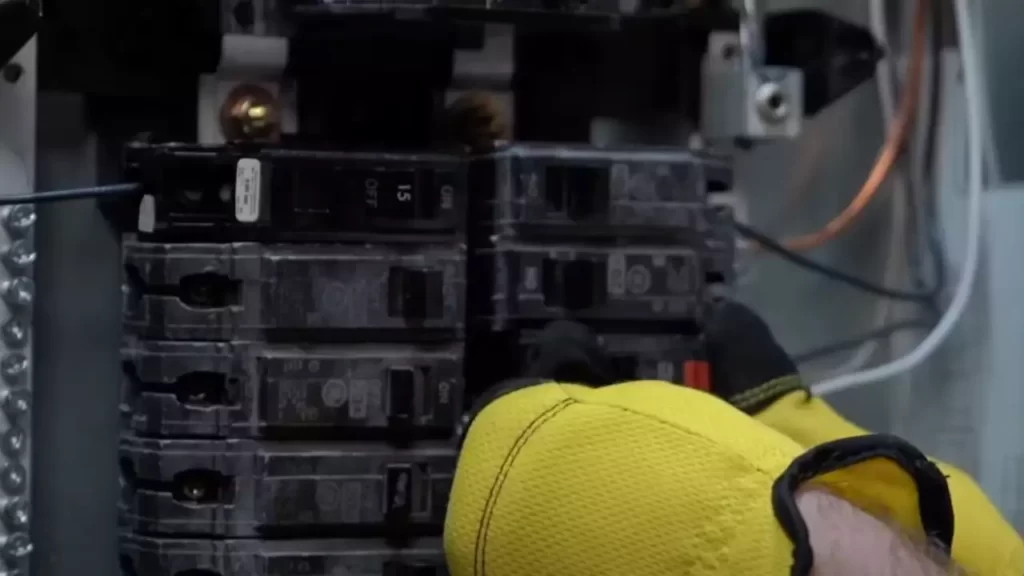
Step 5: Installing the Ground Fault Breaker
Carefully insert the ground fault breaker into the designated slot. Be sure to align the breaker’s connection clips with the terminal bars in the panel. Apply gentle pressure until the breaker snaps into place securely. Verify that the breaker is seated correctly by attempting to wiggle it, ensuring it does not come loose.
Step 6: Connecting Wires Properly
Now it’s time to connect the wires to the ground fault breaker. Start by identifying the line wires, which bring the electrical current into the panel. These wires are usually black or red. Remove the appropriate screws from the breaker using a screwdriver and attach the line wires to the terminals. Tighten the screws securely, ensuring a firm connection.
Step 7: Reinstalling the Panel Cover
With the ground fault breaker successfully installed and wired, it’s time to reattach the panel cover. Carefully line up the cover with the panel and secure it using the screws or fasteners removed earlier. Ensure that the cover is firmly in place to protect the breaker panel and prevent any accidental contact with live wires.
Step 8: Turning on Power and Testing the Breaker
With the panel cover securely in place, you can now turn the power supply back on. Flip the main circuit breaker or the specific circuit breaker for the area you were working on. Ensure that the ground fault breaker is in the “off” position before turning on the power supply. Finally, with the power restored, test the breaker by pressing the “test” button. If the breaker trips and disconnects the power, it is functioning correctly.
Congratulations! You have successfully installed a ground fault breaker. Remember, if you ever feel unsure or uncomfortable during any step of the process, it is always best to consult a professional electrician for assistance.
Tips For Troubleshooting And Maintenance
Installing a ground fault breaker in your electrical system is crucial for protecting you and your property from potential electrical hazards. However, like any other electronic device, ground fault breakers may experience issues over time or require regular maintenance to ensure their efficiency. In this section, we will explore some valuable tips for troubleshooting common issues with ground fault breakers and highlight the importance of regular maintenance and testing. By following these guidelines, you can ensure the optimal performance of your ground fault breaker and enjoy a safe electrical system.
Troubleshooting Common Issues with Ground Fault Breakers
Ground fault breakers can sometimes encounter certain issues that require troubleshooting to identify and resolve. By detecting and addressing these problems promptly, you can avoid potential hazards and ensure a reliable electrical system. Here are some common issues you might encounter:
Circuit Overloads
A circuit overload can cause your ground fault breaker to trip repeatedly. This typically occurs when the load on a circuit exceeds the breaker’s capacity. To troubleshoot this issue, consider the following:
- Identify the appliances or devices that are connected to the circuit.
- Check if any of the appliances or devices have faulty wiring.
- Unplug or disconnect the appliances or devices one by one to identify which one is causing the overload.
Frequent Tripping
If your ground fault breaker trips frequently without any apparent cause, it could indicate a wiring issue or a ground fault. Here are some steps to troubleshoot this problem:
- Inspect the wiring connected to the breaker for any signs of damage or loose connections.
- Check for any moisture or water intrusion in the electrical outlets or nearby areas.
- Consider hiring a qualified electrician to perform a thorough inspection and identify any hidden ground faults.
Regular Maintenance and Testing of GFCIs
To ensure the continued functionality and safety of your ground fault breaker, regular maintenance and testing are essential. Here are some practices you should adopt:
Cleanliness and Visual Inspection
Periodically inspect the breaker for any signs of physical damage, such as cracks or discoloration. Clean the breaker using a soft, dry cloth to remove any dust or debris that might hinder its performance.
Testing the GFCI Functionality
Regularly test the ground fault breaker to ensure its proper functioning. Most breakers come with a test button that, when pressed, should cause the breaker to trip. Follow these steps to test the GFCI functionality:
- Plug a lamp or any other suitable device into the GFCI-protected outlet.
- Press the test button on the breaker. The device connected to the outlet should turn off.
- Press the reset button to restore power to the outlet. The device should turn back on.
- If the device does not turn off when the test button is pressed, or if it fails to turn back on when the reset button is pressed, there might be an issue with the ground fault breaker. Consider replacing it or consulting a qualified electrician.
By following these maintenance and testing practices, you can ensure that your ground fault breaker is functioning properly and providing the necessary protection against electrical hazards. Remember to document your maintenance activities to keep track of your breaker’s condition and perform any necessary repairs or replacements promptly.
Safety Guidelines For Installing A Ground Fault Breaker
Safety Guidelines for Installing a Ground Fault Breaker
When installing a ground fault breaker, it is crucial to prioritize safety measures to ensure the well-being of yourself and anyone else involved. By following these safety guidelines, you can minimize the risk of accidents and ensure a successful installation.
Importance of Safety Measures during Installation
Ensuring safety during the installation process is of utmost importance. Ground fault breakers are designed to protect you from electrical shock, so it’s essential to take all necessary precautions. By understanding and following safety measures, you can prevent any potential mishaps and guarantee a secure installation.
Potential Hazards and Precautions to Take
Throughout the installation process, there are a few potential hazards you should be aware of. By taking these precautions, you can mitigate the risks and ensure a safe working environment.
1. Electrical Shock:
Electrical shock is one of the primary hazards when handling electrical components. To prevent this, always remember to:
– Wear non-conductive gloves and safety goggles when handling electrical wires;
– Cut off the power supply to the circuit from the main electrical panel before starting the installation;
– Use a voltage tester to ensure that the power is completely off before working on any wires.
2. Fire Hazards:
Incorrect installation may lead to fire hazards. To avoid the risk of fire, keep in mind:
– Make sure the wires are not frayed or damaged before installation;
– Use wire connectors to secure and insulate wire connections;
– Follow the manufacturer’s instructions regarding proper wire gauge and load capacity.
3. Personal Safety:
Maintaining personal safety is crucial throughout the installation process. Take these precautions to protect yourself:
– Use non-slip footwear to prevent falls and ensure stability;
– Avoid working alone – have someone nearby who can assist you if needed;
– Keep the work area clean and tidy, free of any potential hazards such as tools or debris.
Remember, when it comes to electrical installations, safety should always be the top priority. By adhering to these safety guidelines, you can install a ground fault breaker effectively while minimizing any potential risks. Stay cautious, follow the necessary precautions, and ensure a secure electrical system for yourself and others.
Frequently Asked Questions
How Does A Ground Fault Breaker Work?
A ground fault breaker works by constantly monitoring the electrical current flow. It senses any imbalance between the incoming and outgoing currents, indicating the presence of a ground fault. Once detected, the breaker quickly interrupts the circuit, preventing electric shocks and potential electrical fires.
When Should You Install A Ground Fault Breaker?
You should install a ground fault breaker whenever you are working with electrical outlets located in wet or damp areas, such as bathrooms, kitchens, or outdoor spaces. This is essential as the breaker provides an extra level of protection against electric shocks that can occur in these environments.
How Do You Install A Ground Fault Breaker?
To install a ground fault breaker, start by turning off the main power supply. Identify the circuit that you want to protect and remove the panel cover. Connect the grounding wire to the breaker and insert it into an available slot.
Finally, make sure all connections are secure before restoring power and testing the breaker.
Can I Install A Ground Fault Breaker Myself?
Although it is possible to install a ground fault breaker on your own, it is highly recommended to seek the assistance of a qualified electrician. They have the necessary knowledge and experience to ensure proper installation, which is vital for the safety and functionality of the breaker.
Conclusion
Installing a ground fault breaker is a vital step in ensuring electrical safety in your home. By following the step-by-step guide provided in this blog post, you can successfully install a ground fault breaker and protect yourself and your loved ones from potential electrical hazards.
Remember to always prioritize safety and consult a professional electrician if needed. With this knowledge, you are now empowered to confidently take on this task and enhance the safety of your electrical system.