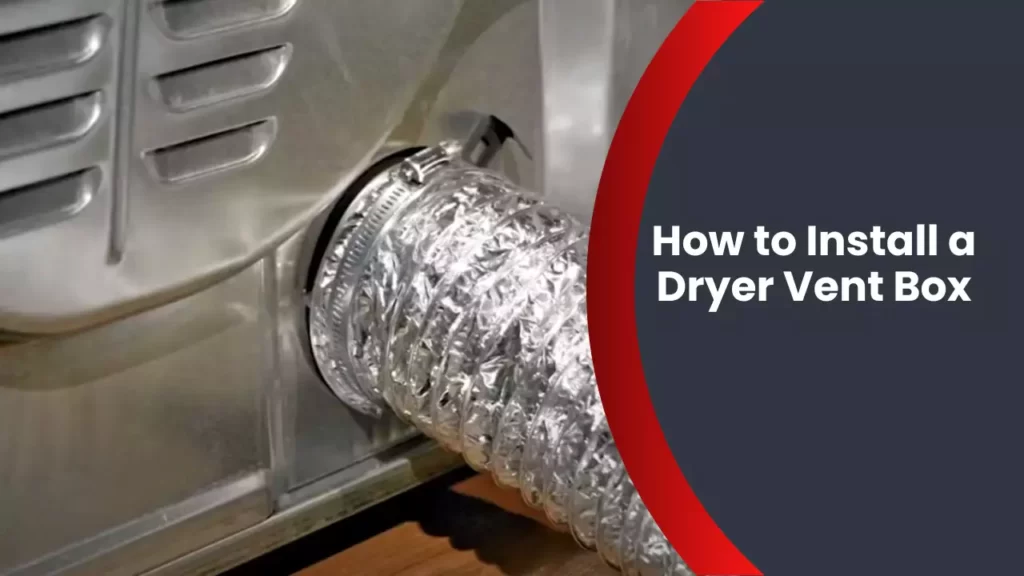
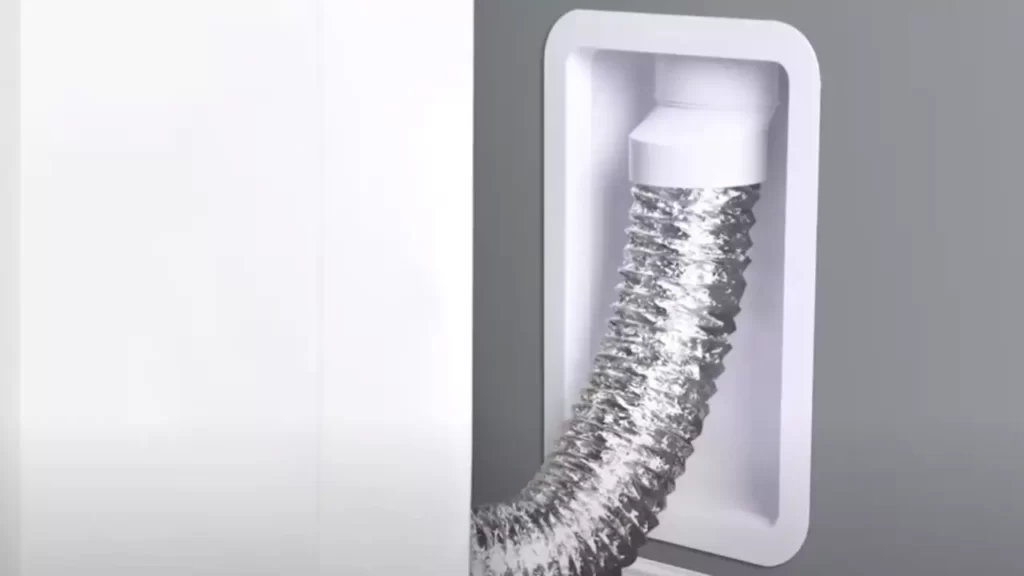
To install a dryer vent box, first, choose a suitable location, mark the outline, and cut through the wall. Then, attach the box to the wall, connect the dryer vent hose, and secure it with clamps.
Finally, seal any gaps and test the vent for proper airflow. Are you tired of dealing with lint and debris accumulating behind your dryer? Installing a dryer vent box is an efficient solution that not only prevents obstructions but also saves space.
In this guide, we will walk you through the easy steps to install a dryer vent box, ensuring a safe and efficient dryer operation. Say goodbye to lint build-up and hello to a cleaner and more functional laundry space. So, let’s get started with the installation process!
Why Installing A Dryer Vent Box Is Important
Protects against fire hazards
A dryer vent box is an essential component in your laundry room that plays a crucial role in preventing fire hazards. When your dryer operates, it generates heat and quickly expels hot, moist air. Without a proper ventilation system, this air can get trapped in the confined space behind your dryer. Over time, the accumulation of lint and debris in this area can become highly flammable, increasing the risk of a dryer fire.
By installing a dryer vent box, you create a safe and efficient pathway for the hot air to escape. The box helps redirect the airflow, ensuring that it is directed outside your home through a vent pipe, reducing the chances of lint buildup and significantly minimizing the risk of fire.
Increases energy efficiency
A dryer vent box not only protects against fire hazards but also enhances the energy efficiency of your dryer. When the hot air from your dryer is trapped in the laundry room, it creates a heated environment that can affect the overall performance and efficiency of the appliance.
With a vent box in place, the hot air is effectively directed outside, allowing your dryer to operate in a cooler environment. This prevents the accumulation of excessive heat around the machine, helping it to function optimally and consume less energy. By improving the energy efficiency, not only are you saving on utility bills, but you are also reducing your carbon footprint.
Prevents damage to walls and ceilings
Another significant benefit of installing a dryer vent box is that it helps prevent potential damage to your walls and ceilings. Without proper ventilation, the hot and moist air from your dryer can escape into the surrounding area, leading to moisture accumulation and condensation on the walls.
Over time, this moisture buildup can result in the development of mold and mildew, causing unsightly stains and potentially compromising the integrity of your walls and ceilings. By installing a dryer vent box, you create a sealed pathway for the air to escape, ensuring that your walls and ceilings remain dry and free from any water damage.

Step-By-Step Guide To Install A Dryer Vent Box
Installing a dryer vent box is a crucial step in ensuring proper ventilation for your dryer. A vent box not only helps to streamline the appearance of your laundry area but also prevents lint buildup and potential fire hazards. In this step-by-step guide, we will walk you through the process of installing a dryer vent box, ensuring a safe and efficient dryer vent system.
Gather necessary tools and materials
Before you begin the installation process, it is essential to gather all the necessary tools and materials. Here’s a list of what you will need:
| Vent Box | A high-quality vent box that is specifically designed for dryer vents. |
| Duct Tape | Strong and durable duct tape to secure the components. |
| Screwdriver | A screwdriver that is suitable for the type of screws you’ll be using. |
| Measuring Tape | A measuring tape to ensure precise measurements. |
Locate the ideal position for the vent box
The first step is to locate the ideal position for the vent box. Choose a location in proximity to your dryer that allows for an easy and efficient airflow.
Measure and mark the installation area
Using your measuring tape, carefully measure and mark the installation area for the vent box. Ensure that the dimensions are accurate and aligned with the specifications of your vent box.
Cut a hole for the vent box
Using a sharp tool, carefully cut a hole in the marked area to accommodate the vent box. Make sure to follow the measurements precisely to ensure a proper fit.
Install the vent box
Now it’s time to install the vent box. Position the box in the hole you have cut, ensuring that it fits snugly and securely.
Attach the box using screws
Using a screwdriver, firmly attach the vent box to the wall or any other suitable surface surrounding the hole. Make sure the screws are tightened properly to ensure stability.
Connect the dryer vent to the box
Now it’s time to connect the dryer vent to the box. Align the dryer vent with the opening on the box and secure it tightly. Ensure that there are no gaps or loose connections.
Secure the vent box
To further secure the vent box, use additional screws to ensure a stable and reliable connection. This extra step will provide added support and prevent any potential movement.
Use duct tape to seal any gaps
Once the vent box is securely installed, carefully inspect for any gaps or openings. Use high-quality duct tape to seal any areas where air leakage may occur. This will help maintain the efficiency of your dryer vent system.
Check for proper fit and alignment
Before proceeding further, double-check the fit and alignment of the vent box. Ensure that it is tightly secured and properly positioned.
Test the dryer vent system
With the installation complete, it is crucial to test the dryer vent system for proper functionality. Turn on your dryer and observe the airflow to ensure that it is directed through the vent box and properly expelled from your home.
Ensure proper airflow
Finally, verify that there is proper airflow throughout the entire system. Eliminate any obstructions or blockages that could potentially hinder the efficiency of your dryer vent system.
By following this step-by-step guide, you can install a dryer vent box with ease. Proper installation and maintenance of your dryer vent system are essential for maximizing energy efficiency, preventing lint buildup, and ensuring a safe and hazard-free laundry area.

Common Mistakes To Avoid During Installation
When it comes to installing a dryer vent box, there are several common mistakes that homeowners often make. These mistakes can lead to poor ventilation, air leaks, and even potential fire hazards. In order to ensure proper installation and optimal functionality, it is crucial to avoid these common pitfalls. In this article, we will discuss three key mistakes to avoid when installing a dryer vent box, including improper positioning of the vent box, insufficient sealing of connections, and failure to regularly clean the vent box.
Improper positioning of the vent box
One of the most frequently encountered mistakes during dryer vent box installation is improper positioning. It is essential to locate the vent box in a strategic position that facilitates efficient airflow and minimizes potential obstructions. This means placing the vent box as close to the dryer exhaust as possible, without causing any kinks or bends in the ductwork. Failure to position the vent box properly can result in restricted airflow, which can lead to longer drying times and increased energy consumption.
Insufficient sealing of connections
An often overlooked aspect of dryer vent box installation is the proper sealing of connections. It is crucial to ensure that all connections between the dryer, vent box, and ductwork are tightly sealed to prevent any air leaks. Any gaps or openings can allow hot air and lint to escape, potentially causing a fire hazard. To achieve a proper seal, homeowners should utilize high-quality foil tape or approved sealants that are specifically designed for this purpose. By properly sealing all connections, you can ensure that the hot air and lint are effectively directed out of your home.
Failure to regularly clean the vent box
Regular cleaning of the vent box is essential to maintain proper airflow and minimize the risk of fire. Over time, lint and debris can accumulate in the vent box, leading to blockages and reduced airflow. This accumulation not only affects the efficiency of your dryer but can also pose a significant fire hazard. To prevent this, it is crucial to clean the vent box on a regular basis. This can be done by disconnecting the dryer from the vent box and using a vent brush or vacuum to remove any accumulated lint. By keeping the vent box clean, you can ensure optimal performance and safety.
Frequently Asked Questions
How Do I Install A Dryer Vent Box?
To install a dryer vent box, you need to follow these steps:
1. Measure and mark the location. 2. Cut a hole in the wall or ceiling. 3. Attach the vent box to the wall or ceiling. 4. Connect the dryer vent hose. 5. Secure everything in place. 6. Test the ventilation system for proper airflow.
Why Is A Dryer Vent Box Important?
A dryer vent box is important because it helps improve the safety and efficiency of your dryer. It ensures that the hot, moist air is properly vented out of your home, reducing the risk of fire hazards and preventing mold growth.
Additionally, it helps to prevent lint buildup, which can cause the dryer to work inefficiently and increase energy consumption.
Can I Install A Dryer Vent Box Myself Or Should I Hire A Professional?
While it is possible to install a dryer vent box yourself, it is recommended to hire a professional for this job. A professional will have the experience and the necessary tools to ensure a proper and safe installation. They will also be able to address any potential issues or obstacles that may arise during the installation process.
Hiring a professional can save you time and ensure that the installation is done correctly.
Conclusion
Installing a dryer vent box is a simple yet essential task for keeping your home safe and efficient. By following the step-by-step guide in this blog post, you can ensure proper ventilation and prevent potential fire hazards. Remember to choose a suitable location, measure appropriately, and secure the box firmly.
With the proper installation of a dryer vent box, you can enjoy a well-maintained laundry area and peace of mind. So, go ahead and give it a try!
