To install a coolant reservoir, first, locate the old reservoir and remove it by disconnecting the hoses and screws. Then, position the new reservoir in place and reconnect the hoses and screws.
When faced with a faulty or damaged coolant reservoir, it becomes necessary to install a new one. The coolant reservoir plays a crucial role in managing the engine’s temperature by storing excess coolant and releasing it when needed. Without a properly functioning reservoir, the engine may overheat, leading to potential damage and costly repairs.
In this guide, we will provide clear instructions on how to install a coolant reservoir effectively. By following these simple steps, you can ensure the smooth functioning of your vehicle’s cooling system, promoting optimal engine performance and longevity. So, let’s delve into the process and get your coolant reservoir installed swiftly and correctly.
Understanding The Importance Of A Coolant Reservoir
When it comes to the cooling system of your car, the coolant reservoir plays a vital role in maintaining the optimal temperature. A coolant reservoir, also known as an overflow tank or expansion tank, is an essential component that ensures your engine remains cool and operates smoothly.
Why is a coolant reservoir important in a car’s cooling system?
In order to understand the importance of a coolant reservoir, it’s crucial to comprehend the functions it serves. Firstly, the coolant reservoir acts as a storage space for excess coolant. As your engine heats up and the coolant expands, any excess coolant is directed into the reservoir instead of causing a buildup of pressure in the cooling system. This prevents potential damage and helps maintain a stable operating temperature.
Secondly, the coolant reservoir provides an easily accessible location for checking the coolant level. By simply looking at the reservoir, you can quickly determine if it’s time to top up the coolant. This ensures that your engine never runs low on coolant, avoiding the risk of overheating.
The role of a coolant reservoir in maintaining the optimal temperature
The coolant reservoir plays a critical role in maintaining the optimal temperature for your engine. As the engine heats up during operation, the coolant absorbs the excess heat, preventing the temperature from rising too high. The coolant is then circulated through the engine, cooling it down before returning to the reservoir.
By providing a consistent supply of coolant, the reservoir enables the cooling system to regulate the engine temperature effectively. This ensures that the engine doesn’t overheat, keeping the internal components protected from damage and prolonging the life of the engine.
How a coolant reservoir prevents overheating and engine damage
A well-functioning coolant reservoir is crucial in preventing overheating and engine damage. As mentioned earlier, the excess coolant is stored in the reservoir, preventing excessive pressure buildup in the cooling system. This excess pressure can lead to coolant leaks or even damage to the engine’s internal components.
Moreover, during periods of coolant expansion due to high engine temperature, the excess coolant can flow back into the engine from the reservoir, keeping the system balanced. This prevents overheating and potential damage to the engine’s critical parts, such as the cylinder head and pistons.
In conclusion, a coolant reservoir is a vital part of your car’s cooling system. It ensures that excess coolant is safely stored, enables easy monitoring of coolant levels, and helps maintain the optimal temperature to prevent overheating and engine damage. Regularly checking and maintaining the coolant reservoir can extend the life of your engine and ensure your vehicle operates smoothly for years to come.
Tools And Materials Needed
When it comes to installing a coolant reservoir in your vehicle, having the right tools and materials on hand is essential. Not only will it make the installation process smoother and more efficient, but it will also ensure a safe and secure installation. In this section, we will provide you with a list of the tools required, the essential materials needed, and some safety precautions to keep in mind during the installation.
List of tools required for the installation process
Before you begin installing a coolant reservoir, gather the following tools:
- Socket set
- Wrench set
- Phillips head screwdriver
- Flat head screwdriver
- Pliers
- Hose clamping pliers
- Utility knife
- Teflon tape
These tools will help you remove the old reservoir, install the new one, and make any necessary adjustments along the way.
Essential materials needed for the installation
In addition to the tools mentioned above, you will also need the following materials:
- Coolant reservoir
- Coolant
- Hose clamps
- Hoses
- Gasket or O-ring
Make sure to choose a coolant reservoir that is compatible with your vehicle and meets the manufacturer’s specifications. Additionally, ensure that the coolant you use is the correct type and has the necessary additives to protect your engine.
Safety precautions during the installation
When installing a coolant reservoir, it’s important to take certain safety precautions to avoid any accidents or injuries. Consider the following tips:
- Always wear protective gloves and eyewear to shield yourself from any harmful substances.
- Before starting the installation, let your engine cool down completely to prevent burns or scalding.
- Ensure that your vehicle is parked on a level surface and that the parking brake is engaged.
- Follow the manufacturer’s instructions and guidelines while installing the coolant reservoir.
- Be cautious when working with hoses and clamps, as they may be under pressure or contain hot coolant.
- Dispose of any old coolant and materials in accordance with local regulations.
By taking these safety precautions, you can minimize the risks associated with the installation process and ensure a successful installation.

Step-By-Step Guide To Installing A Coolant Reservoir
Installing a coolant reservoir is a crucial part of maintaining the cooling system of your vehicle. A coolant reservoir, also known as an overflow or expansion tank, is responsible for collecting excess coolant and ensuring proper circulation within the cooling system. In this step-by-step guide, we will walk you through the process of installing a new coolant reservoir, ensuring the safety of both you and your vehicle.
Preparing the vehicle and ensuring it is safe to work on
Before you begin the installation process, it is essential to prepare your vehicle and ensure a safe working environment. Follow these steps:
- Park your vehicle on a level surface and engage the parking brake.
- Allow the engine to cool down completely to avoid any risk of burns from hot coolant.
- Open the hood and locate the radiator cap. Carefully loosen the cap to relieve any pressure in the cooling system.
- Place a drain pan beneath the vehicle to catch any coolant that may escape during the installation process.
Locating the current coolant reservoir and assessing its condition
The next step is to locate the current coolant reservoir and assess its condition to determine if replacement is necessary. Follow these steps:
- Refer to your vehicle’s owner’s manual to find the exact location of the coolant reservoir.
- Inspect the reservoir for any signs of damage, such as cracks or leakage, as these may indicate the need for immediate replacement.
- If the reservoir is in good condition, proceed to the next step. Otherwise, follow the steps to safely remove the old coolant reservoir.
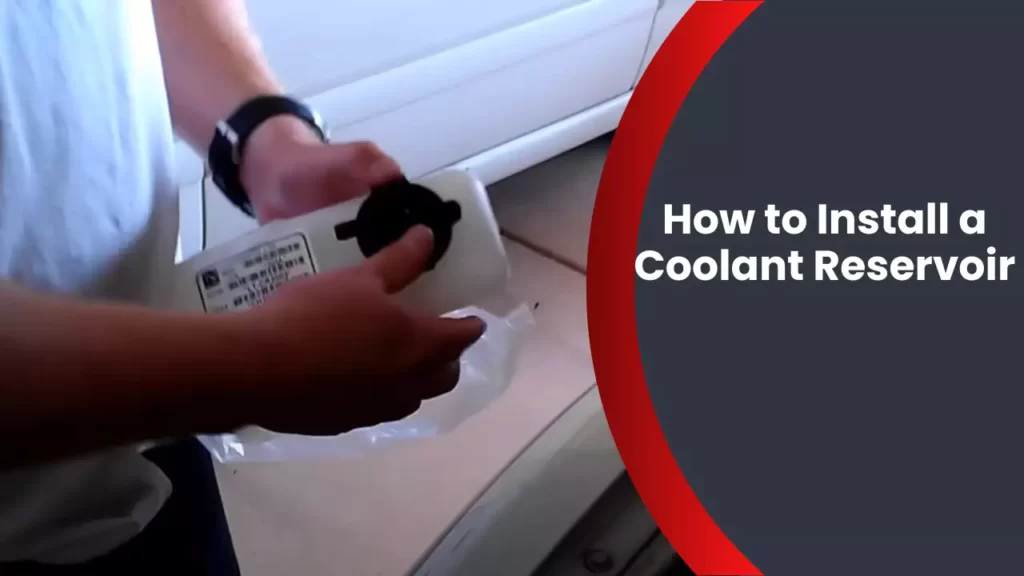
Removing the old coolant reservoir safely
If a replacement is required, follow these steps to remove the old coolant reservoir:
- Using pliers or a screwdriver, carefully disconnect any hoses or clamps attached to the coolant reservoir.
- Take note of the connections and how they are attached as you will need to replicate this when installing the new reservoir.
- Once all connections are detached, gently lift the old coolant reservoir out of its mounting bracket.
- Dispose of the old reservoir properly and safely.
Choosing a replacement coolant reservoir
When selecting a replacement coolant reservoir, consider the following factors:
- Ensure that the new reservoir is compatible with your vehicle’s make and model.
- Choose a reservoir made from durable materials such as high-quality plastic or aluminum.
- Check for additional features, such as a clear sight tube, which allows you to monitor the coolant level easily.
Installing the new coolant reservoir securely
Follow these steps to securely install the new coolant reservoir:
- Place the new reservoir into the mounting bracket, aligning it with the existing connections.
- Attach the hoses or clamps to the corresponding connections on the new reservoir, replicating the configuration of the old reservoir.
- Tighten the clamps securely to ensure proper sealing.
- Double-check all connections to ensure they are tight and secure.
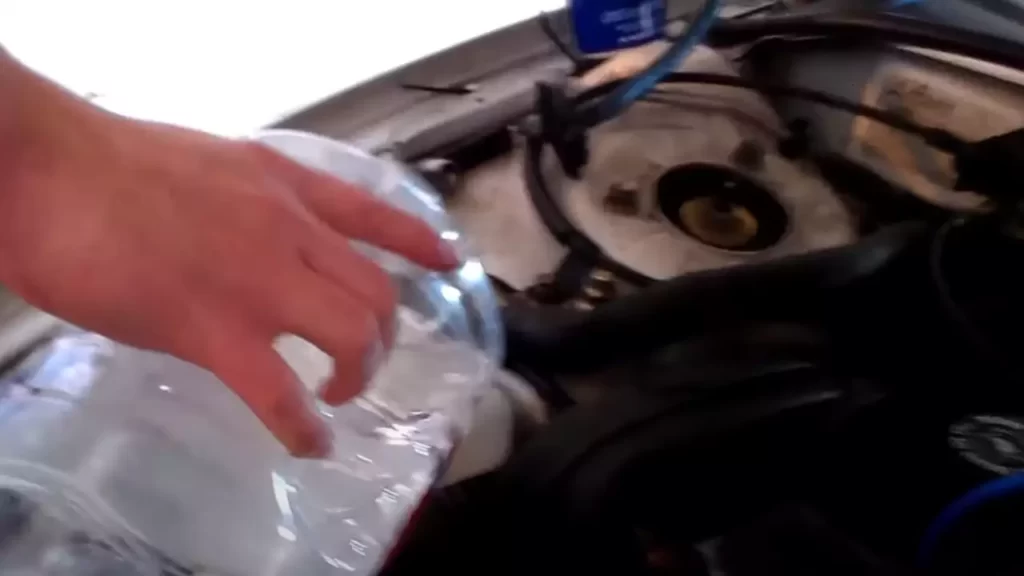
Filling and bleeding the cooling system
To complete the installation, you need to fill and bleed the cooling system:
- Refer to your vehicle’s owner’s manual for the recommended type and quantity of coolant.
- Slowly pour the coolant into the radiator, being cautious not to overfill.
- Replace the radiator cap and start the engine.
- Allow the engine to run for a few minutes while monitoring the coolant level.
- Gently squeeze the radiator hoses to help release any trapped air bubbles in the system.
Checking for leaks and ensuring proper functionality
After completing the installation process, it is crucial to check for leaks and ensure the proper functionality of the coolant reservoir:
- Inspect all connections and the reservoir for any signs of leaks.
- Start the engine and allow it to reach operating temperature.
- Monitor the coolant level and temperature gauge to ensure they remain within the normal range.
- If there are no leaks and the coolant level and temperature are stable, the installation is successful.
By following this step-by-step guide, you can confidently install a coolant reservoir in your vehicle, maintaining the cooling system’s efficiency and preventing potential engine damage.
Common Issues And Troubleshooting
Understanding Common Issues with Coolant Reservoirs
While installing a coolant reservoir is a straightforward process, it’s important to be aware of the common issues that can arise. By understanding these issues, you can troubleshoot any problems that may occur and ensure the smooth functioning of your cooling system. Here are some common issues you might come across:
1. Leaks: Leaks are one of the most common problems with coolant reservoirs. These leaks can occur due to a variety of reasons, such as worn-out gaskets, cracked reservoirs, or loose connections. It’s crucial to identify and fix leaks promptly to prevent engine damage or overheating.
2. Coolant Discoloration: Over time, coolant can become discolored due to the accumulation of contaminants or the breakdown of additives. This can indicate a need for coolant system maintenance or a coolant flush.
3. Broken Cap: The cap of the coolant reservoir plays a vital role in maintaining proper pressure within the system. If the cap is broken or faulty, it can lead to coolant overflow or inadequate cooling. Regularly inspect and replace the cap if necessary.
4. Coolant Foaming: Excessive foaming in the coolant reservoir can be a sign of air infiltration or a head gasket leak. It is important to address this issue promptly to prevent further damage to the engine.
Troubleshooting Steps for Leaks and Other Problems
If you encounter any issues with your coolant reservoir, here are some troubleshooting steps you can take:
1. Check for Leaks: Inspect the reservoir and surrounding components for any signs of coolant leaks. Look for wet or damp areas, white residue, or dripping coolant. Check the hoses, connections, and seals for any wear or damage. Tighten loose connections and replace any faulty parts.
2. Pressure Test: Perform a pressure test to ensure that the coolant system is holding pressure properly. This will help identify any leaks that may not be immediately visible. If you find a leak, fix it as soon as possible using appropriate repair methods.
3. Flush and Refill Coolant: If the coolant is discolored or contaminated, it’s important to flush and refill the system. Follow the manufacturer’s instructions for proper coolant flushing and use a high-quality coolant recommended for your vehicle.
4. Inspect and Replace Cap: Inspect the coolant reservoir cap for any cracks, damage, or worn-out seals. Replace the cap if necessary to ensure proper pressure regulation.
Tips for Maintaining the Coolant Reservoir for Long-Lasting Performance
To maintain the coolant reservoir and ensure its long-lasting performance, consider the following tips:
- Regularly monitor the coolant level and top it up as needed. Ensure the engine is cool before removing the cap.
- Inspect the reservoir for any signs of damage or wear on a regular basis. Replace any cracked or broken reservoirs promptly.
- Check the coolant color and consistency periodically. If the coolant appears discolored or contains debris, it may be time for a coolant flush.
- Keep the reservoir and surrounding area clean from dirt and debris to prevent clogs and contamination.
- Follow the manufacturer’s recommended maintenance schedule for coolant system maintenance, including coolant flushes and component inspections.
By understanding common issues, troubleshooting leaks, and maintaining your coolant reservoir properly, you can ensure a smoothly functioning cooling system and prevent any potential engine damage. Remember, regular maintenance and prompt problem-solving are key to keeping your vehicle’s coolant system in optimal condition.
Frequently Asked Questions
Is It Ok To Have No Coolant Reservoir?
Yes, it is important to have a coolant reservoir. It helps maintain the right coolant levels in your vehicle, preventing overheating and potential engine damage. The reservoir also allows for expansion and contraction of the coolant as temperature changes occur.
It is not recommended to remove the reservoir.
Does The Coolant Reservoir Go Back To The Radiator?
Yes, the coolant reservoir does go back to the radiator. It acts as a storage container for excess coolant that expands when the engine heats up. When the radiator cools down, the coolant is drawn back into the system to maintain the proper level.
How Much Does It Cost To Replace A Coolant Reservoir?
The cost to replace a coolant reservoir varies, depending on the make and model of the vehicle. On average, it can range from $100 to $300, including both the parts and labor fees. It is recommended to get a quote from a trusted mechanic for an accurate estimate.
Can I Add Coolant To Reservoir When Engine Is On?
Yes, you can add coolant to the reservoir when the engine is on. Just make sure to do it carefully and slowly to avoid any spills or injuries. It’s important to check the coolant level regularly and top it up as needed to keep your engine running smoothly.
Conclusion
Installing a coolant reservoir is a relatively simple task that can be done with a few basic tools and some patience. Proper installation and maintenance of this important component will help keep your engine running smoothly and prevent overheating. By following the step-by-step guide outlined in this blog post, you can ensure that your coolant reservoir is functioning properly and effectively.
Remember to regularly check the coolant levels and inspect for any leaks or damage. With a little effort and attention, your vehicle’s cooling system will continue to operate optimally.