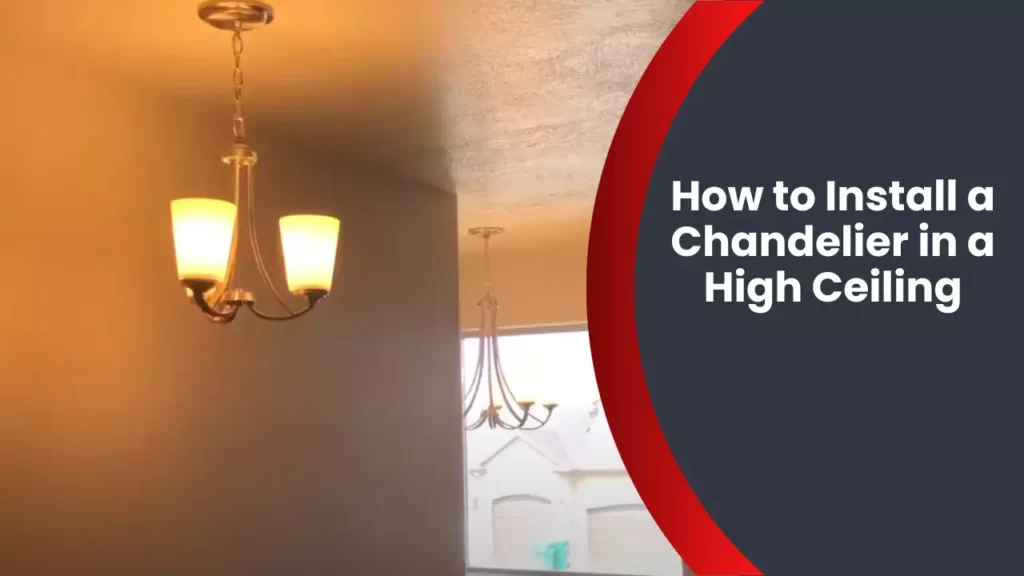
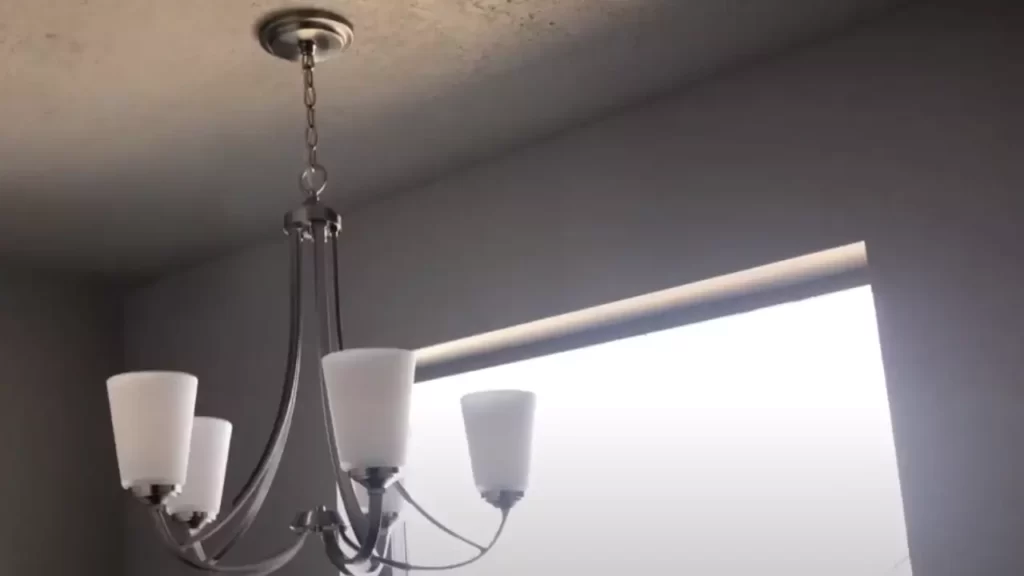
To install a chandelier in a high ceiling, use an extension ladder to safely reach the desired location and ensure the wiring is compatible with the chandelier’s requirements. Installing a chandelier in a high ceiling can be a challenging task that requires careful planning and execution to ensure safety and proper installation.
With the right tools and techniques, you can successfully achieve a stunning lighting fixture that adds elegance and sophistication to your space. We will provide step-by-step instructions on how to install a chandelier in a high ceiling while adhering to safety precautions.
Whether you are a DIY enthusiast or a professional electrician, these guidelines will help you bring a touch of luxury to your room without compromising on functionality. So let’s dive in and learn the necessary steps to transform your high ceiling into a visually striking focal point.

Choosing The Right Chandelier
Installing a chandelier in a high ceiling can be a great way to add elegance and sophistication to your space. However, with the vast array of options available in the market, choosing the right chandelier can seem like a daunting task. Here are a few factors to consider when picking the perfect chandelier for your high ceiling.
Factors to Consider When Choosing a Chandelier
Before you start browsing through chandelier styles and designs, it’s essential to consider a few factors that will help you make the right choice. These factors include:
1. Determining the Suitable Size for a High Ceiling
The size of your chandelier plays a crucial role in how it will visually fit in your high-ceilinged room. A chandelier that is too small will appear dwarfed by the vastness of the space, while one that is too large can overwhelm the room. To determine the suitable size, consider the following:
- The height of the ceiling: Measure the height of your ceiling, as this will impact how low the chandelier should hang. Allow at least 7 feet of clearance between the floor and the bottom of the chandelier.
- The size of the room: Consider the square footage of your room. As a general rule, for high ceilings, the diameter of the chandelier should be around 2 to 3 inches per foot of the room’s width or length.
2. Selecting the Style and Design that Complement your Interior Décor
While size is important, equally crucial is selecting a chandelier style and design that complements your interior decor. The chandelier should blend harmoniously with the overall aesthetics of the room. Consider these aspects:
- Interior style: Take into account the architectural style of your home. A chandelier designed for a modern space may not suit a traditional or rustic interior.
- Finish and materials: Pay attention to the finish and materials used in the chandelier. Opt for finishes that either match or complement other fixtures in the room, such as door handles or cabinet knobs.
- Lighting needs: Determine the purpose of the chandelier. Do you want it to be the main source of light in the room or serve as an accent or decorative piece? This will influence the number of bulbs and light output required.
By considering these factors, you can confidently choose a chandelier that not only suits your high ceiling but also enhances the overall ambiance of your space. Remember, the right chandelier can transform your room into a captivating and luxurious retreat.

Safety Precautions And Necessary Tools
Installing a chandelier in a high ceiling can bring a touch of elegance and sophistication to any room. However, it’s crucial to prioritize safety when embarking on this project. In this section, we will discuss the essential safety measures to follow and the necessary tools required for a successful chandelier installation.
Safety Measures to Follow When Installing a Chandelier
When working with electrical wiring and installing chandeliers, safety should always be your top priority. These safety measures will help ensure that the installation process goes smoothly and without any accidents:
- Turn off the power: Before you start working on the chandelier installation, it is crucial to turn off the power to the room at the circuit breaker. This step will minimize the risk of electrical shock.
- Use a sturdy ladder or scaffold: Since you will be working at a height, it is essential to have a stable and secure platform. Ensure that your ladder or scaffold is in good condition and firmly positioned. Avoid using furniture or makeshift platforms as they can be unstable.
- Wear protective gear: Protect yourself by wearing safety goggles, gloves, and non-slip footwear. This equipment will minimize the risk of injury from falling debris or accidental electrical contact.
- Secure the chandelier properly: Before you begin, ensure that the chandelier is securely fastened. Double-check all the connections and make sure the fixture is stable to prevent it from falling.
- Seek professional assistance if needed: If you are uncertain about any aspect of the installation process or feel uncomfortable working at heights, it is always better to seek the help of a professional electrician.
Essential Tools Required for the Installation Process
The following tools are necessary to successfully install a chandelier in a high ceiling:
| Tools | Description |
|---|---|
| Step ladder or scaffold | A sturdy and reliable platform that allows safe access to the ceiling |
| Screwdriver set | Various screwdrivers (flathead, Phillips, etc.) for loosening and tightening screws during installation |
| Wire stripper | A tool used to strip the insulation from electrical wires |
| Wire connectors | Connectors used to join wires securely |
| Electrical tape | Insulating tape used to protect electrical connections and secure loose wires |
| Wire nuts | Nuts used to fasten exposed wires and ensure a safe electrical connection |
| Chandelier lift system (optional) | A mechanical device that helps raise and lower heavy chandeliers to simplify installation |
Having all the necessary tools at hand will make the installation process more efficient and reduce the chances of making mistakes or encountering difficulties along the way.
By following these safety precautions and having the essential tools ready, you can ensure a smooth and successful chandelier installation in your high ceiling. Remember, when it comes to electrical work, it is always better to be safe than sorry.

Step-By-Step Guide To Installing A Chandelier In A High Ceiling
“`html
Are you ready to add a touch of elegance and sophistication to your high-ceilinged space? Installing a chandelier in a high ceiling may seem like a daunting task, but with the right tools and step-by-step guidance, you can have your chandelier shining brightly in no time. In this step-by-step guide, we will take you through the entire process of installing a chandelier in a high ceiling, ensuring your safety and success every step of the way.
“`
Assessing the Ceiling Height and Positioning
The first step in installing a chandelier in a high ceiling is to assess the ceiling height and determine the ideal positioning for your chandelier. Measure the height of your ceiling to ensure that it is suitable for your chandelier. Additionally, consider the room’s overall design and ambiance to decide on the most visually pleasing placement for your chandelier.
Assembling the Chandelier and Preparing the Wiring
Now that you have determined where your chandelier will be positioned, it’s time to assemble the chandelier and prepare the wiring. Carefully follow the manufacturer’s instructions to assemble the chandelier, ensuring that all components are securely attached. Next, prepare the wiring by stripping the insulation off the wires and connecting them to the canopy of the chandelier.
Mounting the Chandelier Canopy and Junction Box
Now it’s time to mount the chandelier canopy and junction box. Begin by attaching the canopy to the canopy mounting bracket, making sure it is securely fastened. Then, locate the junction box in the ceiling and align it with the canopy mounting bracket. Once aligned, secure the junction box to the bracket using screws.
Connecting and Securing the Electrical Wires
After mounting the canopy and junction box, you can now connect and secure the electrical wires. Take the wires from the chandelier and connect them to the wires in the junction box, making sure to match the corresponding colors. Twist the wires together and secure them with wire nuts. Once secured, tuck the wires neatly into the junction box.
Testing the Chandelier and Making Final Adjustments
Before you can admire your newly installed chandelier, it’s important to test it and make any necessary adjustments. Turn on the power and ensure that the chandelier lights up. If any bulbs are not working, double-check the connections. Additionally, make any final adjustments to the positioning of the chandelier to ensure it hangs straight and at the desired height.
Disclaimers and Important Reminders for Safe Installation
Remember that working with electricity can be dangerous. Always turn off the power at the circuit breaker before beginning any electrical work. If you are unsure or uncomfortable with the installation process, it is best to seek professional help to ensure a safe and proper installation.
Additional Tips and Tricks for a Successful Chandelier Installation
Here are some additional tips and tricks to ensure a successful chandelier installation:
- Use a sturdy ladder or scaffolding to safely access the ceiling.
- Have a helper assist you during the installation process to hold the chandelier while you make connections.
- Consider using a dimmer switch or lighting control system to enhance the ambiance and functionality of your chandelier.
Proper Maintenance and Cleaning of the Chandelier
To keep your chandelier looking its best, regular maintenance and cleaning are essential. Use a soft, lint-free cloth to gently wipe away dust and debris from the chandelier. Avoid using harsh cleaning products or abrasive materials that could damage the delicate components of the chandelier.
Enhancing the Chandelier’s Visual Appeal with Dimmers or Lighting Controls
If you want to further enhance the visual appeal of your chandelier, consider installing dimmers or lighting controls. These can allow you to adjust the brightness and create different moods in the room. Consult with an electrician to ensure the proper installation and compatibility of dimmers and lighting controls with your chandelier.
With this step-by-step guide, you are now equipped with the knowledge to install a chandelier in a high ceiling. Remember to prioritize safety, follow the manufacturer’s instructions, and seek professional help if you are unsure. Enjoy the beautiful illumination and ambiance that a chandelier can bring to your high-ceilinged space.
Frequently Asked Questions
How Much Does It Cost To Install A Chandelier In A High Ceiling?
Installing a chandelier in a high ceiling can cost around $200 to $2,000, depending on factors like the size and complexity of the installation. It’s important to hire a professional for safe and proper installation.
How Do You Hang A Chandelier On A 12 Foot Ceiling?
To hang a chandelier on a 12-foot ceiling, follow these steps: 1. Measure the height carefully. 2. Use a strong and secure ceiling hook. 3. Ensure the chandelier is properly assembled. 4. Connect the wiring and secure it with wire nuts.
5. Hang the chandelier on the hook and check for stability. Remember to consult a professional if you’re unsure.
How Do I Choose A Chandelier For A High Ceiling Living Room?
To choose a chandelier for a high ceiling living room: 1. Measure the ceiling height to determine the appropriate size. 2. Consider the style and design that complements the room’s aesthetics. 3. Look for chandeliers with adjustable chain lengths to accommodate the tall ceiling.
4. Assess the light output and brightness to ensure it illuminates the space adequately. 5. Opt for a chandelier with sturdy installation to support the weight and height. Remember to shop according to your personal preference and the room’s overall decor.
How Do You Hang A Chandelier On An 8 Foot Ceiling?
To hang a chandelier on an 8 foot ceiling, start by measuring the height from the floor. Next, determine the proper size and weight capacity for your chandelier. Use a stud finder to locate a ceiling joist for secure installation.
Install a ceiling medallion if desired, then connect the chandelier’s wiring according to the manufacturer’s instructions. Finally, carefully attach the chandelier to the ceiling and double check for stability.
Conclusion
Installing a chandelier in a high ceiling may seem like a daunting task, but with the right techniques, it can be easily accomplished. By following the step-by-step instructions provided in this blog post, you can successfully bring elegance and style to your space.
Remember to gather the necessary tools, take proper safety precautions, and seek professional help if needed. With patience and careful planning, your high ceiling chandelier installation will be a stunning addition to your home.
