To install a ceiling vent, first, choose the desired location for the vent. Then, use a saw to cut a hole in the ceiling according to the size of the vent.
Choosing The Right Ventilation System
Proper ventilation is essential for any space to maintain good indoor air quality and prevent moisture-related problems such as mold and mildew. When it comes to installing a ceiling vent, it’s crucial to choose the right ventilation system that suits your specific needs and requirements. In this section, we will explore the importance of proper ventilation and discuss the factors that you should consider before selecting a ceiling vent.
Understanding the Importance of Proper Ventilation
Having a well-ventilated space is not only important for comfort but also for the health and safety of the occupants. A good ventilation system can help remove odors, reduce condensation, and expel pollutants, keeping the indoor air fresh and clean. Without proper ventilation, air contaminants can accumulate, leading to respiratory issues and other health problems. Additionally, excessive moisture buildup can cause damage to the structure of your home or office.
Factors to Consider When Selecting a Ceiling Vent
When selecting a ceiling vent, there are several factors you should take into consideration to ensure you choose the right system for your needs. Here are some important factors to keep in mind:
- Room Size: The size of the space you need to ventilate plays a crucial role in determining the type and size of the ceiling vent you should install. A larger room may require a more powerful ventilation system to adequately circulate the air.
- Functionality: Consider how you intend to use the room and what specific ventilation needs you have. For instance, a kitchen may require a vent with a higher capacity to remove odors and grease, while a bathroom may benefit from a vent with built-in humidity sensors to combat excessive moisture.
- Noise Level: Depending on the location of the ceiling vent and the level of noise tolerance in the space, you may want to consider a ventilation system that operates quietly. This is especially important for bedrooms and other areas where noise disturbances can be disruptive.
- Energy Efficiency: Look for ceiling vents that are energy-efficient and have a high airflow-to-power ratio. These systems will not only help you save on energy costs but also contribute to a more sustainable environment.
- Installation Convenience: Consider the ease of installation and maintenance when choosing a ceiling vent. Opt for systems that come with clear instructions and require minimal effort to set up and clean.
By carefully considering these factors, you can ensure that you choose a ceiling vent that meets your specific ventilation needs, providing optimal air quality and comfort in your space.
Types Of Ceiling Vents
Different Styles and Materials of Ceiling Vents
Ceiling vents come in a variety of styles and materials, allowing you to choose the perfect fit for your space. Whether you’re looking for functionality, aesthetics, or a combination of both, understanding the different types of ceiling vents available can help you make an informed decision. Here are some of the most common styles and materials to consider:
Pros and Cons of Each Type
Each type of ceiling vent has its own unique advantages and disadvantages. Understanding the pros and cons of each option can help you decide which one will work best for your specific needs. Let’s take a closer look:
1. Metal Ceiling Vents:
– Pros:
– Durable and long-lasting.
– Provides excellent airflow and ventilation.
– Easy to clean and maintain.
– It comes in various designs to match any interior style.
– Cons:
– Can be more expensive compared to other materials.
– Prone to rust and corrosion if not properly maintained.
2. Plastic Ceiling Vents:
– Pros:
– Affordable and budget-friendly option.
– Lightweight and easy to install.
– Resistant to rust and corrosion.
– Comes in a variety of colors and styles.
– Cons:
– Less durable compared to metal options.
– May need to be replaced more frequently.
3. Wooden Ceiling Vents:
– Pros:
– Adds a natural and rustic look to your space.
– Can be customized and painted to match your décor.
– Provides good airflow and ventilation.
– Cons:
– Requires regular maintenance to prevent warping and cracking.
– Not suitable for high moisture areas like bathrooms or kitchens.
Choosing the Best Ceiling Vent for Your Space
When choosing the best ceiling vent for your space, there are a few factors to consider. Firstly, assess the specific needs of your room in terms of airflow and ventilation. Additionally, think about the style and design that will complement your existing décor. Finally, consider the durability and maintenance requirements of each option.
Remember, the best ceiling vent is one that meets both your functional and aesthetic requirements. Take the time to research different styles and materials before making a decision. By considering the pros and cons of each type, you can ensure that you choose the perfect ceiling vent for your space. So go ahead and make your room feel fresh and comfortable with a well-installed ceiling vent!
Pre-Installation Preparation
Before you begin the installation process for a ceiling vent, it’s essential to prepare properly. This stage ensures that you have the correct measurements, tools, materials, and safety precautions in place, setting the groundwork for a successful installation. In this guide, we will walk you through the important steps of pre-installation preparation, including measuring the ceiling opening, gathering the necessary tools and materials, and taking necessary safety precautions.
Measuring the Ceiling Opening
Accurate measurement of the ceiling opening is crucial to ensure a proper fit for your vent. By knowing the exact dimensions of the opening, you can select a vent that matches appropriately, eliminating potential problems related to size compatibility.
Here’s how to measure your ceiling opening:
- Start by removing the existing vent cover, if there is one.
- Use a tape measure to measure the width and length of the opening from wall to wall.
- Write down the dimensions, making sure to note them accurately.
Once you have obtained the measurements, you can proceed confidently to select a vent that fits perfectly.
Gathering the Necessary Tools and Materials
Having all the required tools and materials at your disposal before you start the installation process saves time and effort. It ensures that you can work smoothly without interruptions, as you won’t have to go back and forth to gather missing items.
Here’s a list of the tools and materials you will need:
| Tools | Materials |
|---|---|
| Screwdriver | Ceiling vent |
| Measuring tape | Screws |
| Pencil | Drywall anchors |
| Safety goggles | Electrical tape |
| Drill | Wire nuts |
Having these tools and materials in place ensures a smooth installation process, allowing you to focus on the task at hand.
Safety Precautions to Take
Prioritizing safety is of utmost importance during any home improvement project. Before you commence installing a ceiling vent, it’s essential to take certain safety precautions to protect yourself and avoid potential hazards.
Here are safety precautions you should follow:
- Wear safety goggles to protect your eyes from dust or debris.
- Make sure the power supply to the area is turned off to avoid electrical shocks.
- Use a ladder or step stool that is sturdy and secure.
- Keep the work area clean and organized to minimize accidents.
By adhering to these safety precautions, you can ensure a secure working environment while installing your ceiling vent.
Now that you have finished pre-installation preparation, you are ready to move forward with the installation process. Stay tuned for the next section which covers the step-by-step installation guide.

Step-By-Step Installation Guide
Are you tired of having a vent that doesn’t effectively circulate air in your home? Installing a ceiling vent can not only improve air circulation but also add a touch of modernity to your space. If you’re ready to upgrade your vent, this step-by-step installation guide will walk you through the process, from removing the old ceiling vent to securing the new one.
Removing the Old Ceiling Vent
The first step in installing a new ceiling vent is to remove the old one. Follow these simple steps to get started:
- Ensure that the power to the vent is turned off at the circuit breaker
- Remove the screws that hold the vent cover in place
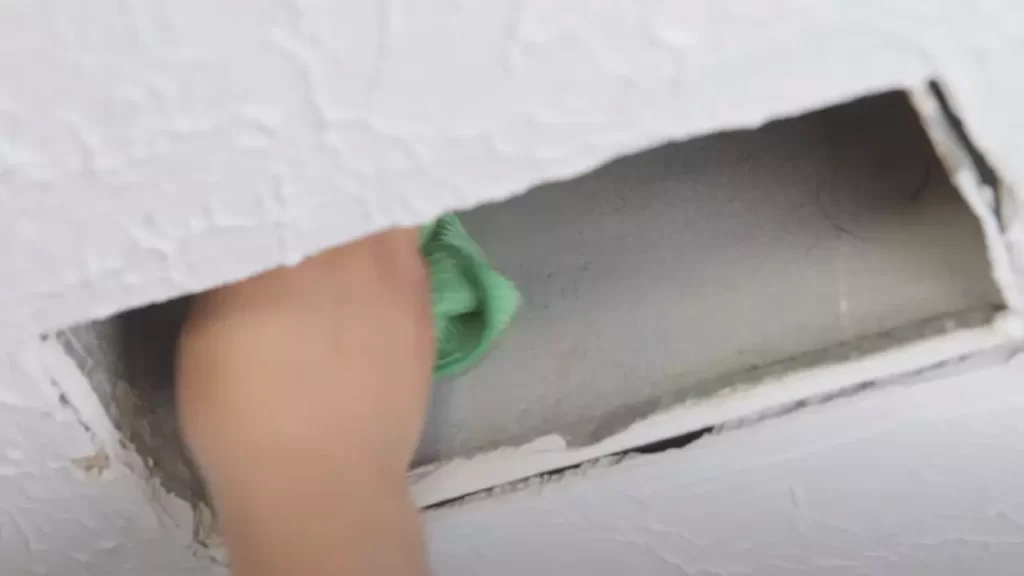
- Gently pull the vent cover down to expose the ductwork
- Disconnect any electrical connections
- Take out the screws that secure the old vent to the ceiling
- Remove the old vent and set it aside
Installing the Mounting Bracket
Now that the old vent is out of the way, it’s time to install the mounting bracket for your new ceiling vent. Follow these steps to complete this part of the installation process:
- Measure and mark the center of the vent opening on your ceiling
- Using the provided template, trace the outline of the mounting bracket onto the ceiling
- Drill pilot holes within the traced outline
- Align the mounting bracket with the pilot holes and attach it to the ceiling using screws
Connecting the Ductwork
With the mounting bracket securely in place, it’s time to connect the ductwork to ensure proper ventilation. Follow these steps to complete this crucial part of the installation:
- Position the new ceiling vent over the mounting bracket
- Align the duct opening of the new vent with the ductwork in the ceiling
- Attach the ductwork to the vent using duct tape or clamps
- Ensure that the connection is tight and secure
Securing the New Ceiling Vent
Now that the ductwork is connected, it’s time to secure the new ceiling vent in place. Follow these steps to complete the installation:
- Push the new vent up against the ceiling
- Use screws to secure the new vent to the mounting bracket
- Ensure that the vent is flush with the ceiling and there are no gaps
- Turn the power back on at the circuit breaker
- Test the new ceiling vent to make sure it’s working properly
That’s it! By following this step-by-step installation guide, you can easily install a new ceiling vent to improve air circulation in your home. Say goodbye to stale air and hello to a fresher, more comfortable living space.
Troubleshooting Common Issues
While installing a ceiling vent can greatly improve indoor air quality and circulation, it’s common to encounter a few issues along the way. In this section, we will explore some of these common issues and provide solutions to help you troubleshoot and overcome them. Whether you’re dealing with leaks or drafts, need to adjust airflow and direction, or require maintenance and cleaning tips, we’ve got you covered.
Dealing with Leaks or Drafts
If you discover that your ceiling vent is leaking or causing drafts in your space, don’t panic. Here are a few simple steps you can take to address these issues:
- Inspect the vent cover: Ensure that the vent cover is properly secured and aligned with the opening. Adjust as necessary to create a tight seal.
- Check for gaps: Examine the area around the vent to identify any gaps between the vent and the ceiling. Use weatherstripping or caulk to seal these gaps and prevent air leakage.
- Inspect the ductwork: Examine the ductwork connected to the vent for any signs of damage or disconnection. Repair or replace any damaged sections to ensure proper airflow and eliminate leaks.
Adjusting Airflow and Direction
To ensure optimal airflow and direction from your ceiling vent, follow these simple steps:
- Locate the airflow adjustment lever: Most ceiling vents have a built-in lever that allows you to adjust the airflow. Find this lever and ensure it is set to your desired position.
- Experiment with different settings: If you’re not satisfied with the current airflow, try adjusting the lever to different positions and observe the effect. This will help you find the ideal airflow and direction.
- Consider using deflectors: If you need to direct the airflow in a specific direction, consider attaching an air deflector to your ceiling vent. These accessories can help redirect air to the desired area.
Maintaining and Cleaning the Ceiling Vent
Regular maintenance and cleaning of your ceiling vent are essential to ensure its long-term functionality. Follow these tips to keep it in top shape:
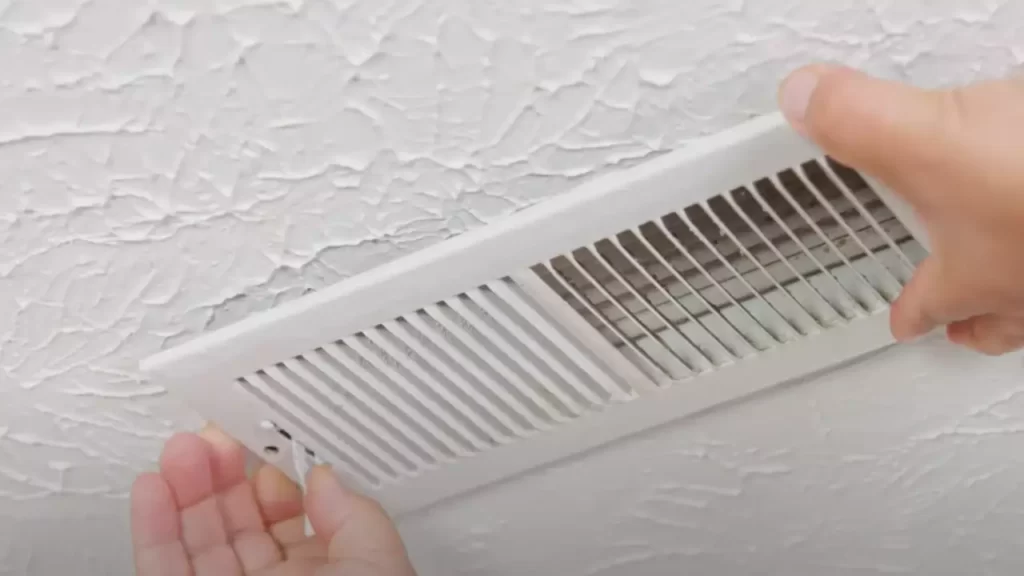
- Remove the vent cover: Gently remove the vent cover by unscrewing or unclipping it from the ceiling. Be cautious not to damage the surrounding area.
- Wipe down the vent cover: Use a damp cloth or a mild cleaning solution to wipe down the vent cover and remove any dust or buildup.
- Clean the ductwork: If possible, access and clean the ductwork connected to the vent. Use a vacuum with a brush attachment to remove any dust or debris.
- Replace the filter: If your ceiling vent has a filter, check it regularly and replace it when necessary to maintain optimal airflow and filtration.
- Reinstall the vent cover: Once the vent cover and ductwork are clean and dry, securely reattach the vent cover to the ceiling.
By following these troubleshooting tips, you can overcome common issues with your ceiling vent and ensure that it works efficiently, providing you with improved indoor air quality and comfort.
Frequently Asked Questions
How Can I Install A Ceiling Vent?
To install a ceiling vent, first, gather the necessary tools and materials. Then, measure and mark the location on the ceiling. Cut the hole using a saw, ensuring to follow safety guidelines. Install the vent, secure it in place, and connect the ductwork.
Finally, test the vent to ensure proper functioning.
What Size Ceiling Vent Do I Need?
The size of the ceiling vent you need depends on the size of the room. As a general rule, a vent with a diameter of 4 to 8 inches is suitable for most residential spaces. However, it’s advisable to consult with a professional or refer to the manufacturer’s guidelines to determine the appropriate size for your specific situation.
What Are The Benefits Of Installing A Ceiling Vent?
Installing a ceiling vent offers various benefits. It helps improve ventilation and air circulation in your space, reducing stuffiness and odors. It also enhances the cooling and heating efficiency of your HVAC system, resulting in energy savings. Furthermore, a ceiling vent prevents the accumulation of moisture, mold, and mildew, promoting a healthier indoor environment.
Conclusion
Installing a ceiling vent is a simple and effective way to improve air circulation and maintain a comfortable indoor environment. By following the step-by-step guide outlined in this blog post, you can successfully install a ceiling vent and enjoy the benefits it offers.
Remember to gather the necessary materials, measure the ceiling accurately, and exercise caution during the installation process. With proper ventilation, you can ensure a healthier and more pleasant living space.