To install a cable splitter, first disconnect the coaxial cable from the wall outlet, then connect the incoming cable to the input port of the splitter, and finally connect the output ports to various devices using additional coaxial cables. Installing a cable splitter allows you to conveniently distribute cable TV or internet signals to multiple devices in your home or office.
Whether you want to connect multiple TVs or computers, a cable splitter simplifies the process by splitting the signal and sending it to different locations. By understanding the basic steps involved in installing a cable splitter, you can enjoy uninterrupted entertainment or internet connection in various rooms without the hassle of running separate cables.
In this guide, we will walk you through the process of installing a cable splitter, providing you with the knowledge to set up a reliable and efficient cable distribution system.
Understanding Cable Splitters
Installing a cable splitter is an essential part of setting up your cable connection. Cable splitters allow you to split a single cable line into multiple lines, which enables you to connect multiple devices such as TVs, cable modems, and DVRs to your cable service. Understanding cable splitters and their importance is vital to ensure a smooth and efficient cable setup.
What is a cable splitter and why it is important?
A cable splitter is a device that divides the incoming cable signal into multiple output signals. It is an essential component in a cable connection setup, particularly in homes or offices with multiple devices that need to connect to the cable network. The splitter ensures that each device receives a strong and reliable signal without any interruptions or loss in quality.
Different types of cable splitters available in the market
When it comes to cable splitters, there are different types available in the market. These include:
- 2-way splitter: This type of splitter allows you to split the cable signal into two separate lines. It is commonly used when you need to connect two devices to a single cable line.
- 3-way splitter: If you need to split the cable signal into three separate lines, a 3-way splitter is the right choice. It is suitable for setups where three devices need to be connected to a single cable line.
- 4-way splitter: For setups requiring four devices to be connected to a single cable line, a 4-way splitter is ideal. It evenly splits the cable signal into four output lines.
- 8-way splitter: An 8-way splitter is suitable for more extensive setups where multiple devices need to be connected. It provides eight output lines for connecting various devices.
- Bi-directional splitter: A bi-directional splitter is designed to split the cable signal for both upstream and downstream transmissions. It is commonly used for cable modems.
Key features to consider when buying a cable splitter
When purchasing a cable splitter, there are a few key features you should consider to ensure you make the right choice:
- Frequency range: The frequency range of the splitter should be compatible with your cable signal. Make sure to check the specifications provided by the manufacturer.
- Insertion loss: Insertion loss refers to the signal loss that occurs when the cable signal passes through the splitter. Opt for a splitter with low insertion loss to ensure minimal signal loss and maintain signal quality.
- Number of output ports: Consider the number of devices you need to connect and choose a splitter with enough output ports to accommodate all the devices.
- Build quality: Look for a splitter made of durable materials to ensure long-lasting performance. A high-quality build will also minimize signal interference.
- Compatibility: Ensure that the splitter is compatible with the type of cable connection you have, whether it is RG6 or RG59.
By understanding cable splitters, the types available, and the key features to consider during the purchase, you can confidently install a cable splitter that meets your specific requirements and ensures a seamless cable connection for all your devices.

Preparing For Installation
When it comes to setting up your cable system, installing a cable splitter is an essential step to distribute the signal to multiple devices efficiently. But before diving into the installation process, it’s crucial to prepare adequately to ensure a smooth installation. This section will guide you through the necessary steps to prepare for the cable splitter installation.
Assessing your cable setup and identifying the optimal splitter location
Before installing a cable splitter, you need to assess your existing cable setup and determine the optimal location for the splitter. Take a look at your current cable system and identify the cable that brings the signal into your home. Trace this cable to identify where it enters your house and where it branches off into different rooms or devices.
During this assessment, keep an eye out for any signal amplifiers or filters that might already be present in your system. These devices can affect the performance of your cable splitter, so plan accordingly.
Once you have a clear understanding of your cable setup, choose the optimal location for the cable splitter. This location should allow for easy access and should be relatively centralized to ensure an even distribution of the signal to all connected devices.
Gathering the necessary tools and materials
Now that you have identified the optimal location for your cable splitter, it’s time to gather the necessary tools and materials for the installation process. Having everything you need at hand will save you time and ensure a smooth installation.
Here is a list of the tools and materials you will need:
| Tools | Materials |
|---|---|
| Screwdriver | Cable splitter |
| Coaxial cable cutter | Coaxial cable connectors |
| Coaxial cable stripper | Cable clips or tie wraps |
| Measuring tape |
Ensuring safety precautions before starting the installation process
Prioritize safety by taking a few precautions before starting the installation process. While not overly complicated, working with cables and electrical equipment requires caution and careful handling.
Here are a few safety measures to follow:
- Ensure the power to your cable system is turned off to minimize any risk of electric shock.
- If you are mounting the cable splitter outdoors, make sure it is weatherproof and rated for outdoor use.
- Wear appropriate safety gear such as gloves and safety goggles to protect yourself from any potential injuries.
- Handle the cables and connectors with care to avoid any damage or signal loss.
Following these safety precautions will help you stay safe throughout the installation process while achieving optimal results for your cable splitter setup.
Step-By-Step Installation Process
In order to enjoy cable TV or internet connection in different rooms of your house, you may need to install a cable splitter. A cable splitter allows you to divide the signal from your main cable line and send it to multiple devices. It is a relatively simple process that can be done by following a few steps. In this guide, we will walk you through the step-by-step installation process of a cable splitter.
Step 1: Powering off all devices and unplugging cables
Before you start installing the cable splitter, it’s important to power off all the devices that will be connected to it. This includes televisions, cable boxes, modems, and any other devices that receive the cable signal. Unplug their power cords from the electrical outlets as well. This ensures the safety of both you and your devices during the installation process.
Step 2: Identifying the main cable line and determining the setup configuration
Locate the main cable line coming into your house. It is usually connected to a cable box or a modem. This is the line that carries the signal from your cable or internet provider. Take note of the setup configuration you wish to achieve. If you are splitting the signal to connect two devices, you will need a two-way splitter. For more devices, you may need a higher-numbered splitter.
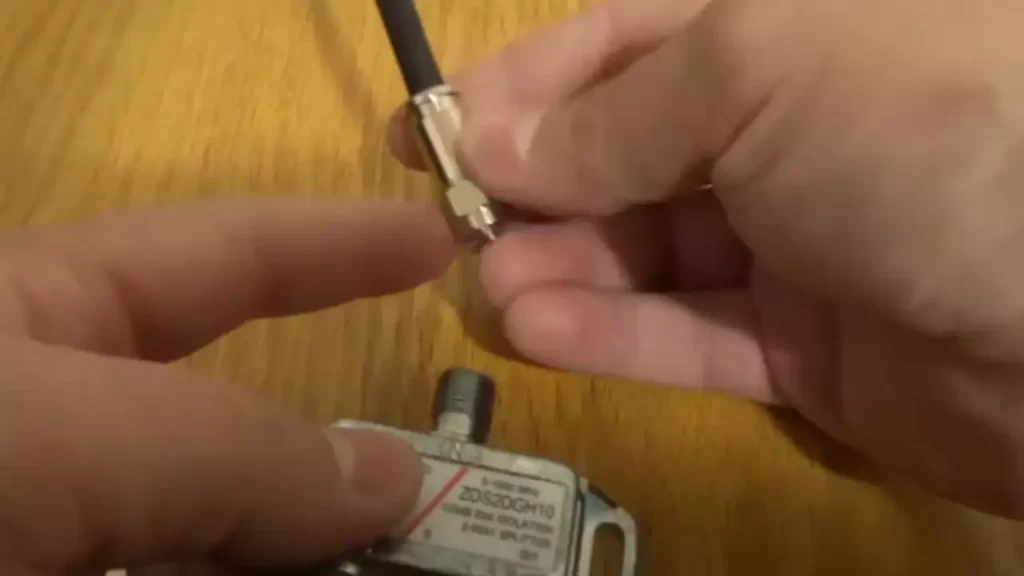
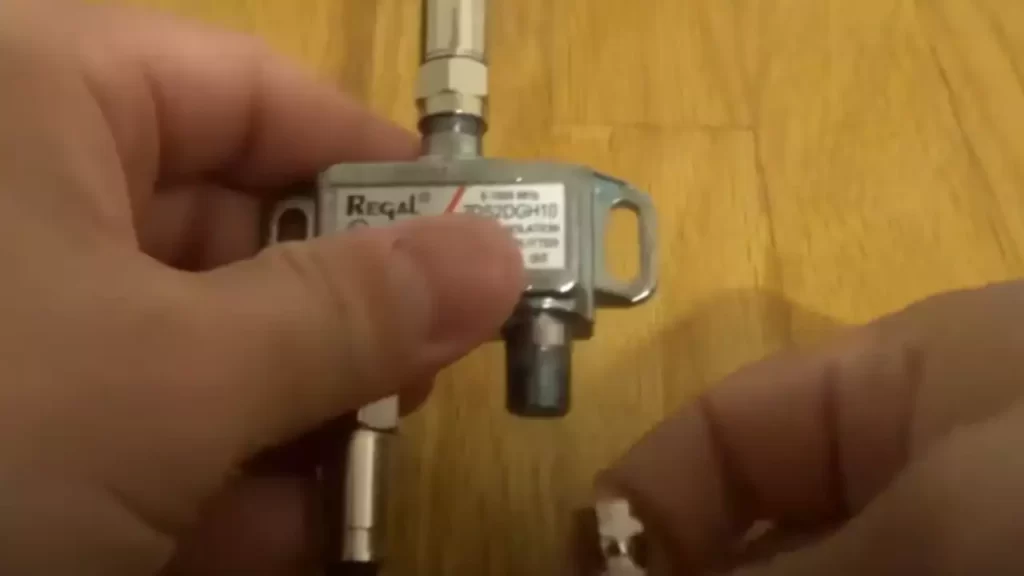
Step 3: Connecting the cable splitter to the main line
Now it’s time to connect the cable splitter to the main line. First, disconnect the cable line from the cable box or modem. Screw one end of the cable line into the input port of the cable splitter. Ensure that it is securely tightened to avoid signal loss. Then, connect the other end of the cable to the output port of the splitter.
Step 4: Connecting the output cables to the devices
Next, it’s time to connect the output cables of the splitter to the devices you want to receive the cable signal. Determine the length of cable needed to connect each device and cut the cables accordingly. Screw one end of each cable into the output ports of the splitter. Make sure they are firmly attached. Then, connect the other end of each cable to the input ports of the respective devices.
Step 5: Testing the cable splitter to ensure proper functionality
After completing the connections, it’s crucial to test the cable splitter to ensure everything is working properly. Power on the devices you connected and make sure they are receiving a clear signal. Check each device for any pixelation, artifacts, or loss of signal. If you encounter any issues, double-check the connections and try again. It may also be helpful to contact your cable or internet provider for further assistance if necessary.
By following these step-by-step instructions, you should be able to install a cable splitter and enjoy cable TV or internet connection in multiple rooms of your house. So go ahead and start enjoying your favorite shows or browsing the internet without any interruptions!
Troubleshooting And Tips
Common issues that may arise during installation and how to troubleshoot them
When it comes to installing a cable splitter, you may encounter some common issues that can affect the performance of your cable system. Here are a few troubleshooting tips to help you address these issues and ensure a smooth installation process:
1. Weak or no signal: If you’re experiencing a weak or no signal after installing the cable splitter, there are a few potential causes to consider. First, make sure all connections are securely tightened. Loose connections can result in signal loss. Additionally, check your cable input and output ports for any damage or debris that could interfere with the signal. If necessary, clean the ports carefully using a soft cloth. Lastly, consider the cable length. Longer cables can weaken the signal, so try using shorter cables or an amplifier if needed.
2. Signal interference: Sometimes, nearby electronic devices can cause interference with your cable signal. If you notice distortion, fuzzy images, or a loss of channels after installing the cable splitter, try to identify any potential sources of interference. Common culprits include wireless routers, microwaves, and cordless phones. Keep these devices away from your cable connections to minimize signal disruption. Additionally, you might want to ensure that your cable splitter is properly grounded to reduce the chances of interference.
3. Unbalanced signal distribution: One of the main purposes of a cable splitter is to distribute the signal evenly to multiple devices. If you’re experiencing an imbalanced signal, where some devices receive a weak signal while others receive a strong one, you may need to adjust your setup. Consider using a splitter with built-in signal amplification to boost the signal strength. Alternatively, you can use signal attenuators to reduce the signal strength for specific devices. Experiment with different configurations to find the optimal balance for your setup.
Tips for maximizing the performance of your cable splitter
To make the most of your cable splitter and ensure optimal performance, consider the following tips:
1. Use high-quality cables: Invest in high-quality coaxial cables with proper shielding to minimize signal loss and interference. Cheap cables may compromise the overall performance of your cable system.
2. Choose an appropriate splitter: Select a cable splitter that matches the frequency range and signal type of your cable service. Different cable providers may require specific types of splitters, so check with your provider for recommendations.
3. Position the splitter correctly: When installing the cable splitter, position it as close as possible to the main cable input to minimize signal loss. Avoid placing the splitter near potential sources of interference, such as power cables or electronic devices.
4. Avoid unnecessary splits: Each time you split the signal, there is a loss of signal strength. Minimize the number of splits by using only the necessary number of output ports. If you need to split the signal further, consider using a distribution amplifier to maintain signal integrity.
5. Regularly check connections: Periodically inspect all cable connections to ensure they are tight and free from damage. Loose or damaged connections can result in signal loss and disruptions.
Best practices for cable management and organization
Proper cable management and organization can help maintain the performance of your cable system and make troubleshooting easier. Consider the following best practices:
1. Label your cables: Use cable labels or color-coded tags to identify each cable connection. This makes it easier to identify and troubleshoot specific devices or connections in the future.
2. Use cable ties or clips: Secure your cables using cable ties or clips to prevent tangling and keep them organized. This not only improves the aesthetics but also makes it easier to trace cables if you need to make changes or repairs.
3. Route cables away from heat sources: Avoid routing cables near heat sources, such as radiators or heating vents. Excessive heat can damage the cables and impact signal quality.
4. Consider cable channels or raceways: If you have multiple cables running along walls or floors, consider using cable channels or raceways to hide and protect the cables. This not only improves the appearance of your space but also reduces the risk of accidental damage to the cables.
Remember, proper installation, troubleshooting, and cable management are essential for optimizing the performance of your cable splitter. By following these tips and best practices, you can ensure a reliable and efficient cable system for your home or office.

Additional Considerations
Understanding signal loss and how to minimize its impact
When installing a cable splitter, it is important to understand the concept of signal loss and how it can affect your TV or internet cable connection. Signal loss refers to the weakening of the signal strength as it travels through a cable and gets divided among multiple outputs. The further the signal has to travel and the more devices it needs to reach, the greater the potential for signal loss. This can result in poor picture quality, slow internet speeds, or even complete signal dropout. Luckily, there are a few steps you can take to minimize the impact of signal loss and ensure a reliable connection.
Exploring advanced cable splitter setups for specific needs
While most cable installations can make do with a basic cable splitter, there are situations where more advanced setups may be required. These setups allow for specific needs such as maximizing signal strength over long distances, accommodating a large number of devices, or even separate routing of TV and internet signals. It is important to assess your specific requirements and consider these advanced cable splitter setups if necessary. Let’s explore some of these setups in detail:
Maximizing signal strength over long distances
If you have a long cable run from your main cable box to the devices you want to connect, using a high-quality cable and employing signal amplification can help maintain signal strength. Signal amplifiers are devices that boost the signal level, compensating for any loss experienced over the distance. These can be placed strategically along the cable run to ensure a strong and reliable signal throughout.
Another option is to consider an active cable splitter, which incorporates built-in amplifiers. These splitters actively distribute the signal while amplifying it, providing a stronger output to each device connected. This can be particularly useful in situations where the cable run is lengthy or when there are multiple devices connected far away from the main source.
Accommodating a large number of devices
If you have numerous devices that need to be connected to the cable signal, a regular splitter may not be sufficient. In such cases, you can opt for a multi-port cable splitter or a distribution amplifier. Multi-port cable splitters come in various configurations, allowing you to connect anywhere from 3 to 8 or more devices. Distribution amplifiers, on the other hand, take a single input and distribute it to multiple outputs, ensuring each device receives a strong signal. These setups can be helpful in settings such as office buildings, hotels, or residential complexes where multiple devices need to be connected to the cable system.
Upgrading your cable splitter for future expansion
When installing a cable splitter, it is wise to think ahead and consider any future expansion or additional devices you may want to connect. This ensures that your setup remains future-proof and allows for seamless integration of new devices without the need for major reconfiguration. Upgrading your cable splitter to accommodate more ports or opting for a higher-quality splitter can save you from the hassle of replacing the entire setup later on. Additionally, investing in a quality splitter upfront can help minimize signal loss and provide a better overall experience.
Frequently Asked Questions
How Do You Connect A Cable To A Splitter?
To connect a cable to a splitter, locate the input port on the splitter and insert one end of the cable into it. Then, find the output ports on the splitter and connect the other end of the cable to any of those ports.
That’s it! Your cable is now connected to the splitter.
Do Cable Splitters Weaken Signal?
Yes, cable splitters can weaken the signal due to signal loss. When a cable splitter is used, the incoming signal is divided, leading to a decrease in signal quality. It’s important to use high-quality splitters and avoid excessive splitting to minimize signal loss.
Can You Use A Cable Splitter For Internet And Tv?
Yes, you can use a cable splitter for both internet and TV. It allows you to connect multiple devices to a single cable outlet. By using a splitter, you can enjoy both internet and TV services simultaneously.
How Does A 2 Way Cable Splitter Work?
A 2-way cable splitter divides the incoming cable signal into two separate signals, allowing you to connect multiple devices to the same cable line. It works by utilizing internal circuitry to equally distribute the signal strength to each connected device.
Conclusion
To conclude, installing a cable splitter is a straightforward process that can help enhance your home entertainment system. By following these simple steps, you can easily set up your cable splitter and enjoy uninterrupted access to multiple devices. Remember to choose the right type of splitter for your needs and use high-quality cables for optimal performance.
With a little patience and attention to detail, you’ll be able to enjoy smooth, reliable cable connections and make the most of your entertainment experience. Happy spli