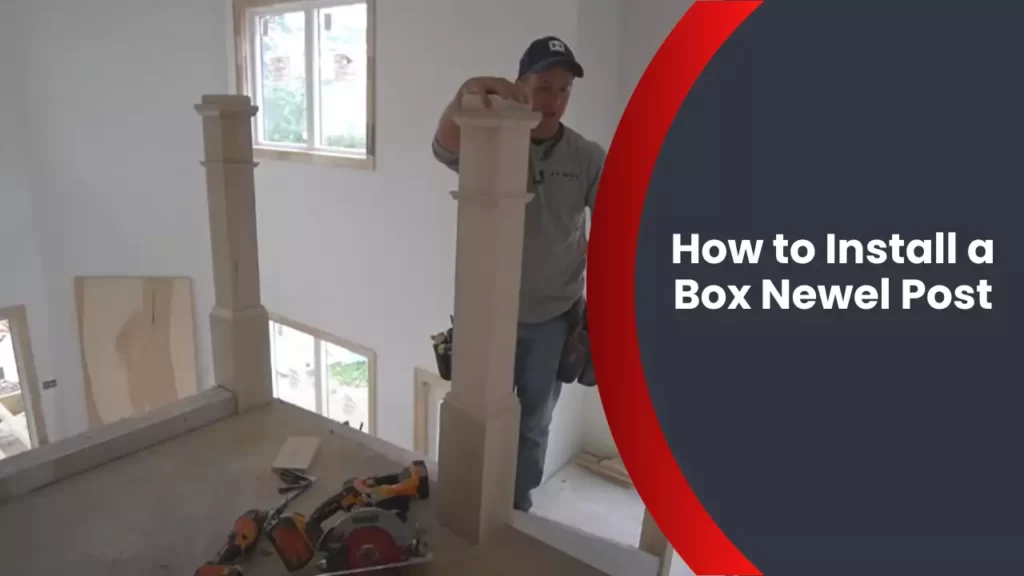
To install a box newel post, start by measuring and marking the desired height of the post. Then secure the base plate to the floor and attach the post to it using screws.
Understanding The Box Newel Post
When it comes to staircase design, the box newel post is a crucial component that not only provides support and stability but also adds an aesthetic appeal to the overall look. This article will guide you through the process of installing a box newel post, starting with a comprehensive understanding of this essential element.
What is a Box Newel Post?
A box newel post is a structural element that serves as the main support for the handrail and balustrade system of a staircase. Unlike traditional newel posts, which are built from solid wood, box newel posts are constructed by joining multiple pieces of wood together to form a hollow rectangular shape. This design allows for easier installation of handrails and newel caps. Box newel posts are known for their versatility in design and are available in various materials and styles, making them suitable for different types of staircases.
Importance of a Box Newel Post in Staircase Design
The box newel post plays a crucial role in the overall stability and safety of a staircase. It provides a strong anchor point for the handrail, ensuring that it remains securely in place when pressure is applied. Additionally, the box newel post serves as a visual focal point, enhancing the aesthetics of the staircase. With a wide range of styles and materials to choose from, you can select a box newel post that complements the overall design and theme of your space, whether it’s a classic, contemporary, or rustic look.
Different Materials and Styles of Box Newel Posts
A box newel post comes in various materials and styles, allowing you to personalize your staircase design. Here are some popular options:
| Material | Style |
|---|---|
| Wood |
|
| Iron |
|
| Stainless steel |
|
Each material and style has its own unique characteristics and can greatly impact the overall look and feel of your staircase. It’s important to choose a box newel post that not only complements your personal style but also blends harmoniously with the overall design scheme of your home.
Now that you have a solid understanding of the box newel post and its importance in staircase design, you are ready to dive into the installation process. Stay tuned for our next article, where we will guide you through step-by-step instructions on how to properly install a box newel post to ensure a secure and visually stunning staircase.
Preparing For Installation
Before you begin installing a box newel post, it’s crucial to properly prepare the area. This step will ensure a smooth and successful installation process. In this section, we will outline the essential tools and materials needed, discuss measuring and marking the installation area, elaborate on removing the existing newel post (if applicable), and emphasize the importance of ensuring a stable base for the box newel post.
Tools and Materials Needed
Before getting started, gather the following tools and materials:
| Tools | Materials |
|---|---|
|
|
Measuring and Marking the Installation Area
To ensure precise positioning of your box newel post, measure and mark the installation area with care. Follow these steps:
- Measure the height of the railing using a tape measure.
- Place a pencil mark on the mounting surface at the desired height of the newel post.
- Using a level, extend this mark horizontally for accurate alignment.
- Center the mark to make sure the newel post is positioned correctly.
Removing the Existing Newel Post (if applicable)
If you have an existing newel post that needs to be replaced, follow these steps to remove it:
- Check whether the existing newel post is attached to the floor or the stair tread.
- Using a screwdriver, remove any screws that secure the newel post in place.
- If the newel post is glued, carefully use a chisel to break the glue bond.
- Gently lift the old newel post out of its mounting bracket or base.
Ensuring a Stable Base for the Box Newel Post
An essential aspect of installing a box newel post is ensuring a stable base.
To achieve stability:
- Make sure the mounting surface is strong and capable of supporting the weight of the newel post.
- Prepare the mounting surface by cleaning it thoroughly.
- Apply wood glue to the bottom of the newel post and insert it into the mounting bracket or base.
- Secure the newel post by drilling screws through the bracket or base into the post.
By following these guidelines, you will have successfully prepared for the installation of your box newel post. The next step is to proceed with the installation process, which we will cover in our next blog post.
Installing The Box Newel Post
Installing a box newel post in your staircase can be a great way to add elegance and stability to your railing system. The box newel post serves as a sturdy anchor for the handrail and provides support for the balusters. In this section, we will guide you through the step-by-step process of installing a box newel post.
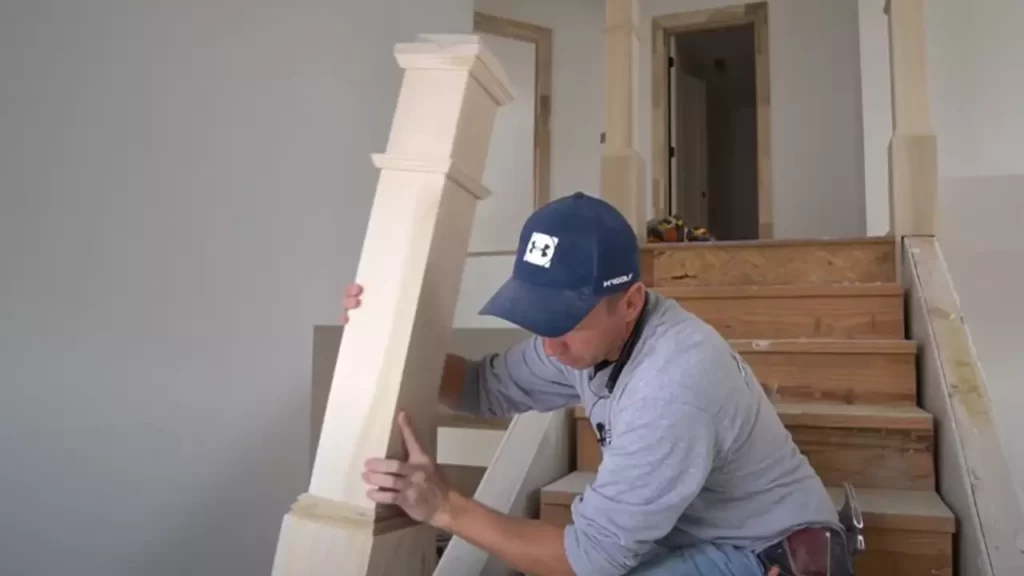
Step 1: Attaching the newel post to the floor
Attaching the newel post to the floor is the first crucial step in the installation process. It ensures that the post is securely anchored and provides stability for the entire railing system. There are two popular methods for attaching the newel post to the floor:
- Using brackets or connectors for stability: Brackets or connectors are often used to reinforce the connection between the newel post and the floor. These metal brackets are typically secured with screws or nails, ensuring a strong and stable attachment.
- Securing the post with screws or nails: Another method is to secure the newel post directly to the floor using screws or nails. This method requires drilling pilot holes into the floor to prevent splitting. Once the holes are drilled, you can align the post and drive the screws or nails through the base into the floor for a secure fit.
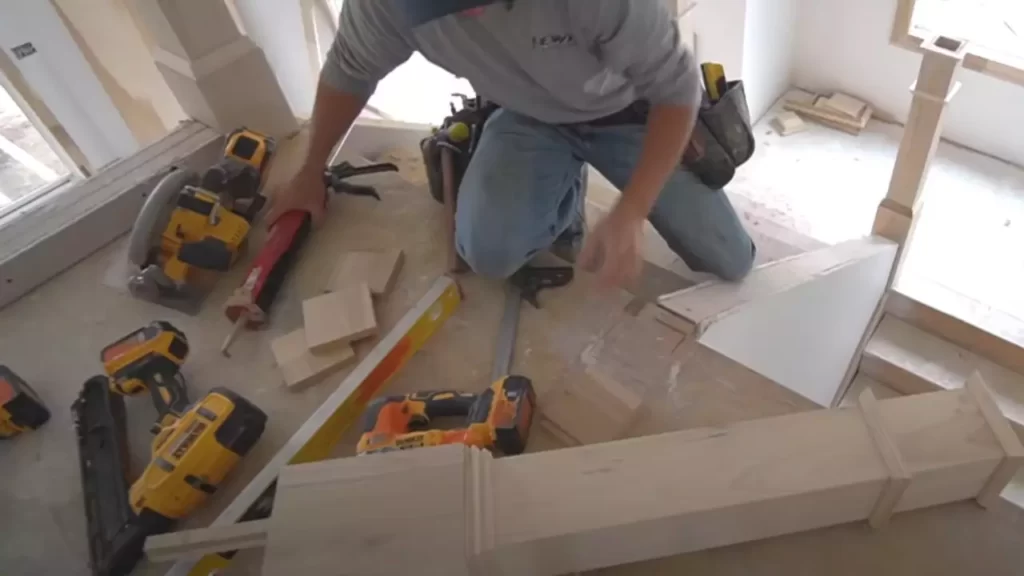
Step 2: Reinforcing the newel post
Reinforcing the newel post is essential to ensure a sturdy installation that can withstand regular use. To reinforce the newel post, you can take the following steps:
- Adding support for a sturdy installation: You can reinforce the newel post by adding support underneath. This can be achieved by placing a wooden block or a metal bracket under the post, providing additional stability.
- Ensuring a level and plumb post: It’s crucial to ensure that the newel post is level and plumb during installation. Using a level or a plumb line, make adjustments as necessary to ensure the post is perfectly vertical and aligned with the rest of the staircase.
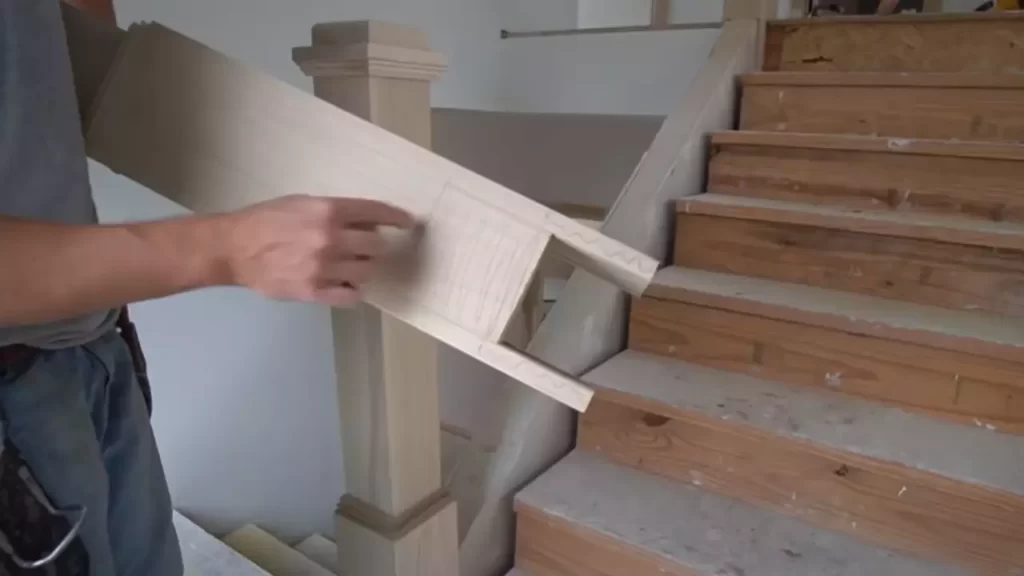
Step 3: Securing the post to the handrail and balusters
Securing the post to the handrail and balusters is the final step in the installation process. This step ensures that the entire railing system is securely connected and provides a safe and functional structure. Here’s how you can secure the post:
- Attaching the handrail to the newel post: Use screws or bolts to attach the handrail securely to the top of the newel post. This connection should be strong enough to support the weight of the handrail and provide stability.
- Installing balusters and connecting them to the newel post: Install the balusters along the handrail, making sure they are evenly spaced. Connect each baluster to the newel post using connectors or brackets, ensuring a secure fit. This step ensures that the balusters are firmly attached to the newel post, preventing any wobbling or instability.
By following these step-by-step instructions, you can successfully install a box newel post in your staircase. This installation process will not only enhance the aesthetic appeal of your stairs but also provide a safe and secure railing system for years to come.
Finishing And Final Touches
Once you have successfully installed your box newel post, it’s time to put the finishing touches on it. This is the step where you can truly make your newel post shine and fit seamlessly into your home’s overall aesthetic. With a few simple steps, you can ensure that your newel post looks polished and professional. Here are the essential steps to consider when finishing and adding those final touches to your box newel post:
Filling any gaps or holes
Before proceeding with any further steps, it’s important to inspect your newel post for any gaps or holes. These imperfections can detract from the overall appearance and stability of your post. To address this, you will need a wood filler and a putty knife.
- Carefully apply the wood filler into any gaps or holes on your newel post, using the putty knife to ensure an even application.
- Smooth out the wood filler with the putty knife, ensuring that it is level with the surface of the newel post.
- Allow the wood filler to dry thoroughly according to the manufacturer’s instructions.
- Once dry, use sandpaper to gently sand down the filled areas, blending them seamlessly with the rest of the post’s surface.
Sanding and smoothing the newel post
To achieve a professional and polished look, sanding and smoothing the newel post is essential. This step will help remove any rough edges and imperfections, resulting in a smooth and flawless surface. Here’s how to do it:
- Start by using a medium-grit sandpaper to sand the entire surface of the newel post. Be sure to sand in the direction of the wood grain for the best results.
- After sanding with the medium-grit sandpaper, switch to a finer-grit sandpaper to further smooth the surface. This will help create a beautifully finished look.
- Continue sanding until the entire surface of the newel post feels smooth to the touch. Take extra care in sanding any filled areas to ensure they seamlessly blend in with the rest of the post.
- Once you are satisfied with the smoothness of the newel post, use a cloth or vacuum cleaner to remove any dust or debris.
Applying stain or paint for a desired finish
Now that your newel post is filled, sanded, and smooth, it’s time to choose a finish that complements your home’s interior design. Whether you prefer the natural look of stain or the customizable options of paint, follow these steps to achieve the desired finish:
- If you choose to stain the newel post, start by applying a wood conditioner to enhance the stain’s absorption. Follow the manufacturer’s instructions for application and drying time.
- Once the wood conditioner has dried, apply the stain using a brush or cloth, following the direction of the wood grain. Apply multiple coats if desired, allowing each coat to dry completely before proceeding.
- If you prefer to paint the newel post, start by priming the surface with a suitable wood primer. Apply an even coat of primer, following the manufacturer’s instructions for drying time.
- Once the primer has dried, apply the paint using a brush or roller, ensuring even coverage. Apply multiple coats if necessary, allowing each coat to dry completely before moving on to the next.
- After applying either the stain or paint, allow the newel post to dry thoroughly according to the manufacturer’s instructions.
Remember, the finishing touches are crucial to achieving a professional installation and ensuring that your box newel post seamlessly blends with your home’s décor. Follow these steps carefully, and you’ll be rewarded with a stunning and durable newel post that adds beauty and value to your space.
Maintenance And Care
Regular cleaning and dusting of the newel post
Keeping your box newel post clean and free from dust is crucial to maintaining its beauty and longevity. Regular cleaning ensures that the post’s materials stay in top condition and prevents the build-up of dirt and grime that can dull its appearance over time. Here are a few cleaning tips to help you keep your newel post looking pristine:
- Dust the newel post regularly using a soft, lint-free cloth or a feather duster. This helps remove any accumulated dust without scratching the surface.
- If the newel post has stubborn stains or marks, use a mild soap solution and a non-abrasive sponge or cloth to gently scrub the affected area. Remember to dry the post thoroughly after cleaning to prevent moisture damage.
- Take care when using cleaning agents or solvents, as they can potentially harm the finish or integrity of the post. Always test any cleaning products on a small, inconspicuous area before applying them to the entire post. This helps ensure that the cleaner is safe for use and doesn’t cause any discoloration or damage to the post’s surface.
Preventing damage and wear over time
Your box newel post can be susceptible to wear and tear, especially in high-traffic areas or if it’s subjected to excessive force. By taking proactive measures, you can prevent damage and maintain the post’s structural integrity for years to come. Here are some preventative measures to consider:
- Avoid placing heavy objects directly on the newel post, as this can cause undue stress and potentially crack or damage the post. Instead, use a sturdy table or shelf to support any items you wish to display.
- Protect the post from accidental impacts by installing corner guards or padding around it. This can be especially useful if you have young children or pets who may accidentally bump into the post or use it for support while playing.
- Consider using coasters or placemats to protect the newel post from spills, especially if it’s located near a dining area or kitchen. Liquids can seep into the post’s crevices and cause staining or warping over time.
- Regularly inspect the post for any signs of wear, such as cracks, scratches, or loose components. Addressing these issues promptly can prevent further damage and ensure the post remains stable and secure.
Repairing any cracks or damages in the post
Despite your best efforts, it’s possible for your box newel post to sustain damage over time. Whether due to accidents or natural wear and tear, repairing any cracks or damages promptly is crucial to maintaining the post’s structural integrity and aesthetic appeal. Here are some steps to follow when repairing your newel post:
- If you notice any cracks or minor damages, start by cleaning the affected area with a mild soap solution to remove any debris or dirt.
- Apply wood filler or epoxy carefully into the cracks or damaged areas, following the manufacturer’s instructions. Use a putty knife to smooth the filler and ensure it’s evenly distributed.
- Allow the filler to dry completely before sanding the repaired area gently. This helps achieve a smooth finish and blends the repaired section with the rest of the post.
- Once you’ve finished sanding, wipe away any dust or debris and apply a suitable wood stain or paint to match the original color of the newel post. Ensure the finish is even and consistent with the rest of the post.
- Finally, apply a clear protective coat, such as varnish or polyurethane, to seal and protect the repaired section. This helps prevent moisture damage and maintains the post’s overall appearance.
Maintenance and care are essential for preserving the beauty and longevity of your box newel post. By regularly cleaning, preventing damage, and addressing any repairs promptly, you can ensure that your newel post remains a stunning centerpiece in your home for years to come.
Frequently Asked Questions
How Do You Anchor A Box Newel Post?
To anchor a box newel post, follow these steps: 1. Mark the desired spot for the post on the floor. 2. Drill holes in the marked spots using a masonry bit. 3. Insert anchor sleeves into the holes. 4. Place the post over the anchor sleeves and tighten the screws.
5. Ensure the post is securely attached and level. By following these steps, you can effectively anchor a box newel post.
How Is A Newel Post Attached?
To attach a newel post, it is typically secured to the floor using screws or bolts. The post is then further reinforced by attaching it to a handrail or balustrade for stability.
What Is The Difference Between Box And Solid Newel Post?
A box newel post has hollow interiors, while a solid newel post is completely filled. The choice between the two depends on personal preference and budget.
How Do You Attach A Handrail To A Box Newel?
To attach a handrail to a box newel, follow these steps: 1. Measure and mark the desired height for the handrail on the newel post. 2. Securely fasten the handrail brackets to the newel post using screws. 3. Slide the handrail onto the brackets and adjust to the desired position.
4. Drill pilot holes through the brackets and into the handrail. 5. Secure the handrail to the brackets using screws for a sturdy attachment.
Conclusion
Installing a box newel post is a straightforward process that can add both structural support and aesthetic appeal to your staircase. By following the steps outlined in this blog post, you can confidently tackle this project on your own. Remember to choose the right materials, measure carefully, and use the correct tools.
With a little patience and attention to detail, you can successfully install a box newel post that will enhance the overall look of your staircase for years to come.