To install a bolt, align the bolt hole with the matching hole on the object and insert the bolt. Tighten the nut securely using a wrench or socket.
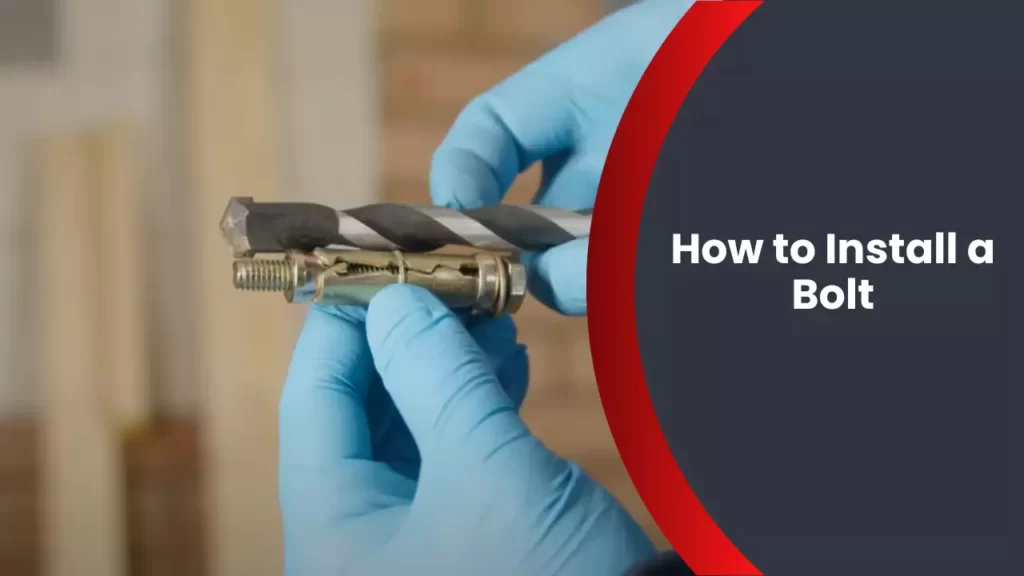
Now, let’s delve into the process of installing a bolt. When it comes to assembling or securing objects together, bolts are indispensable. Whether you’re fixing furniture, fastening machinery components, or constructing structures, knowing how to install a bolt is fundamental.
By carefully aligning the bolt hole with the matching hole on the object, inserting the bolt, and securely tightening the nut, you can ensure a reliable connection. In this guide, we will walk you through the step-by-step process, offering tips and tricks along the way. So, let’s get started and become proficient in installing bolts for various applications.
Gathering The Necessary Tools And Materials
Installing a bolt may seem like a simple task, but it’s crucial to gather the necessary tools and materials before you start. Having the right equipment ensures a smooth installation process and guarantees a secure and long-lasting result. In this section, we will discuss the essential tools for bolt installation, the recommended materials for a secure installation, and the importance of using the correct size and type of bolt.
Essential Tools for Bolt Installation
Before you begin, make sure you have the following tools on hand:
- Hammer: A hammer is essential for driving the bolt into the desired surface. Ensure it is of appropriate size and weight for the job.
- Drill: If you are working with a hard material such as concrete or metal, a drill will be necessary to create pilot holes.
- Wrench or Socket Set: Depending on the bolt type and size, you will need a suitable wrench or socket set to tighten the nut securely.
- Tape Measure: To ensure accurate placement and spacing, a tape measure is indispensable.
- Pencil or Marker: Marking the drilling points beforehand helps you maintain precision during the installation process.
- Safety Gear: Always prioritize safety. Make sure to wear protective glasses, gloves, and any other necessary safety equipment.
Recommended Materials for a Secure Installation
Aside from the tools, gather the following materials to ensure a secure bolt installation:
- Bolts: Select the appropriate size and type of bolt for your specific project. The strength and durability of the bolt are crucial factors to consider.
- Nuts and Washers: Choose nuts and washers that match the bolt size. These components provide additional strength and support to the installation.
- Anchors: If you are installing the bolt in a hollow wall or other delicate surfaces, anchors are necessary to provide stability and prevent damage.
- Adhesive: When required, an adhesive such as epoxy or construction adhesive can enhance the strength and stability of your bolt installation.
The Importance of Using the Correct Size and Type of Bolt
Using the correct size and type of bolt is paramount to ensure a successful and secure installation. An improper bolt size or type may compromise the structural integrity and stability of the fixtures or objects you are securing. It is crucial to match the bolt’s strength to the specific requirements of your installation project. Additionally, using the wrong bolt size or type may result in stripping the threads, creating an insecure connection that may loosen over time.
Adhering to these guidelines ensures a safe and reliable bolt installation. Now that you have gathered the necessary tools and materials, you are ready to proceed with installing your bolt confidently.
Preparing For Bolt Installation
If you’re looking to secure an object or fasten something in place, installing a bolt can be a practical solution. Before diving into the installation process, it’s important to properly prepare the area and ensure the surface is suitable for securely anchoring the bolt. In this guide, we’ll walk you through the steps of assessing the installation area, preparing the surface, and measuring and marking the placement of the bolt. Let’s get started!
Assessing the installation area for suitability
The first step in preparing for bolt installation is to assess the installation area to ensure it is suitable for securely anchoring the bolt. Here are a few things to consider:
- Weight and Load: Determine the weight and load that the bolt will need to support. Make sure the installation area can withstand the anticipated weight and forces.
- Accessibility: Ensure that the area is easily accessible and allows for proper installation of the bolt.
- Stability: Check the stability of the surrounding surface to ensure it won’t shift or move, compromising the integrity of the installation.
By thoroughly assessing the installation area, you can ensure that it is suitable for the bolt installation and that the anchor will provide a secure connection.
Preparing the surface for bolt installation
Once you’ve assessed the installation area, it’s time to prepare the surface to create a strong and stable foundation for the bolt. Follow these steps:
- Clean the Surface: Remove any dirt, rust, or debris from the installation area using a brush or cloth.
- Create a Level Surface: Ensure the surface is level by using a level tool. If there are any uneven areas or bumps, smooth them out.
- Drill Pilot Holes: For harder surfaces, such as concrete or metal, drill pilot holes to facilitate bolt insertion.
- Apply Lubrication: If needed, apply a suitable lubricant to the surface to ease the installation process.
Preparing the surface properly is crucial as it promotes better adhesion and stability, ultimately leading to a more secure bolt installation.
Measuring and marking the placement of the bolt
Now that the surface is prepared, the next step is to measure and mark the placement of the bolt. This ensures proper alignment and accuracy during installation. Follow these guidelines:
- Take Accurate Measurements: Use a measuring tape or ruler to determine the exact placement of the bolt. Measure carefully to avoid any inaccuracies.
- Mark the Surface: Use a permanent marker or pencil to mark the exact spots where the bolt will be inserted.
- Double-Check the Alignment: Review your measurements and marks to ensure they are aligned and precisely where you want the bolt to be installed.
Proper measuring and marking ensure that the bolt is installed in the correct position, allowing for secure fastening and optimal functionality.
By following these steps and adequately preparing for bolt installation, you can ensure a successful and secure outcome. Remember to always prioritize safety and take the time to assess, prepare, and measure before proceeding with the rest of the installation process.
Step-By-Step Bolt Installation Process
Installing a bolt may seem like a straightforward task, but taking the proper steps is crucial to ensure a secure and long-lasting hold. Whether you are hanging a heavy piece of artwork or constructing a sturdy shelving unit, following the step-by-step bolt installation process will ensure that your project stays safely in place. In this guide, we will walk you through the process of drilling a pilot hole, inserting the bolt, tightening it securely, and ensuring proper alignment and positioning. Let’s get started!
Drilling the Pilot Hole
The first step in installing a bolt is to drill a pilot hole. This hole will serve as a guide for the bolt and help prevent the wood or material from splitting. Here’s how to do it:
- Select the appropriate drill bit size for your bolt. The drill bit should be slightly smaller than the diameter of the bolt.
- Mark the spot where you want to install the bolt.
- Hold the drill perpendicular to the surface and begin drilling at a slow speed. Apply steady pressure and avoid forcing the drill.
- Continue drilling until you reach the desired depth. The depth should be slightly longer than the length of the bolt.
- Remove the drill bit and clean any debris from the hole.
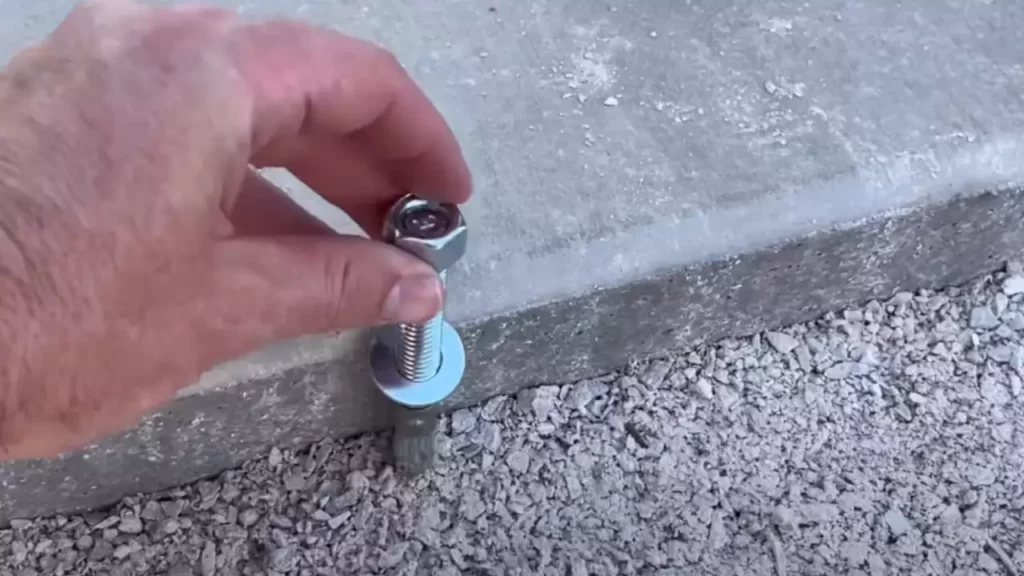
Inserting the Bolt into the Pilot Hole
Once you have drilled the pilot hole, it’s time to insert the bolt. Follow these steps to ensure a proper fit:
- Insert the threaded end of the bolt into the pilot hole.
- If necessary, use a hammer to gently tap the bolt into place. Be careful not to damage the threads.
- Ensure that the bolt sits flush with the surface.
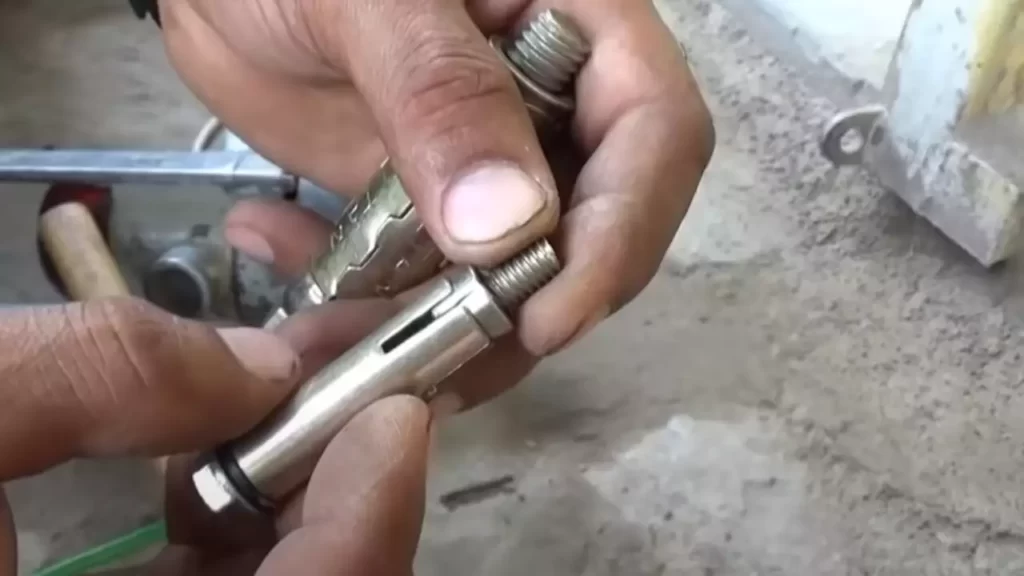
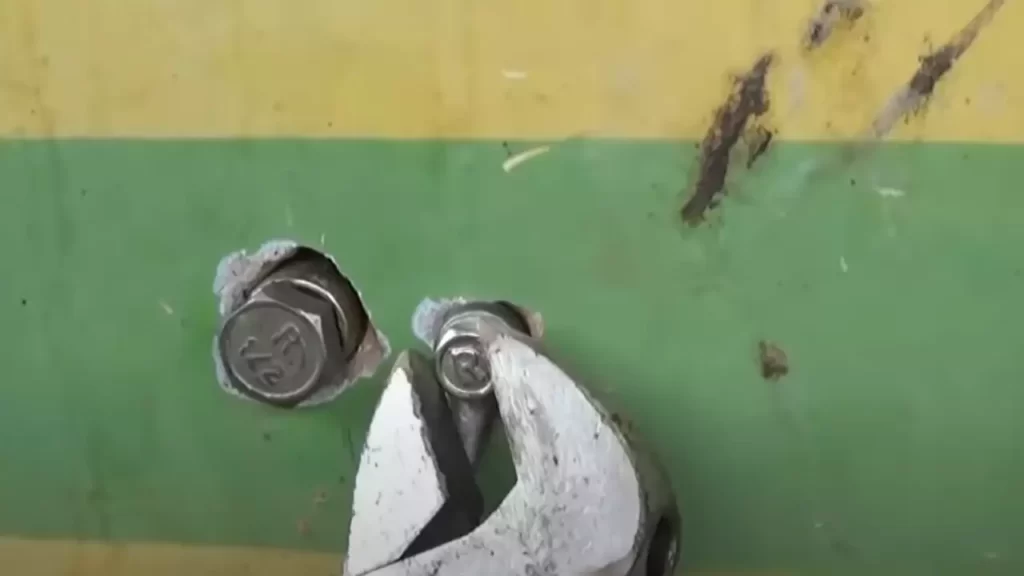
Tightening the Bolt Securely
After inserting the bolt, it’s important to tighten it securely to provide maximum strength and stability. Use the following steps to properly tighten the bolt:
- Using a wrench or socket, turn the nut on the bolt clockwise to tighten.
- Apply firm pressure while turning the nut to ensure a secure fit.
- Check the bolt periodically to make sure it remains tight.
Ensuring Proper Alignment and Positioning of the Bolt
Proper alignment and positioning of the bolt are essential to ensure that your project stays in place. Here are some tips to ensure the bolt is aligned correctly:
- Measure and mark the desired location for the bolt.
- Ensure that the bolt aligns with any pre-drilled holes or mounting brackets.
- Use a level to ensure that the bolt is straight and aligned horizontally or vertically, depending on your project.
- Make any necessary adjustments before tightening the bolt.
By following this step-by-step bolt installation process, you can ensure that your projects are securely fastened. Taking the time to drill a pilot hole, insert the bolt correctly, tighten it securely, and ensure proper alignment will result in a professional and long-lasting installation.
Common Mistakes To Avoid
Properly installing a bolt may seem like a simple task, but there are several common mistakes that can be easily avoided with a little knowledge and attention to detail. By familiarizing yourself with these mistakes and taking the necessary precautions, you can ensure a successful bolt installation that provides safety and reliability. In this article, we will discuss four common mistakes to avoid when installing a bolt: using incorrect tools or materials, over-tightening or under-tightening the bolt, neglecting to check for proper alignment, and failing to follow the manufacturer’s instructions and guidelines.
Using Incorrect Tools or Materials
Using the right tools and materials is crucial for a proper bolt installation. Using improper or low-quality tools can lead to stripped threads or insufficient tightening, resulting in a weak connection. Additionally, using the wrong type or size of bolt for the job can compromise the integrity of the installation. To avoid these issues, refer to the manufacturer’s specifications and guidelines to determine the appropriate tools and materials needed for the bolt installation.
Over-tightening or Under-tightening the Bolt
One of the most common mistakes when installing a bolt is either over-tightening or under-tightening it. Over-tightening can cause the bolt to stretch or deform, leading to potential failure over time. On the other hand, under-tightening can result in a loose connection that may not withstand the intended load. To achieve the correct level of tightness, use a torque wrench or similar tool to apply the recommended torque specified by the manufacturer. This ensures that the bolt is securely fastened without risking damage or failure.
Neglecting to Check for Proper Alignment
Ensuring proper alignment of the bolt is essential for a successful installation. Failing to check for alignment can result in misaligned bolt holes, making it challenging to insert the bolt correctly. This can lead to a weak connection or even prevent the bolt from fitting altogether. Before installing the bolt, carefully inspect the workpiece and the mating parts to ensure they are aligned correctly. Use tools such as alignment pins or jigs to assist in achieving proper alignment if necessary.
Failing to Follow Manufacturer’s Instructions and Guidelines
Manufacturers provide specific instructions and guidelines for installing their bolts for a reason. Failing to follow these instructions can result in improper installation and compromise the performance of the bolt. The manufacturer’s guidelines may include important information regarding torque specifications, bolt placement, and any special considerations for the specific application. Always refer to the manufacturer’s instructions and guidelines before installing the bolt to ensure a successful and safe installation.
By avoiding these common mistakes and following the necessary precautions, you can ensure a proper bolt installation that meets the required standards of safety and reliability. Always consult the manufacturer’s instructions and guidelines, use the appropriate tools and materials, and pay attention to the alignment and tightening of the bolt. Taking these steps will help you achieve a successful bolt installation that provides a secure and durable connection for your project.
Tips For A Successful Bolt Installation
Lubricating the bolt before installation
Before installing a bolt, it is essential to make sure that both the bolt and the mounting surface are clean and free from any dirt or debris. This will ensure a smooth and secure fit. Additionally, applying a lubricant to the bolt threads can help reduce friction during installation.
Here are a few tips to keep in mind when lubricating the bolt:
- Choose a lubricant specifically designed for bolt applications.
- Apply a thin layer of lubricant to the bolt threads using a brush or applicator.
- Avoid over-applying the lubricant, as excessive lubrication may cause the bolt to loosen over time.
Applying thread locker for added security
In certain applications, it may be necessary to apply thread locker to the bolt threads to provide an extra level of security. Thread locker is a specialized adhesive that helps prevent bolts from loosening due to vibration or other external forces.
Consider these tips when applying thread locker:
- Select the appropriate thread locker strength based on the specific needs of your application.
- Apply the thread locker to the bolt threads, ensuring full coverage.
- Allow the thread locker to cure according to the manufacturer’s instructions before subjecting the bolt to any stress or load.
Double-checking the tightness of the bolt after installation
Once the bolt is installed, it is crucial to double-check its tightness to ensure it is properly secured. Making sure the bolt is tightened to the correct torque specification is essential for its reliable performance and longevity.
Consider the following steps when double-checking the bolt tightness:
- Use a torque wrench to measure the level of tightness.
- Refer to the manufacturer’s specifications or guidelines for the appropriate torque value.
- If necessary, make minor adjustments to achieve the correct tightness, being careful not to over-tighten the bolt.
Regular maintenance and inspection of installed bolts
After installing the bolt, it is essential to incorporate regular maintenance and inspection to ensure its ongoing performance and safety. This will help identify any signs of wear, damage, or loosening in a timely manner.
Here are some steps to consider for proper maintenance and inspection:
- Periodically inspect the bolt and its surrounding area for any visible signs of damage, such as corrosion or bending.
- Check for any loosening or play in the bolt by gently applying pressure or attempting to rotate it.
- If any issues are identified, take appropriate action, such as tightening the bolt or replacing it altogether.
In conclusion, following these tips for a successful bolt installation can ensure a secure and reliable fit, as well as contribute to the longevity and performance of the installed bolts. By taking the necessary precautions and incorporating regular maintenance, you can enhance the safety and efficiency of your bolted connections.
Troubleshooting Bolt Installation Issues
Installing a bolt may seem like a simple task, but sometimes, you may encounter issues along the way. From stripped threads to damage or misalignment, these issues can be frustrating. However, with the right troubleshooting techniques, you can overcome these obstacles and successfully install your bolt. In this section, we will discuss some common bolt installation issues and how to address them.
Dealing with stripped threads
One of the most common issues when installing a bolt is encountering stripped threads. This occurs when the threads on the bolt or the recipient material become damaged or worn out, making it difficult or impossible to properly thread the bolt in. Thankfully, there are a few ways to address this problem:
- Use a thread repair kit: Thread repair kits are readily available in most hardware stores and can be a lifesaver when dealing with stripped threads. These kits often come with the necessary tools and inserts to repair damaged threads and restore functionality.
- Try a larger bolt size: If the threads are only slightly stripped or damaged, you may be able to use a larger bolt size. By opting for a slightly larger diameter, you can bypass the damaged threads and successfully install the bolt.
- Create new threads: In extreme cases, it may be necessary to create new threads. This can be done using a tap and die set, which allows you to cut fresh threads into the material. However, this method should only be attempted by those experienced in thread cutting.
Replacing a damaged or faulty bolt
Sometimes, the issue lies with the bolt itself. If you notice that the bolt is damaged or faulty, it is crucial to replace it before proceeding with the installation. Here’s what you can do:
- Inspect the bolt: Thoroughly examine the bolt for any signs of damage or defects. This includes checking for bent threads, cracks, or corrosion.
- Measure the bolt: Use a caliper to measure the dimensions of the bolt accurately. Ensure that it matches the specifications required for the installation.
- Purchase a replacement bolt: If you determine that the bolt is indeed damaged or faulty, head to your local hardware store or contact a reputable supplier to find a suitable replacement.
Resolving misalignment or improper positioning
Misalignment or improper positioning during bolt installation can lead to various problems, such as difficulty in threading or uneven tightening. Fortunately, there are methods to rectify this issue:
- Double-check the alignment: Before tightening the bolt, ensure that the parts being connected are properly aligned. Misalignment can put excessive stress on the bolt and compromise its functionality.
- Loosen and reposition: If you notice that the bolt is improperly positioned, loosen it and reposition the parts. This will allow you to align the components correctly before secure tightening.
- Use alignment tools: In some cases, using alignment tools can be helpful. These tools can guide you in aligning the parts accurately, minimizing the chances of misalignment.
By effectively troubleshooting these common bolt installation issues, you can ensure a smooth and successful installation process. Remember to assess the situation carefully and choose the appropriate method to address the specific problem you encounter. With patience and the right techniques, you’ll have your bolt securely installed in no time!
Best Practices For Bolt Installation And Maintenance
Proper bolt installation and maintenance are crucial to ensure the structural integrity and safety of any project. Whether you are building a deck, installing machinery, or working on a construction site, following best practices for bolt installation and maintenance is essential. In this article, we will discuss three important aspects that you need to consider in order to achieve optimum bolt performance:
Following safety precautions during installation
Bolt installation can be a risky task if proper safety precautions are not followed. To avoid accidents and injuries, it is important to adhere to the following safety measures:
- Wear appropriate protective gear, such as gloves and safety glasses, to protect yourself from any potential hazards.
- Ensure that you are working on a stable and secure platform to prevent falling or tripping.
- Use the correct tools for the job and ensure they are properly maintained to avoid any malfunctions or accidents.
- Always follow the manufacturer’s instructions for the specific type of bolt you are installing.
Periodic inspection and tightening of bolts
Regular inspection and tightening of bolts are necessary to maintain their performance and prevent any potential failures. Here are some best practices to follow:
- Inspect all bolts periodically for signs of corrosion, wear, or damage. Replace any bolts that show signs of degradation.
- Tighten bolts to the specified torque using a calibrated torque wrench. Over-tightening can lead to bolt failure, while under-tightening can result in loose connections.
- Consider using a thread-locking adhesive to prevent loosening caused by vibrations.
- Keep a record of the inspection and tightening schedule to ensure that bolts are regularly maintained.
Proper storage of unused bolts to prevent corrosion
Unused bolts can be susceptible to corrosion, which can compromise their performance. To prevent corrosion and ensure the longevity of unused bolts, follow these recommendations:
- Store bolts in a dry and well-ventilated area to prevent moisture buildup.
- Keep bolts away from direct sunlight and extreme temperatures.
- Consider using a rust inhibitor or storing bolts in airtight containers or bags to minimize exposure to air and moisture.
- Regularly inspect stored bolts for any signs of corrosion and replace any corroded bolts.
By following these best practices for bolt installation and maintenance, you can ensure the safety, reliability, and longevity of your bolted connections. Remember to always consult the manufacturer’s guidelines and seek professional assistance when necessary. Taking the time to properly install and maintain bolts will pay off in the long run, providing you with peace of mind and a strong foundation for your projects.
Frequently Asked Questions
How Do You Attach A Bolt?
To attach a bolt, follow these steps: 1. Align the bolt with the hole. 2. Use a wrench to turn the bolt clockwise until it tightens. 3. Apply appropriate torque to ensure a secure attachment. 4. Double-check for a snug fit.
5. If necessary, repeat the process for additional bolts.
How Do You Set A Holding Down Bolt?
To set a holding down bolt, follow these steps: 1. Position the bolt in the desired location. 2. Tighten the bolt using a wrench or spanner. 3. Ensure the bolt is securely fastened. 4. Check for any movement or looseness.
5. Make adjustments as necessary to keep the bolt in place.
What Do You Need To Screw In Bolts?
To screw in bolts, you’ll need a few essential tools: a screwdriver or wrench, the appropriate size of bolts, and a stable surface to fasten the bolts securely. Make sure to choose the correct type of bolt and use the appropriate tightening technique for a secure and sturdy result.
How Do You Tighten A Carriage Bolt?
To tighten a carriage bolt, use a wrench or socket set to turn the nut clockwise until it’s securely fastened. Make sure the bolt is flush with the material being fastened to ensure a tight fit. Avoid overtightening, as it may damage the bolt or material.
Conclusion
Installing a bolt may seem like a daunting task, but with the proper guidance, it can be a straightforward process. By following the steps outlined in this blog post, you can successfully install a bolt with ease. Remember to gather your tools, prepare the surface, align the bolt, tighten it firmly, and check for any potential issues.
With these tips in mind, you’ll be able to complete your bolt installation project effortlessly and ensure a secure and stable outcome. Happy bolting!