To install a battery isolator switch, disconnect the negative cable from the battery, connect the switch to the positive terminal, and reconnect the negative cable. A battery isolator switch is a simple and effective way to control power flow to your vehicle’s electrical system.
By isolating the battery from the rest of the system, it allows you to easily disconnect the power when necessary, preventing drain and extending battery life. We will guide you through the step-by-step process of installing a battery isolator switch, ensuring that you have a safe and reliable setup for your vehicle’s electrical system.
So, let’s get started with the installation process and ensure efficient use of power in your vehicle.
Choosing The Right Battery Isolator Switch
When it comes to installing a battery isolator switch, it’s important to choose the right one for your specific needs. Whether you’re a DIY enthusiast or a professional mechanic, selecting the correct battery isolator switch can make a world of difference in the performance and longevity of your battery system. In this section, we will discuss the various types of battery isolator switches available and the factors you should consider when making your selection.
Types of Battery Isolator Switches Available
Before delving into the factors to consider, let’s first take a look at the different types of battery isolator switches that you can choose from:
| Type | Description |
|---|---|
| Manual Battery Isolator Switch | A manually operated switch that requires physical intervention to isolate or connect the battery. |
| Remote Battery Isolator Switch | A switch that can be controlled remotely, allowing for convenient isolation or connection of the battery from a distance. |
| Automatic Battery Isolator Switch | An advanced switch that automatically detects the voltage or current levels and isolates or connects the battery accordingly, minimizing the risk of draining. |
Factors to Consider When Selecting a Battery Isolator Switch
Now that you’re aware of the different types available, let’s explore the factors you should consider when selecting a battery isolator switch:
- Amperage Rating: Ensure that the isolator switch you choose is capable of handling the maximum current output of your battery system. An inadequate amperage rating can lead to overheating and potential system failure.
- Operating Voltage: Check that the isolator switch is compatible with the operating voltage of your battery system. Using a switch with the wrong voltage rating can result in malfunctions and reduced performance.
- Durability: Look for a switch that is built to withstand the harsh environmental conditions it will be exposed to. A durable, weather-resistant isolator switch will provide long-lasting protection for your battery system.
- Installation: Consider the ease of installation. Choose a switch that comes with clear instructions and is designed for hassle-free installation, whether you’re a seasoned professional or a novice DIY-er.
- Safety Features: Prioritize switches that offer additional safety features such as a built-in fuse or a key lock to prevent unauthorized access. These features can help protect your battery system from damage or theft.
By taking these factors into account, you can ensure that you select the right battery isolator switch for your specific needs. Remember, a well-chosen isolator switch is essential for maintaining the efficiency and longevity of your battery system, giving you peace of mind and a reliable power source whenever you need it.
Step-By-Step Guide To Installing A Battery Isolator Switch
Installing a battery isolator switch is an important step in protecting the electrical system of your vehicle. This switch allows you to disconnect the battery when the vehicle is not in use, preventing drain and ensuring optimal battery performance. In this step-by-step guide, we will walk you through the process of installing a battery isolator switch.
Gather the necessary tools and materials
The first step in installing a battery isolator switch is gathering all the necessary tools and materials. Here is a list of items you will need:
| 1. | Battery isolator switch |
| 2. | Wrench or pliers |
| 3. | Wire cutters/strippers |
| 4. | Electrical tape |
| 5. | Wire connectors |
Locate the best mounting position for the switch
Once you have gathered all the necessary tools and materials, the next step is to locate the best mounting position for the switch. You want to find a location that is easily accessible and safe. Some common mounting positions include the dashboard, the side panel of the vehicle, or under the hood. Choose a location that works best for your vehicle and preferences.
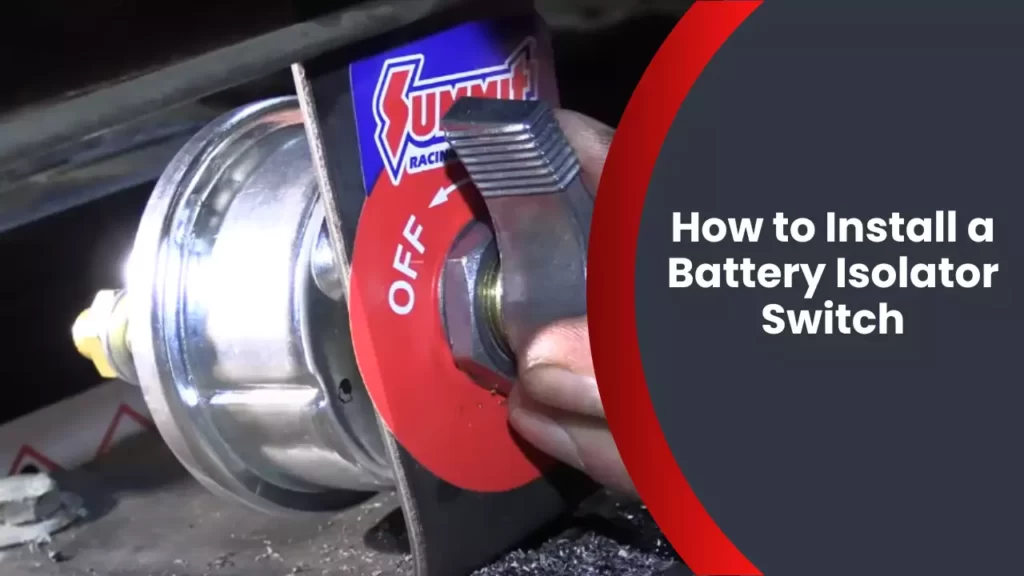
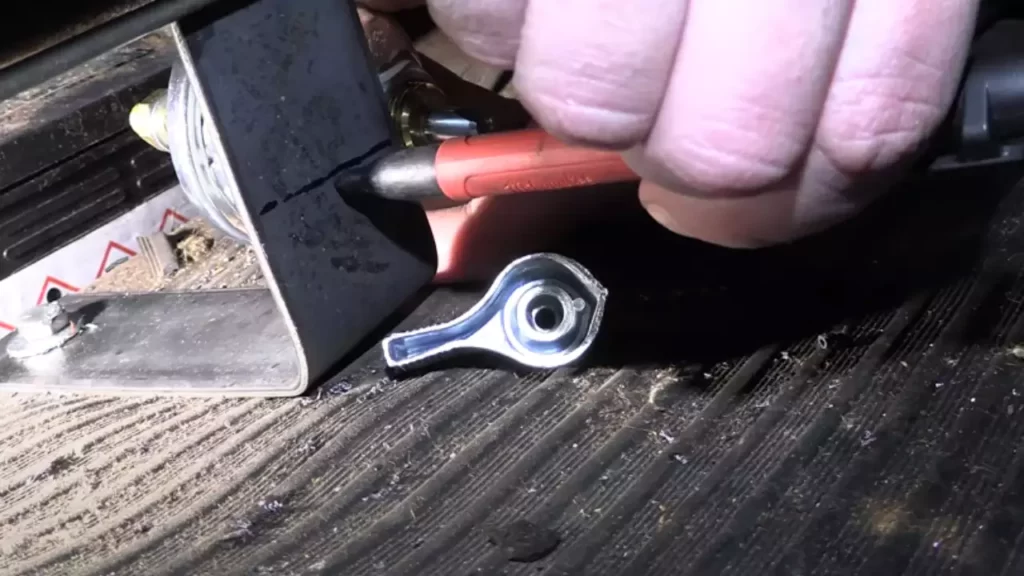
Disconnect the negative terminal of the battery
Before you start installing the isolator switch, it is essential to disconnect the negative terminal of the battery. This step ensures your safety and prevents any electrical accidents. Use a wrench or pliers to loosen the bolts on the negative terminal and remove the cable.
Install the isolator switch according to the manufacturer’s instructions
With the negative terminal disconnected, you are now ready to install the isolator switch. Follow the manufacturer’s instructions carefully to ensure proper installation. This may involve removing panels, drilling holes, or using mounting brackets. Make sure to secure the switch tightly to prevent any movement or vibrations.
Connect the wiring to the switch and battery
After the switch is installed, the next step is to connect the wiring. Use wire cutters to trim the wires to the appropriate length, and strip the ends to expose the bare metal. Connect the wires according to the manufacturer’s instructions, making sure to use the appropriate wire connectors. Secure the connections with electrical tape to prevent any loose or exposed wires.
Test the switch to ensure proper installation
Once the wiring is connected, it is crucial to test the switch to ensure proper installation. Reconnect the negative terminal of the battery and turn on the switch. Test the vehicle’s systems to ensure they are functioning correctly. If everything is working as expected, you have successfully installed the battery isolator switch.
Installing a battery isolator switch is a relatively simple process that can significantly benefit the performance and lifespan of your battery. By following this step-by-step guide, you can easily install a battery isolator switch and enjoy the peace of mind knowing that your vehicle’s electrical system is protected.
Troubleshooting Common Issues With Battery Isolator Switches
Installing a battery isolator switch is an effective way to conserve power and preserve the battery life of your vehicle. However, like any other electrical component, battery isolator switches can sometimes encounter issues. In this section, we will discuss the common problems that may arise with these switches and provide tips to help you troubleshoot and resolve these issues on your own.
Identifying potential problems with the switch
Before you can resolve any issues with your battery isolator switch, it’s important to identify the potential problems that may be affecting its functionality. Here are some common symptoms that indicate a problem with the switch:
- The switch fails to turn on or off
- You notice a loss of power despite the switch being in the correct position
- There is a delay in the switch activating or deactivating
- You hear a clicking sound when you attempt to use the switch
- The switch feels loose or wobbly
If you experience any of these issues, it’s crucial to take immediate action to diagnose and resolve the problem.
Tips for resolving common issues
Fortunately, many common issues with battery isolator switches can be resolved with some troubleshooting. Here are a few tips to help you address these problems:
- Check the connections: Ensure that all the connections between the battery, switch, and other electrical components are secure and free from corrosion. Loose or corroded connections may disrupt the flow of power.
- Test the switch: Use a multimeter to test the switch’s functionality. Check for continuity when the switch is in the ‘on’ position and no continuity when it’s in the ‘off’ position. If the readings are inconsistent, it may indicate a faulty switch that needs to be replaced.
- Inspect the wiring: Examine the wiring harness for any signs of damage, such as frayed insulation or exposed wires. Damaged wiring can interfere with the proper operation of the switch and should be repaired or replaced.
- Verify the battery’s condition: A weak or discharged battery may cause issues with the switch. Ensure that the battery is fully charged and capable of delivering the necessary power.
By following these tips, you can often troubleshoot and resolve common problems with battery isolator switches without the need for professional assistance.
When to seek professional assistance
While many issues can be resolved through DIY troubleshooting, there are instances when seeking professional assistance is necessary. Consider reaching out to a professional if:
- The switch is still not functioning correctly even after attempting the troubleshooting steps
- You are unsure about how to properly diagnose or repair the issue
- You lack the necessary tools or technical knowledge to address the problem
Remember, it’s better to seek professional help if you’re uncertain rather than risking further damage or potential safety hazards.
By understanding the potential problems with battery isolator switches, troubleshooting common issues, and knowing when to seek professional assistance, you can maintain optimal power management and prolong the lifespan of your vehicle’s battery.
Frequently Asked Questions
How Does A Battery Isolator Switch Work?
A battery isolator switch allows you to disconnect the battery from the electrical system, preventing draining and ensuring it remains fully charged. It acts as a cutoff switch, breaking the circuit between the battery and the rest of the system.
Why Is A Battery Isolator Switch Important?
A battery isolator switch is important because it protects the battery from draining and extends its lifespan. It also prevents electrical fires caused by short circuits. In addition, it allows you to completely cut off power to your vehicle when it is not in use, preventing parasitic power loss.
How Do I Install A Battery Isolator Switch?
To install a battery isolator switch, first disconnect the battery’s negative terminal. Mount the isolator switch in a convenient location, preferably near the battery. Connect one end of the switch to the negative terminal of the battery and the other end to the ground.
Ensure proper connections and secure the switch in place.
Can Anyone Install A Battery Isolator Switch?
While installing a battery isolator switch is a relatively simple process, it is recommended to have basic knowledge of automotive electrical systems. If you are unsure or uncomfortable working with electrical systems, it is best to consult a professional or seek assistance from someone experienced in automotive wiring.
Conclusion
Installing a battery isolator switch is a crucial step in ensuring the safety and functionality of your vehicle’s electrical system. By following the step-by-step guide provided in this blog post, you can easily complete the installation process without any hassle.
Remember, a properly installed battery isolator switch allows you to effectively control the power flow in your vehicle, protecting your battery and preventing unwanted electrical drain. With this valuable addition, you can enjoy worry-free drives and avoid any potential electrical issues.
So, don’t wait any longer – grab your tools and get started on installing your battery isolator switch today!