To install a battery isolator in a car, follow these steps: disconnect the negative battery terminal, mount the isolator near the battery, connect the cables and terminals as per the instructions provided by the manufacturer, and finally, reconnect the negative battery terminal. By following these steps, you can effectively install a battery isolator in your car to prevent battery drain and protect your electrical system.
Battery isolators are essential components that allow multiple batteries to be charged simultaneously without risk of draining each other. Installing a battery isolator in your car ensures that your electrical system functions optimally and prevents unexpected battery failure. Whether you’re adding a second battery for an auxiliary power source or upgrading your vehicle’s electrical system, the installation process can be easily accomplished with a few simple steps.
In this guide, we’ll provide you with clear instructions on how to install a battery isolator in your car to enhance your vehicle’s electrical performance and reliability. So, let’s get started!
Understanding Battery Isolators
Understanding Battery Isolators: A battery isolator is a critical component when it comes to managing the electrical system of your car. It acts as a device that helps to control and distribute the power generated by multiple batteries, ensuring that each battery receives the charge it needs without drawing power from the others. With a battery isolator, you can avoid draining the main starting battery and ensure that your auxiliary batteries are always ready for use. In this article, we will delve deeper into what a battery isolator is, why it is essential for your car, and the different types available in the market.
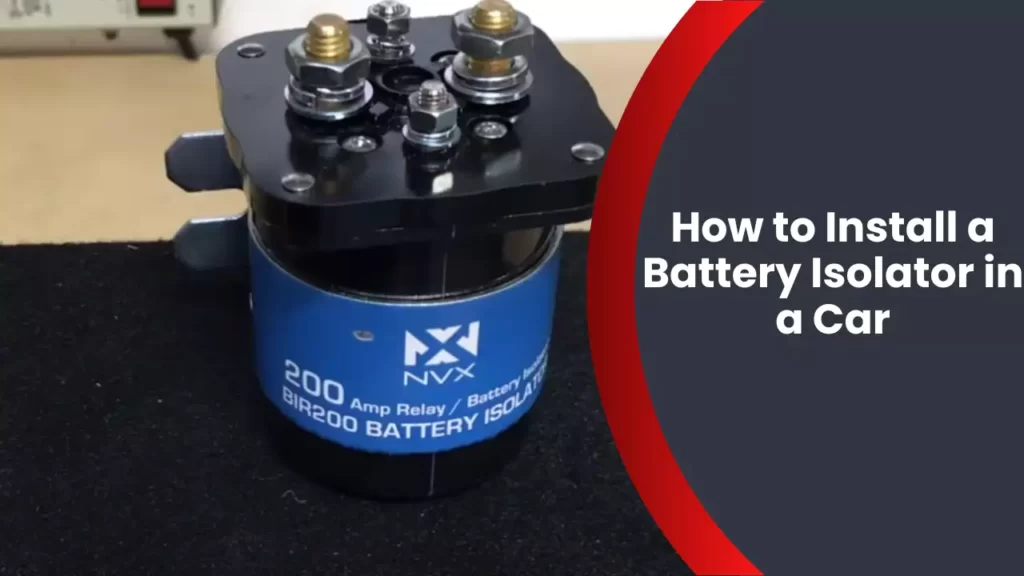
What is a battery isolator?
A battery isolator, as the name suggests, is a device designed to isolate different batteries in your car’s electrical system. It prevents the batteries from draining power from each other, ensuring their independent operation. In simple terms, it acts as a gatekeeper that separates the batteries, allowing them to charge and discharge without interfering with each other.
Why is a battery isolator important for your car?
A battery isolator plays a vital role in optimizing the performance of your car’s electrical system. Here are a few reasons why it is important for your vehicle:
- Prevents Battery Drainage: By isolating each battery, a battery isolator ensures that the main starting battery retains its charge for starting the engine, even when additional components are drawing power from the auxiliary batteries.
- Ensures Reliable Power Supply: With a battery isolator, you can power your vehicle’s auxiliary components, such as radios, lights, or winches, without worrying about depleting the main battery. This helps to guarantee a reliable power supply for all your needs.
- Protects Sensitive Electronics: Modern vehicles often have sensitive electronic devices and accessories that require a stable power supply. A battery isolator helps to protect these electronics by preventing voltage drops or surges caused by excessive power draw from other batteries.
- Extends Battery Lifespan: By preventing deep discharges and overloads, a battery isolator helps to extend the overall lifespan of your car’s batteries. This can save you money in the long run by reducing the frequency of battery replacements.
Different types of battery isolators
There are various types of battery isolators available, each with its own unique characteristics and functionality. Here are a few common types:
| Type | Description |
|---|---|
| Diode Isolators | These isolators use diodes to allow current flow in one direction, preventing the batteries from discharging into each other. They are simple and cost-effective but may result in a small voltage drop. |
| Solenoid Isolators | Solenoid isolators use solenoid relays to separate and connect batteries. They offer low resistance, minimizing voltage drops, and are suitable for high-power applications. They can be controlled manually or automatically. |
| Electronic Isolators | These isolators use electronic components to control the flow of current between batteries. They offer advanced features such as voltage sensing and automatic battery priority, providing optimal power management. |
In conclusion, understanding battery isolators is crucial for maintaining proper power distribution and preserving the longevity of your car’s batteries. By utilizing a battery isolator, you can prevent battery drainage, ensure a reliable power supply, protect sensitive electronics, and extend battery lifespan. Furthermore, choosing the right type of battery isolator, be it a diode isolator, solenoid isolator, or electronic isolator, will depend on your specific needs and the complexity of your car’s electrical system. Make sure to consult a professional or refer to your vehicle’s manual for proper installation instructions to reap the full benefits of a battery isolator.
Step-By-Step Guide To Installing A Battery Isolator
Installing a battery isolator in your car is a crucial step to ensure the efficient and independent use of multiple power sources. This device allows you to charge your auxiliary battery while keeping your main battery isolated, preventing any drain and guaranteeing a seamless power supply. If you’re unsure about how to install a battery isolator, don’t worry. Follow this step-by-step guide, and you’ll have it up and running in no time.
Gather the necessary tools and materials
Before you start the installation process, make sure you have all the required tools and materials on hand. Here’s a list of items you will need:
- Socket set
- Wire cutters and strippers
- Wire crimpers
- Electrical tape
- Ring terminals
- Battery isolator kit
- Owner’s manual or wiring diagram
Prepare the car and ensure safety
Prior to beginning the installation, it’s crucial to ensure the safety of yourself and your vehicle.
Follow these steps to prepare your car:
- Park your car on a flat surface and engage the parking brake to prevent any accidental rolling.
- Disconnect the negative terminal of your car’s battery to eliminate the risk of electrical shock.
- Wear protective gloves and safety glasses throughout the installation process to protect yourself from any potential hazards.
Locate the battery isolator installation point
Once your car is prepared and safe, you need to locate the ideal installation point for the battery isolator. Here are a few points to consider:
- Choose an easily accessible location near the car’s engine compartment, typically close to the main battery.
- Ensure there is enough space to mount the isolator securely, away from any moving parts.
- Refer to your battery isolator’s owner’s manual or wiring diagram for specific instructions on the recommended installation point for your particular model.
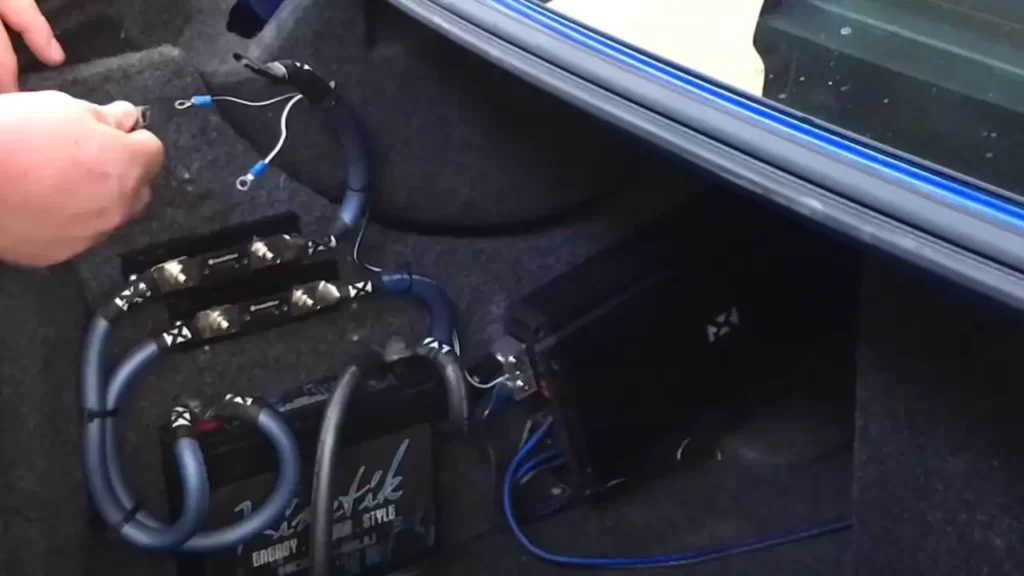
Installing the battery isolator
With the installation point determined, it’s time to install the battery isolator itself. Follow these steps:
- Securely mount the isolator in the chosen location, using the appropriate screws or bolts provided in the kit.
- Ensure that the isolator is securely fastened and won’t move or vibrate while the vehicle is in motion.
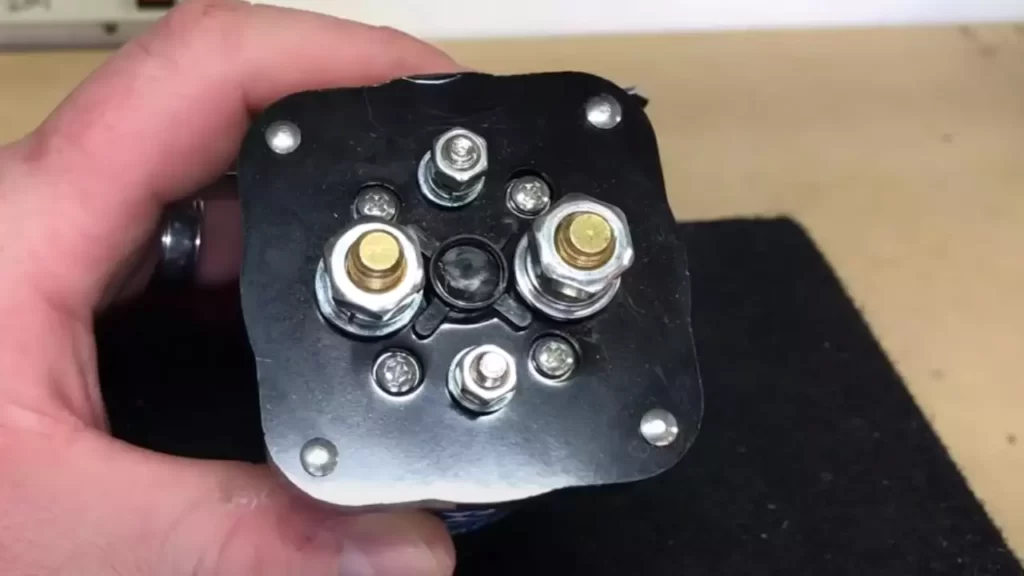
Connecting the positive terminal
Now, it’s time to connect the positive terminal of your main battery to the battery isolator. Here’s how:
- Locate the positive terminal of your main battery and remove any protective caps or covers.
- Using a socket set, loosen the nut on the positive terminal and attach a ring terminal provided in the kit.
- Securely tighten the nut on the positive terminal to ensure a solid connection.
Connecting the negative terminal
Once the positive terminal is connected, it’s necessary to connect the negative terminal as well. Follow these steps:
- Locate the negative terminal of your main battery and remove any protective caps or covers.
- Using a socket set, loosen the nut on the negative terminal and attach a ring terminal provided in the kit.
- Securely tighten the nut on the negative terminal to ensure a solid connection.
Connecting the ignition wire
The final step in the installation process is connecting the ignition wire. This wire ensures that the battery isolator engages and disengages as needed. Follow these steps:
- Locate the ignition wire, usually found near the vehicle’s ignition switch or fuse box. Consult your owner’s manual or wiring diagram to identify the appropriate wire.
- Using wire cutters and strippers, carefully strip a small portion of insulation from the ignition wire.
- Connect one end of the wire to the appropriate terminal on the battery isolator, and the other end to the ignition wire using a wire crimp or another secure connection method.
Testing the installation
Now that the battery isolator is installed, it’s important to test its functionality before proceeding. Here’s how to test it:
- Reconnect the negative terminal on your car’s battery.
- Start your vehicle and monitor the operation of the battery isolator.
- Confirm that the isolator engages properly when the ignition is in the “on” position and disengages when the ignition is turned off.
- Ensure that the auxiliary battery is charging while the isolator is engaged and that the main battery remains isolated.
And there you have it! By following this step-by-step guide, you have successfully installed a battery isolator in your car. Now you can enjoy the benefits of multiple power sources without worrying about draining your main battery!
Troubleshooting And Maintenance Tips
In order to ensure optimal performance and longevity of a battery isolator in your car, it is important to be aware of common issues that may arise, and to regularly conduct troubleshooting and maintenance. By following some simple techniques, you can easily identify and resolve potential problems, and keep your battery isolator functioning flawlessly for a long time.
Common issues with battery isolators
There are a few common issues that you may encounter when using a battery isolator in your car. Some of these issues include:
- Failure to charge the auxiliary battery: This may happen due to a faulty wiring connection, a damaged isolator switch, or a depleted primary battery.
- Insufficient power transfer: If you notice that power is not being transferred from the primary battery to the auxiliary battery, there could be an issue with the isolator diodes.
- Inconsistent power supply: Some isolators may experience intermittent power supply, causing the auxiliary battery to not receive a consistent charge.
- Overheating: Excessive heat can cause damage to the battery isolator, leading to failure or decreased performance.
Troubleshooting techniques
When encountering any of the common issues mentioned above, you can perform certain troubleshooting techniques to identify and resolve the problem:
- Check the wiring connections: Ensure that all wires are securely connected and free from corrosion or damage. Replace any faulty connections and clean any corrosion using a wire brush.
- Test the isolator switch: Using a multimeter, check the isolator switch to ensure it is functioning properly. If there is no voltage reading, it may need to be replaced.
- Inspect the isolator diodes: Test the diodes for continuity using a multimeter. If any diodes fail the test, they should be replaced.
- Monitor the power supply:Keep an eye on the power supply and check if it is consistent. If you notice any fluctuations, it may indicate a problem with the isolator or the batteries.
- Prevent overheating: Ensure that the battery isolator is installed in a well-ventilated area and not subjected to extreme temperatures. If overheating continues to be an issue, consider adding additional cooling measures such as fans or heat sinks.
Regular maintenance to ensure optimal performance
Performing regular maintenance on your battery isolator will help ensure its optimal performance. Here are some maintenance tips you can follow:
- Inspect the wiring connections periodically and clean any corrosion.
- Check the isolator switch and diodes for any signs of wear or damage.
- Test the voltage output and monitor the power supply regularly to ensure consistent charging.
- Clean the battery terminals and ensure a tight connection.
- Keep the isolator and batteries clean and free from dirt, debris, and moisture.
By following these troubleshooting techniques and regularly maintaining your battery isolator, you can address any potential issues and ensure its long-lasting performance in your car.
Additional Considerations
Installing a battery isolator in your car is an excellent way to ensure efficient power distribution and preserve the charge of your batteries. However, there are a few additional considerations you should keep in mind to optimize the performance and effectiveness of your battery isolator installation.
Integrating the battery isolator with other electrical components
When installing a battery isolator, it’s important to consider how it will integrate with other electrical components in your car. The battery isolator essentially acts as a gatekeeper between the different battery systems in your vehicle, preventing power from being drained from the starting battery by auxiliary devices.
To ensure smooth integration, it’s crucial to understand the electrical layout of your vehicle. Identify the starting battery, auxiliary battery, and any other batteries or electrical components. This information will guide you in determining the appropriate connections and wiring necessary to install the battery isolator correctly.
Upgrading or replacing an existing battery isolator
If you already have a battery isolator installed in your car, you may consider upgrading or replacing it to improve performance or accommodate changing power needs. When upgrading or replacing a battery isolator, it’s essential to choose a model that matches the requirements and capabilities of your vehicle.
Refer to the product specifications and consult with a professional if needed to ensure compatibility and proper installation. Additionally, take note of any specific wiring modifications or additional components required for the new battery isolator.
Best practices for battery isolator installation
Installing a battery isolator requires attention to detail and adherence to best practices to ensure optimal functionality. Here are a few guidelines to follow:
- Choose the right location: Find a suitable location to mount the battery isolator, ensuring it is easily accessible for connection and maintenance.
- Ensure proper grounding: Establish a solid ground connection for the battery isolator to prevent electrical issues and optimize performance.
- Use appropriate wire size: Selecting the correct wire size is critical for minimizing power loss and potential overheating.
- Secure connections: Thoroughly secure all connections to prevent loose wiring, which could cause electrical problems or even fires.
- Test your installation: After the installation, it’s important to test the battery isolator to ensure it is functioning correctly by monitoring the charging status of both batteries.
By adhering to these best practices, you can optimize the installation of your battery isolator and enjoy reliable power distribution in your car.
Frequently Asked Questions
How Does A Battery Isolator Work?
A battery isolator allows you to charge multiple batteries in your car while preventing them from draining each other. It works by using diodes or relays to separate the batteries and direct the charging current to the appropriate battery. This ensures that each battery stays fully charged and ready to use.
Why Should I Install A Battery Isolator In My Car?
Installing a battery isolator in your car is important for several reasons. Firstly, it prevents your accessories, such as a fridge or lights, from draining your starting battery. Secondly, it allows you to charge a secondary battery, which is useful for camping or powering additional equipment.
Lastly, it ensures that you always have a fully charged battery as a backup.
How Can I Install A Battery Isolator In My Car?
To install a battery isolator in your car, start by disconnecting the negative terminal of your car battery. Then, locate a suitable mounting location for the isolator, such as near the battery or in the engine compartment. Connect the main power source and the batteries to the appropriate terminals on the isolator, following the manufacturer’s instructions.
Finally, reconnect the negative terminal of your car battery and test the isolator to ensure it’s working correctly.
Is It Difficult To Install A Battery Isolator?
While installing a battery isolator may seem daunting, it can be relatively straightforward with the right tools and instructions. If you’re comfortable working with car electrical systems and have basic knowledge of wiring, you should be able to install a battery isolator yourself.
However, if you’re unsure or not confident in your abilities, it’s always best to seek professional help to avoid any potential damage or safety risks.
Conclusion
To sum up, installing a battery isolator in your car is a simple and effective way to ensure a reliable and efficient electrical system. By following the step-by-step guide in this blog post, you can confidently tackle this task on your own.
Remember, a battery isolator not only extends the life of your battery but also prevents electrical issues down the road. So, why wait? Get started and enjoy a hassle-free driving experience.