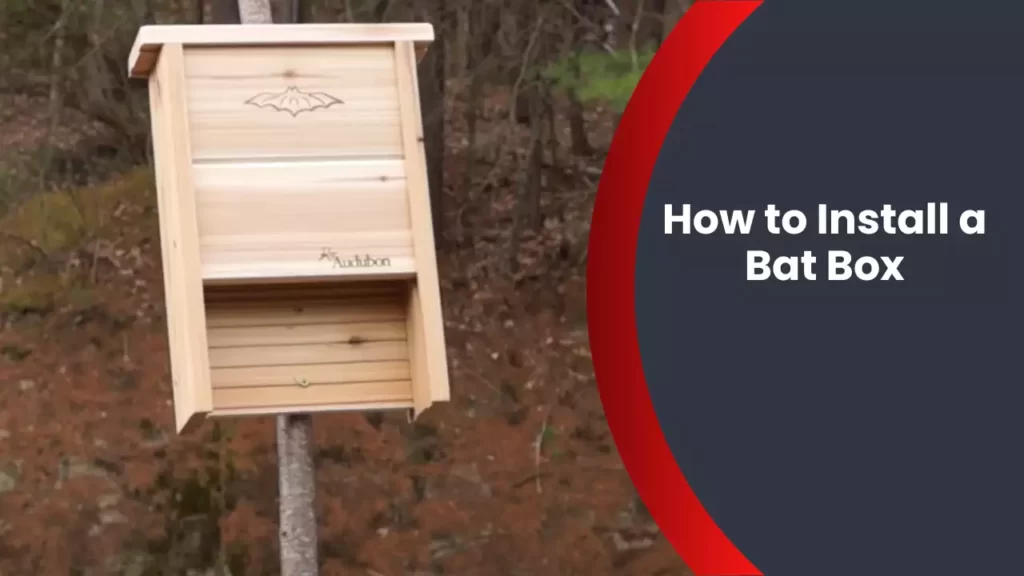
To install a bat box, choose a suitable location and mount it securely on a sturdy structure. Bat boxes should be placed at least 10-20 feet above the ground, facing south or southeast.
A bat-friendly habitat nearby, such as a water source or a garden with plenty of insects, is ideal. Additionally, avoid installing boxes near bright lights or strong winds.
Benefits Of Installing A Bat Box
Attracts Natural Pest Control
Installing a bat box can bring numerous benefits to your garden or property, and one of the most notable advantages is attracting natural pest control. Bats are voracious insect eaters and consume a significant amount of pests each night, contributing to a decrease in the population of common garden nuisances such as mosquitoes, moths, beetles, and other flying insects. By providing shelter in the form of a bat box, you are creating an inviting habitat for bats to roost, leading to a reduction in the need for harmful chemical pesticides or insecticides.
Supports Local Bat Populations
Bat populations around the world are facing numerous challenges, including habitat loss and climate change. Installing a bat box can play a vital role in supporting local bat populations. These boxes provide safe and secure roosting spaces for bats, offering them protection from adverse weather conditions and predators.
By providing a suitable habitat for bats, you are helping to ensure the survival and growth of these important pollinators and insect controllers. Supporting local bat populations not only benefits the environment but also contributes to the overall balance of ecosystems.
Selecting The Right Location For Your Bat Box
When it comes to installing a bat box, selecting the perfect location is key to attracting bats. Bats have specific requirements for their roosting sites, so it’s crucial to consider factors such as height and direction, proximity to water sources, and minimizing human disturbance. Let’s delve into these details to ensure that your bat box provides an ideal habitat for these nocturnal creatures.
Consider the Height and Direction of the Box
The height and direction of your bat box are crucial to optimize its functionality. Bats prefer roosts that receive ample sunlight and warmth, so it’s essential to mount your bat box facing south or southeast. This way, the box will receive sufficient sunlight throughout the day, providing warmth for the bats.
When it comes to height, it’s recommended to install your bat box at least 10-15 feet above the ground. This elevation ensures that bats feel secure and away from potential predators. Remember to avoid areas with dense vegetation that could obstruct the flight path of the bats.
Determine the Proximity to Water Sources
Bats require a consistent water supply, so choosing a location near water sources greatly enhances the chances of attracting them to your bat box. Consider positioning your bat box within a quarter-mile radius of a pond, stream, or river. These water bodies provide bats with both drinking water and an abundant food supply, attracting them to your bat box.
Choose a Spot with Minimal Human Disturbance
Bats are sensitive to disturbances, especially during their roosting period. To ensure bat activity and successful reproduction, it’s vital to minimize human disturbance around your bat box. Choose a spot away from high traffic areas, loud noises, and bright lights. This will allow bats to roost and navigate without disruptions. Additionally, placing your bat box in an area with limited human activity will help prevent vandalism or accidental damage to the box.
In conclusion, selecting the right location for your bat box is crucial for attracting bats and providing them with a suitable habitat. Consider the height and direction of the box to optimize sunlight exposure and warmth. Determine the proximity to water sources to provide bats with necessary resources. Finally, choose a spot with minimal human disturbance to ensure bats can roost and navigate without interruptions. By adhering to these guidelines, you can create an inviting environment for bats and contribute to their conservation.

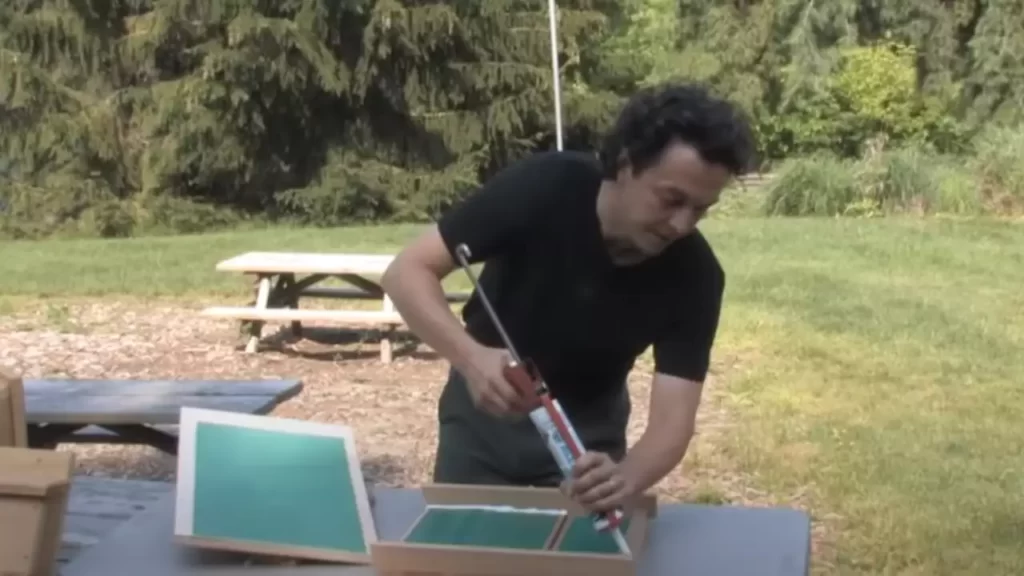
Preparing The Bat Box Assembly
Installing a bat box in your backyard can not only provide shelter for bats but also help control mosquito populations. To ensure a successful installation, it is important to properly prepare the bat box assembly. This involves gathering the necessary materials and tools, carefully reading and understanding the manufacturer’s instructions, and checking for any defects or damage before proceeding with the assembly. Let’s go through each step in detail:
Gather the necessary materials and tools
Before you begin assembling the bat box, make sure you have all the materials and tools required. This will save you time and frustration during the installation process. Here is a list of items you will need:
- Bat box kit (including all necessary components)
- Screws or nails for securing the box
- Drill or screwdriver
- Tape measure
- Pencil or marker
- Ladder or step stool (if necessary)
Having these items ready will ensure a smooth assembly process.
Read and understand the manufacturer’s instructions
Before you start assembling the bat box, it is crucial to carefully read and understand the manufacturer’s instructions. These instructions will provide you with important guidelines and specific steps to follow. Pay close attention to any special considerations, such as the height and location recommendations for the bat box. Understanding the instructions beforehand will help you avoid any mistakes during the assembly process.
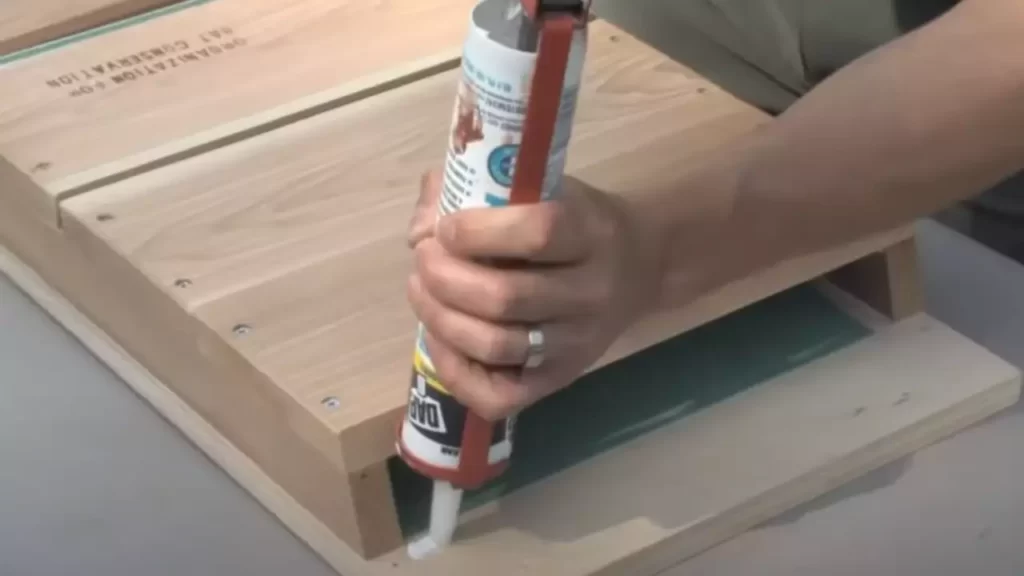
Check for any defects or damage before assembling
Prior to assembling the bat box, it is essential to inspect each component for any defects or damage. Look for cracks, splits, or any other signs of weakness that may affect the durability of the bat box. If you notice any issues, contact the manufacturer immediately for further assistance or replacement parts. Ensuring the bat box is in good condition before assembling will help guarantee its longevity and functionality.
By taking the time to prepare the bat box assembly properly, you are setting the stage for a successful installation. So, gather all the necessary materials and tools, carefully read and understand the instructions, and thoroughly check for any defects or damage. With these preparatory steps complete, you’ll be ready to move on to the next stage of installing the bat box.
Installing The Bat Box On A Tree
Installing a bat box on a tree is a great way to provide a safe and cozy home for our nocturnal friends. Bats play an essential role in our ecosystem by pollinating flowers and controlling insect populations. By installing a bat box on a tree in your yard or garden, you can attract these incredible creatures and contribute to their conservation. In this guide, we will walk you through the step-by-step process of installing a bat box on a tree.
Choose a Healthy, Sturdy Tree with Enough Space
Before installing the bat box, it’s crucial to choose a healthy and sturdy tree that can support the weight and activity of the bats. Consider the following factors when selecting a tree:
- Choose a tree that is at least 15 feet tall to prevent predators from reaching the bat box
- Ensure the tree has sturdy branches and trunk to support the weight of the box
- Select a tree that is at least 20 feet away from any structures to prevent interference with bats’ flight paths
Measure and Mark the Ideal Height for Installation
Measuring and marking the ideal height for installing the bat box ensures that it is easily accessible to the bats and increases the chances of occupancy. Follow these steps to determine the optimal height:
- Measure at least 10-15 feet from the ground, as bats prefer a higher location for roosting
- Using a tape measure, mark the desired height on the tree trunk
- Make sure the bat box entrance is facing downward slightly to protect it from rain
Securely Attach the Bat Box to the Tree Trunk
Properly securing the bat box to the tree trunk is essential to ensure its stability and longevity. Follow these steps to securely attach the bat box:
- Position the bat box against the tree trunk at the marked height
- Using screws or strong straps, affix the box firmly to the trunk
- Ensure the box is level and tightly secured, minimizing any movement
Remember, bats are sensitive to disturbance, so avoid placing the bat box where there is excessive noise, light, or foot traffic. Now that you know how to install a bat box on a tree, go ahead and create a cozy abode for these incredible creatures. Your efforts will make a significant contribution to bat conservation and promote a balanced ecosystem.
Mounting The Bat Box On A Pole
Once you’ve selected a suitable location for your bat box, the next step is to mount it on a pole. Properly mounting the bat box is crucial for ensuring bats are attracted to and will use the box as their roosting site. In this section, we’ll guide you through the process of mounting your bat box securely on a pole.
Select a suitable location for the pole
Before you begin mounting the bat box, it’s important to select a suitable location for the pole. Bats prefer quiet and undisturbed areas with easy access to food sources. Look for a spot with good sun exposure during the day and a water source nearby, such as a pond or a stream. Additionally, ensure that the spot provides adequate height for the pole, ideally at least 12 feet above the ground to prevent predators from reaching the bat box.
Dig a hole and place the pole securely
Once you have identified the ideal location for the pole, it’s time to dig a hole and place the pole securely. Grab a shovel and dig a hole deep enough to accommodate one-third of the length of the pole. Ensure the hole is wide enough to provide stability to the pole. Place the pole in the hole, making sure it stands straight. Use a level to ensure the pole is perfectly vertical. Then, backfill the hole with soil, packing it tightly around the pole to provide stability and prevent any wobbling.
Attach the bat box to the top of the pole
Now that the pole is securely in place, it’s time to attach the bat box to the top of the pole. Ensure the bat box is facing in the right direction – ideally, south or southeast to maximize sun exposure during the day. Place the bat box on top of the pole and use screws or brackets to secure it firmly. Double-check that it is stable and doesn’t wobble when touched. A stable mount will ensure the safety and comfort of bats using the roost.
Once the bat box is securely mounted on the pole, allow some time for bats to discover and inhabit it. It may take a few days or even weeks for bats to find their new roost, so be patient. Make sure to monitor the bat box regularly to ensure it remains in good condition and safe for the bats.
Maintaining And Monitoring Your Bat Box
After successfully installing your bat box, it’s important to regularly maintain and monitor it to ensure optimal conditions for bats and to track their activity and population over time. Here are some key steps you should follow:
Regularly inspect and clean the bat box
Regular inspections and cleanings are crucial to keep your bat box in good condition and free from any debris or pests. Inspecting the box at least once a year, preferably in the late winter or early spring, allows you to remove any accumulated droppings, spider webs, or unwanted visitors.
During the inspection, make sure to:
- Gently remove the box’s lid or front panel.
- Wear gloves and a mask for protection against any potential diseases.
- Use a brush or scraper to clean out accumulated guano, taking care not to damage the internal structure.
- Inspect for signs of pests such as mites or insects and take appropriate actions if necessary.
By regularly maintaining and cleaning your bat box, you are creating a healthy and inviting environment for bats to inhabit.
Monitor bat activity and population over time
Monitoring bat activity and population is a crucial part of understanding the success and impact of your bat box installation. By tracking their behavior and numbers, you can take necessary actions if any issues arise.
Here’s how you can monitor bat activity and population:
- Observe the bat box at dusk or dawn when bats are typically active. Note how many bats are emerging or entering the box.
- Count the number of bats to establish a baseline population and monitor for any changes over time.
- Record the dates and times of your observations to track seasonal variations.
- Consider using specialized bat detectors or cameras to gather more detailed information about bat species and behavior.
Regular monitoring of bat activity will help you gauge the success of your bat box and identify any potential issues that may need attention.
Address any necessary repairs or maintenance issues
Even with regular inspections and cleanings, there may come a time when your bat box requires repairs or maintenance. Promptly addressing any issues ensures the longevity of the box and the well-being of the bats.
If you notice any of the following problems, take appropriate action:
| Problem | Action |
| The box is damaged or deteriorating. | Repair or replace the damaged parts. |
| The box is attracting unwanted animals. | Install appropriate deterrents, such as predator guards or a bat-exclusion device. |
| There is a decline in bat activity or population. | Investigate potential causes, such as changes in the surrounding habitat or availability of food sources. |
By proactively addressing repairs or maintenance issues, you can ensure the continued effectiveness of your bat box and the well-being of the bat population you are helping to support.
Remember, maintaining and monitoring your bat box is not only beneficial for the bats but also provides valuable insights for conservation efforts. By following these steps, you can make a positive impact on bat populations in your area!
Tips For Encouraging Bat Habitat
Bats are incredible creatures that play a crucial role in maintaining the balance of ecosystems. They are natural pest controllers, consuming thousands of insects each night. By installing a bat box, you can provide a safe and inviting habitat for these helpful creatures. But that’s just the first step! To truly encourage bat habitat, there are a few additional tips you should keep in mind.
Provide Nearby Food and Water Sources
Bats rely on easily accessible food sources, so it’s essential to create a nearby buffet for them. Consider planting a variety of plants that attract insects such as moths and beetles. These plants can include night-scented flowers like evening primrose and jasmine, which appeal to moths. Additionally, including native plants and fruit trees can provide a diverse food source for bats. Ensure there is a water source nearby, such as a shallow pool or birdbath, as bats also rely on water for hydration.
Create a Diverse and Insect-Friendly Garden
A diverse garden not only enhances the beauty of your outdoor space but also attracts a wide range of insects – a bat’s primary source of food. To create a diverse and insect-friendly garden, consider the following tips:
- Plant a variety of flowers, shrubs, and trees that bloom at different times of the year. This will provide a continuous food supply for insects and, subsequently, bats.
- Include plants that attract pollinators such as butterflies and bees. These plants, like lavender, sunflowers, and butterfly bushes, not only benefit the ecosystem but also attract insects that bats feed on.
- Leave small areas of your garden wild, allowing native grasses and plants to grow freely. This provides shelter and hiding spots for insects, attracting them to your garden.
- Use mulch and leaf litter as it creates a favorable environment for insects to thrive.
Avoid Using Pesticides or Harmful Chemicals
Using pesticides or harmful chemicals not only harms the insects that bats rely on but can also contaminate their food sources. Even pesticides used in neighboring gardens can have a detrimental effect. Instead, opt for natural pest control methods such as companion planting or organic alternatives.
By following these tips, you can create a welcoming environment for bats, ensuring their continued presence in your area. Remember, a healthy bat population benefits both your garden and the broader ecosystem.
Frequently Asked Questions
How And Where To Install A Bat Box?
To install a bat box, choose a location with direct sunlight and minimal disturbance. Mount it on a tree or post, at least 10-15 feet high. Orient the box facing south or southeast for ideal temperature regulation. Ensure there is a clear flight path.
Avoid using pesticides nearby.
What Time Of Year Should Bat Boxes Be Put Up?
Bat boxes should be put up in the spring or fall to increase the chances of attracting bats.
What Is The Best Way To Hang A Bat Box?
To hang a bat box, find a high spot with minimum sunlight exposure and away from predators. Mount the box on a sturdy post or tree at least 10 to 15 feet above the ground. Make sure the entrance faces south or southeast.
Leave enough space around for bats to exit and avoid obstructions.
Do Bat Boxes Attract Bats To Your House?
Yes, bat boxes can attract bats to your house. Bat boxes provide shelter for bats and encourage them to roost in your area. Installing a bat box can help control insect populations and create a beneficial habitat for bats.
Conclusion
Installing a bat box in your backyard is a simple and effective way to attract these beneficial creatures. By following the step-by-step instructions outlined in this blog post, you can create a safe and inviting habitat for bats. Remember, bats play a critical role in controlling insect populations and pollinating plants.
So, go ahead and give these amazing creatures a helping hand while enjoying the benefits they bring to your ecosystem. Happy bat box installation!