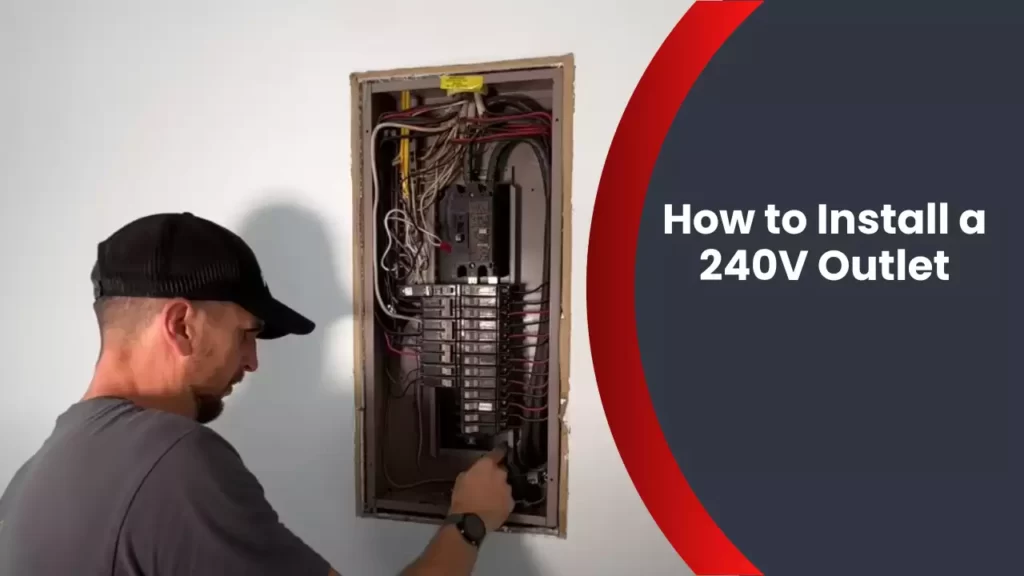
To install a 240V outlet, first, turn off the power supply to the area, locate the breaker for the circuit, then remove the breaker panel cover and attach a double-pole breaker. Next, run the appropriate gauge wire from the breaker to the outlet location, ensuring it is secured properly.
Finally, connect the wires to the outlet following the manufacturer’s instructions, and test the outlet before turning the power back on. Introducing a 240V outlet into your home can provide the electrical power needed for heavy-duty devices such as electric ranges, electric dryers, and air conditioners.
By following a few simple steps, you can install a 240V outlet in your home and enjoy the benefits of increased electrical capacity. We will guide you through the installation process, ensuring safety and compliance with the electrical code.
Understanding The Basics Of A 240V Outlet
What is a 240V outlet and its purpose?
Before diving into the process of installing a 240V outlet, it’s crucial to understand the basics. A 240V outlet, also known as a 240-volt outlet, is a type of electrical outlet that provides a higher voltage than the standard 120V outlets typically found in homes. It is primarily used for powering heavy-duty appliances and equipment, such as electric ranges, dryers, air conditioners, and welders, that require more electrical power to operate efficiently.
Different types of 240V outlets and their configurations
There are several types of 240V outlets available, each designed for specific purposes. Let’s explore the most common ones:
1. NEMA 6-15 Outlet:
The NEMA 6-15 outlet is a two-pole, three-wire grounding outlet that delivers 240 volts for devices that require a higher voltage. It has a unique configuration with two flat pins angled diagonally and a grounding pin located below. This type of outlet is commonly used for appliances like heaters, window air conditioners, and power tools.
2. NEMA 6-20 Outlet:
The NEMA 6-20 outlet is similar to the NEMA 6-15 outlet in terms of its configuration and purpose. However, it provides a slightly higher ampacity of 20 amps compared to the 15 amps offered by the NEMA 6-15 outlet. This additional ampacity allows it to power devices that require more electricity to operate, such as larger power tools and certain air compressors.
3. NEMA 14-30 Outlet:
The NEMA 14-30 outlet is commonly used for electric dryers and ranges. It is a four-pole, four-wire grounding outlet that delivers both 120 volts and 240 volts. Its configuration consists of two flat pins, a grounding pin, and a neutral pin. The NEMA 14-30 outlet provides the required power for heavy-duty appliances like electric dryers and ranges, ensuring efficient operation.
4. NEMA 14-50 Outlet:
The NEMA 14-50 outlet is a very versatile outlet that can power a wide range of appliances and equipment. It is commonly used for RVs, electric vehicle charging stations, and mobile homes. This outlet provides both 120 volts and 240 volts and has a unique configuration with two flat pins, a grounding pin, and two hot pins, which allow for the safe and efficient operation of various power-hungry devices.
Understanding the different types of 240V outlets and their configurations is essential, as it ensures you install the appropriate outlet for your specific needs. Take into account the electrical requirements of your appliances and equipment to choose the right outlet and ensure a safe and reliable electrical connection.
Tools And Materials Required For The Installation
When it comes to installing a 240V outlet, having the right tools and materials is essential. This will not only make the installation process easier but also ensure that it is done correctly and safely. In this section, we will discuss the list of tools needed for the installation process as well as the materials required to complete the installation.
List of tools needed for the installation process:
- Wire strippers
- Electrician’s tape
- Wire cutters
- Hammer
- Programmable timer
- Power drill
- Screwdrivers (flathead and Phillips)
- Utility knife
- Measuring tape
- Level
- Wire nuts
- Voltage tester
These tools will help you with various aspects of the installation process, from cutting wires to securing electrical connections. It’s important to have these tools readily available before you begin the installation to ensure a smooth and efficient process.
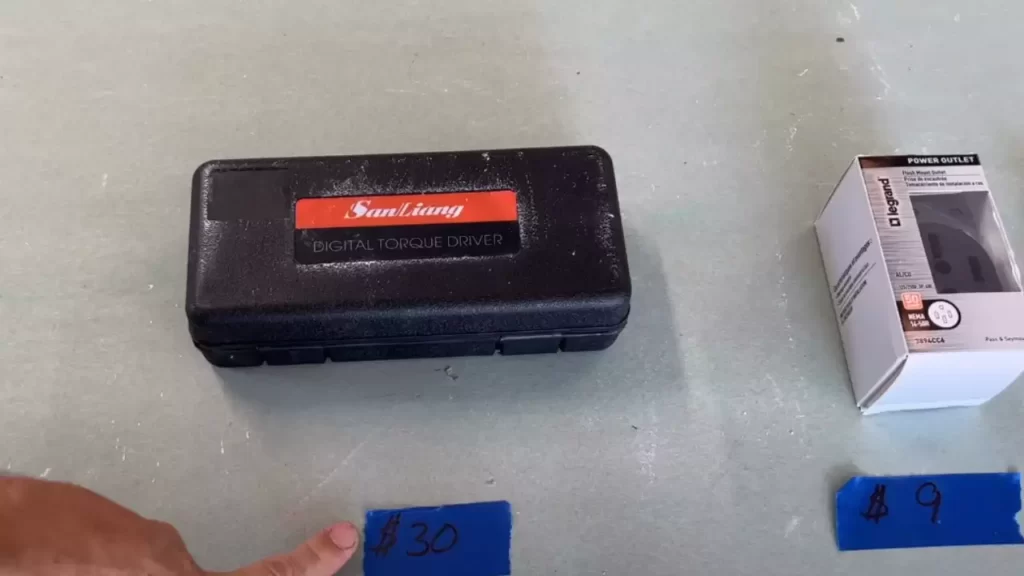
Materials required to complete the installation:
- 240-volt outlet
- Electrical wire
- Electrical box
- Cable staple
- Wire connectors
- Outlet cover
These materials are necessary to ensure the outlet is properly installed and connected to your electrical system. The electrical wire will provide the necessary power supply to the outlet, while the electrical box will house the wires and provide protection. The cable staple will help secure the wire to the wall or floor, and the wire connectors will ensure a secure and reliable connection.
Once you have gathered all the necessary tools and materials, you are ready to proceed with the installation process. It’s important to follow the manufacturer’s instructions and any local electrical codes to ensure the safety and effectiveness of the installation.
Step-By-Step Guide To Installing A 240V Outlet
Installing a 240V outlet can be a challenging but rewarding project for those looking to upgrade their electrical system. Whether you need it for a new appliance or to power heavy-duty equipment, this step-by-step guide will walk you through the installation process. It is important to follow all safety precautions and consult with a professional if you are unsure about any steps.
Safety Precautions to Keep in Mind Before Starting the Installation
Prior to beginning the installation, it is crucial to prioritize safety by taking the following precautions:
- Ensure you have the necessary tools and equipment required for the installation.
- Wear appropriate safety gear, such as gloves and safety glasses, to protect yourself from electrical hazards.
- Turn off the power to the area where you will be working to prevent any potential accidents.
- Keep the work area clean and well-lit to minimize the risk of tripping or causing damage to existing wiring.
Shutting off the Power to the Area for Safety Purposes
Before you can start installing the 240V outlet, it is essential to shut off the power to the area to ensure your safety. Follow these steps to turn off the power:
- Locate your electrical panel, usually found in the basement, garage, or utility room.
- Open the panel cover using a screwdriver or the appropriate tool.
- Locate the circuit breaker that controls the area where you will be installing the outlet.
- Flip the corresponding circuit breaker to the “off” position to cut off power to the area.
- Double-check that the power is off by testing the outlet or using a voltage tester.
Determining the Appropriate Location for the Outlet
Choosing the right location is crucial for the functionality of your 240V outlet. Consider the following factors when determining the placement:
- Ensure that the location allows for easy access to the outlet for plug insertion and removal.
- Verify that the chosen location meets the electrical code requirements for spacing and height.
- Take into account the proximity to the electrical panel and/or the existing wiring.
- Consider the potential load of the appliance or equipment that will be connected to the outlet.
Checking the Electrical Panel and Circuit Breakers
Before proceeding with the installation, it is crucial to check your electrical panel and circuit breakers to ensure they can handle the increased voltage load. Here’s what you need to do:
- Inspect the electrical panel and circuit breakers for any damage, loose connections, or signs of wear.
- Determine the amp capacity of the circuit breakers to confirm that it can support a 240V outlet.
- If necessary, upgrade the circuit breakers to higher ampacity ones to accommodate the increased voltage.
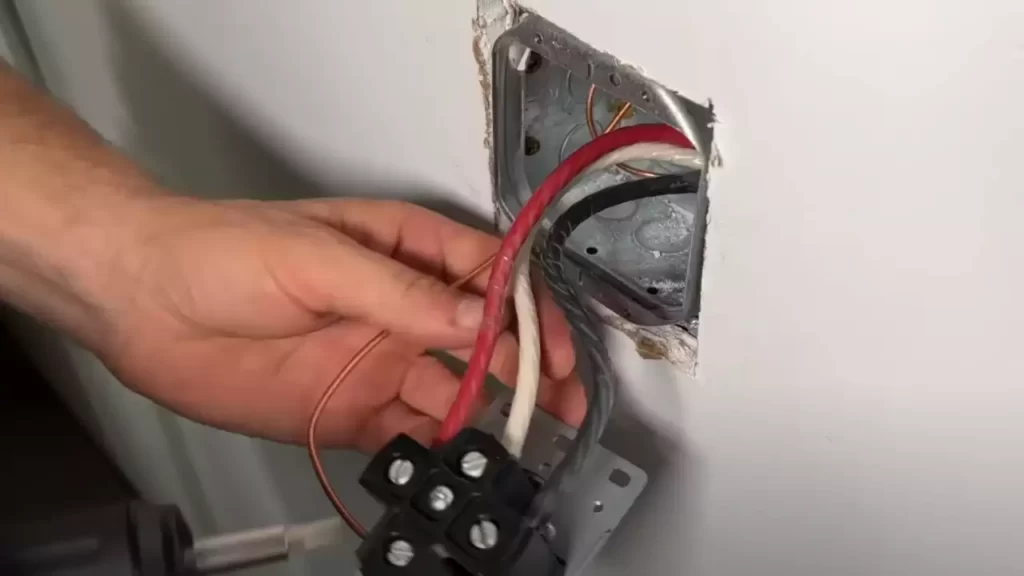
Running the Appropriate Wires and Cables
To install a 240V outlet, you will need to run the appropriate wires and cables to ensure proper electrical connectivity. Follow these steps:
- Determine the wire gauge needed based on the ampacity, distance, and type of load.
- Measure and cut the wires to the appropriate lengths, leaving enough slack for connections.
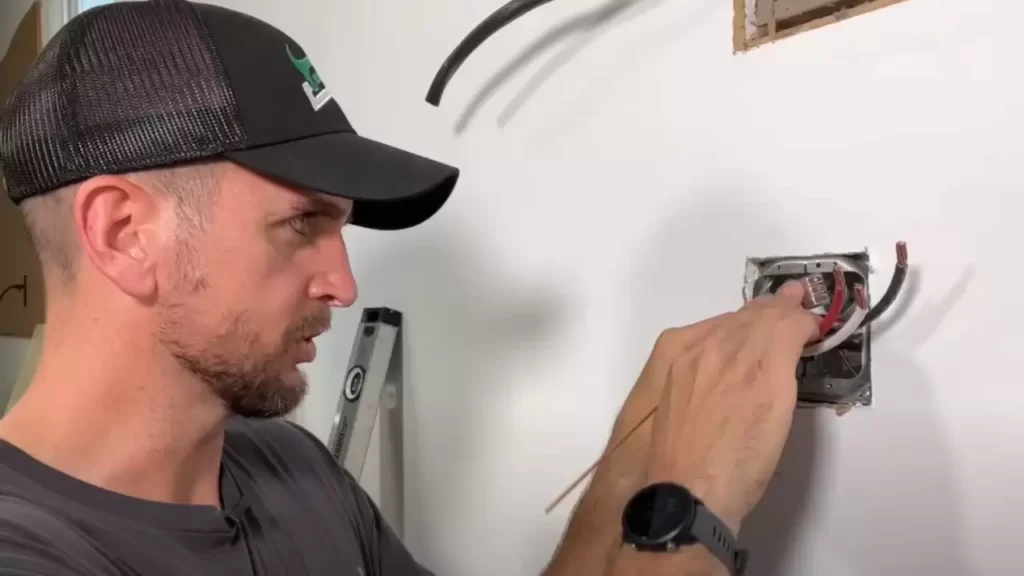
Connecting the Outlet to the Electrical System
With the wires in place, it’s time to connect the outlet to the electrical system:
- Strip the insulation from the wires according to the manufacturer’s instructions.
- Connect the wires to the corresponding terminals on the outlet, ensuring a tight and secure connection.
- Follow the color-coded wiring diagram provided with the outlet to ensure correct connection.
- Tighten the screws on the outlet terminals to secure the wires in place.
Testing the Outlet to Ensure Proper Functionality
Once the outlet is connected, it’s crucial to test its functionality and ensure everything is working correctly:
- Turn on the power to the area by flipping the circuit breaker to the “on” position.
- Plug in a device or appliance into the outlet to verify that it receives power.
- Check for any sparks, unusual sounds, or signs of overheating which may indicate a wiring issue.
- If everything appears to be working correctly, congratulations! You have successfully installed a 240V outlet.
Installing a 240V outlet can provide the power needed for various heavy-duty electrical appliances and equipment. By following this step-by-step guide and adhering to safety precautions, you can confidently complete the installation and enjoy the benefits of a reliable and efficient electrical system.
Troubleshooting Common Installation Issues
Installing a 240V outlet can be a practical solution for powering heavy-duty appliances or charging vehicles at home. However, like any electrical installation, it can come with its fair share of challenges. In this section, we will discuss common installation issues and provide valuable troubleshooting tips to help you overcome them. Read on to find out how to identify and resolve wiring problems, follow electrical codes and regulations, and ensure safety during the installation process.
Identifying and Resolving Wiring Problems
When it comes to installing a 240V outlet, it is crucial to ensure the wiring is done correctly to avoid future complications. Here are some common wiring problems you may encounter and ways to address them:
- Improper wire size: Using the wrong wire size can lead to overheating and potential hazards. Refer to the electrical codes and regulations to determine the appropriate wire gauge for your specific installation.
- Loose connections: Loose connections can cause flickering lights and unreliable power supply. Ensure all connections are secure by tightening the screws on outlets, switches, and wire nuts.
- Reverse polarity: If the hot and neutral wires are reversed, it can lead to equipment malfunctions. Use a circuit tester to confirm the correct polarity before connecting the outlet.
- Faulty wiring: Inspect the wiring thoroughly for any signs of damage or wear. Replace any frayed, exposed, or damaged wiring to maintain the safety and integrity of your installation.
Understanding the Significance of Electrical Codes and Regulations
Adhering to electrical codes and regulations is critical to ensure a safe and compliant installation. Here are some key points to keep in mind:
- Research local codes: Electrical codes may vary by jurisdiction, so it is vital to research and understand the specific codes and regulations applicable to your location.
- Ensure proper grounding: Follow the requirements for grounding the outlet to protect against electrical faults and ensure proper safety measures.
- Consult a professional: If you are unsure about any aspect of the installation process or are not confident in your abilities, don’t hesitate to seek guidance from a licensed electrician.
Dealing with Safety Concerns during Installation
When working with electricity, safety should always be a top priority. Here are some safety precautions to consider during the installation:
- Turn off the power: Before starting the installation process, make sure the power to the area where the outlet will be installed is turned off at the breaker panel.
- Use proper protective gear: Wear gloves and safety goggles to protect yourself from potential hazards.
- Follow step-by-step instructions: Carefully read and follow the manufacturer’s instructions and applicable electrical codes to ensure a safe and successful installation.
By identifying and resolving wiring problems, understanding electrical codes and regulations, and prioritizing safety throughout the installation, you can overcome common issues and confidently install a 240V outlet. Remember, if you are unsure about any aspect or encounter complex problems, it is always best to consult a qualified electrician to ensure a safe and compliant installation.
Upgrading To A 240V Outlet
Assessing the need for a 240V outlet
If you have recently purchased a new appliance or equipment that requires a higher voltage, you might be considering upgrading your existing electrical outlet to a 240V outlet. Before diving into the installation process, it is important to assess whether or not you actually need a 240V outlet. This will save you time, effort, and money in the long run.
First, check the power requirements of the appliance or equipment that you plan to connect to the outlet. Most appliances that require a 240V outlet are larger, energy-intensive machines like electric dryers, ovens, or air conditioners. Assess whether your current outlet can handle the electrical load required by the new appliance. If it can’t, upgrading to a 240V outlet might be necessary.
Next, evaluate the availability of 240V outlets in your home. If you already have a 240V outlet in a different location that you can easily access, you may not need to install a new one. However, if your home lacks a 240V outlet altogether, you will need to consider installing one to meet your electrical needs.
Upgrading an existing outlet to meet the electrical requirements
If you have determined that upgrading to a 240V outlet is necessary, you might wonder how to go about it. Upgrading an existing outlet to meet the electrical requirements of your new appliance can be done in a few simple steps.
- Start by turning off the power supply to the outlet. This can be done by flipping the breaker switch that controls the circuit.
- Remove the cover plate and disconnect the wires from the existing outlet. Ensure that the wires are securely disconnected to prevent accidents.
- Next, examine the wiring inside the electrical box. You may need to replace the current wiring with a heavier gauge wire that can handle the increased electrical load. Consult a professional electrician if you are unsure about the appropriate wire size for your specific situation.
- After replacing the wiring, connect the new 240V outlet to the wires. Make sure to match the corresponding wires and securely tighten the connections.
- Finally, carefully place the outlet back into the electrical box, ensuring that it fits securely. Attach the cover plate and turn on the power supply to the outlet.
Remember, if you are not confident in your electrical skills or are dealing with a complex installation, it is always best to consult a professional electrician. They have the necessary knowledge, skills, and tools to handle the job safely and efficiently.
Hiring a professional electrician for complex installations
In some cases, upgrading to a 240V outlet can be a complex task that requires extensive electrical knowledge. If you are dealing with a complex installation or are unsure about any step of the process, hiring a professional electrician is highly recommended.
A professional electrician will ensure that each aspect of the installation adheres to the required safety standards and electrical codes. They have the expertise to accurately assess your electrical needs, determine the appropriate wire size, and install the 240V outlet with precision.
When hiring a professional electrician, be sure to choose a licensed and experienced individual or company. Request references, read reviews, and compare quotes to find the most reliable and trustworthy electrician for your specific needs.
By hiring a professional electrician, you can have peace of mind knowing that your 240V outlet installation will be carried out safely and efficiently, allowing you to use your new appliance or equipment with confidence.
Frequently Asked Questions
How Much Does It Cost To Install A 240V Outlet?
The cost of installing a 240V outlet varies depending on factors such as location and complexity. Generally, it can range from $200 to $500. Ensure to consult with an electrician to get an accurate estimate for your specific situation.
Can You Convert A Regular Outlet To 240V?
No, you cannot convert a regular outlet to 240V. Regular outlets are designed for 120V. Installing a 240V outlet requires rewiring and use of appropriate electrical equipment by a licensed electrician.
Does A 240V Outlet Need Its Own Breaker?
Yes, a 240V outlet requires its own breaker. The breaker protects the circuit from overloading and prevents potential hazards.
Does 240V Need A Special Outlet?
Yes, a 240V electrical outlet is different from a standard 120V outlet and requires special wiring and components. It is important to consult a qualified electrician to install the appropriate outlet for your specific electrical needs.
Conclusion
To conclude, installing a 240V outlet may seem daunting at first, but with the right tools and guidance, it can be a manageable DIY project. Remember to prioritize safety throughout the process and consult a professional if needed. By following the steps outlined in this blog post, you can confidently set up a 240V outlet in your home or workspace, providing you with the power you need for your appliances and equipment.
Happy wiring!