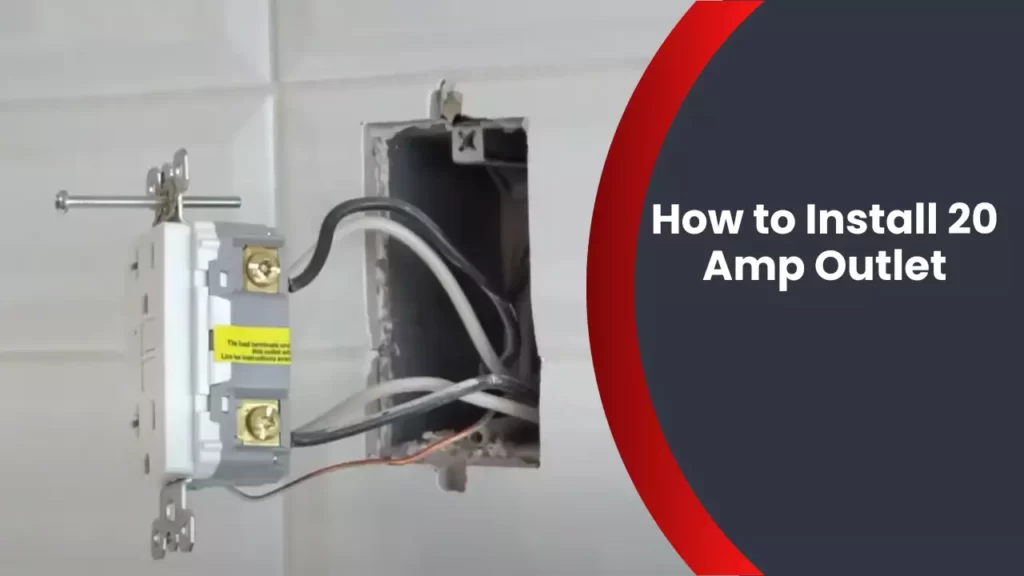
To install a 20 amp outlet, turn off the power, remove the existing outlet, connect the hot and neutral wires, and ground the outlet. Now, let’s delve into a comprehensive guide on how to install a 20 amp outlet.
Properly installing an outlet is crucial for safety reasons and to ensure that your devices receive the proper voltage. This step-by-step process will help you install a 20 amp outlet without any hassle. Just remember to follow all safety precautions, turn off the power, and use the necessary tools and materials.
Let’s get started with the installation process to upgrade your electrical outlets to handle larger electrical loads.
Understanding The Basics Of A 20 Amp Outlet
If you’re looking to upgrade your electrical outlet to handle heavier loads, a 20 amp outlet is the way to go. Understanding the basics of a 20 amp outlet, including its purpose, how it differs from a 15 amp outlet, and the safety considerations involved, is essential before you begin the installation process. In this section, we’ll explore these key aspects to ensure you have a clear understanding of this electrical upgrade.
What is a 20 Amp Outlet and its Purpose?
A 20 amp outlet, also known as a 20-ampere, is an electrical receptacle designed to handle a higher current flow compared to a standard 15 amp outlet. The “amp” in ampere refers to the rate at which electricity flows through the circuit. The primary purpose of a 20 amp outlet is to provide electrical connections that can support larger devices and appliances that require more power, such as refrigerators, air conditioners, power tools, and kitchen appliances.
Differentiating between a 20 Amp Outlet and a 15 Amp Outlet
It’s important to differentiate between a 20 amp outlet and a 15 amp outlet to ensure that you’re selecting the appropriate outlet for your specific electrical needs. While both outlets may appear similar, the key difference lies in their current carrying capacity. A 20 amp outlet can handle up to 20 amps of current, while a 15 amp outlet can only handle up to 15 amps. This means that a 20 amp outlet can supply more power without risk of overloading the circuit.
To help you understand the differences more clearly, let’s summarize them in a table:
| Aspect | 20 Amp Outlet | 15 Amp Outlet |
|---|---|---|
| Current Capacity | Up to 20 amps | Up to 15 amps |
| Purpose | Supports devices and appliances with higher power requirements | Primarily used for general household electrical needs |
Safety Considerations when Working with Electrical Outlets
Installing electrical outlets should always be approached with caution to ensure the safety of both the person performing the installation and the users of the outlet. Here are some safety considerations to keep in mind:
- Before starting any work, turn off the power supply to the area where you’ll be working. This can be done by flipping the circuit breaker or removing the fuse associated with the outlet.
- Wear appropriate personal protective equipment (PPE), including safety goggles and insulated gloves, to protect yourself from potential electrical hazards.
- Ensure that the wires are properly labeled and connected to the correct terminals to prevent any electrical mishaps.
- Perform regular checks of the outlet, ensuring there are no loose connections or signs of damage such as frayed wires or burn marks.
By adhering to these safety considerations, you can minimize the risk of electrical accidents and ensure a safe installation process.

Preparing For The Installation Process
Required Tools and Materials
Before beginning the installation process for a 20 Amp outlet, it’s important to gather all the necessary tools and materials. Having everything at hand will save time and make the installation smoother. Here’s a list of what you’ll need:
| Tools | Materials |
|---|---|
|
|
Turning off the Power and Ensuring Safety
Prior to any electrical work, it’s crucial to turn off the power to the circuit you will be working on. This will prevent any electrical hazards and keep you safe throughout the installation process. Follow these steps:
- Locate the circuit breaker box in your home.
- Identify the circuit that powers the area where you will install the 20 Amp outlet.
- Using caution, switch off the corresponding circuit breaker.
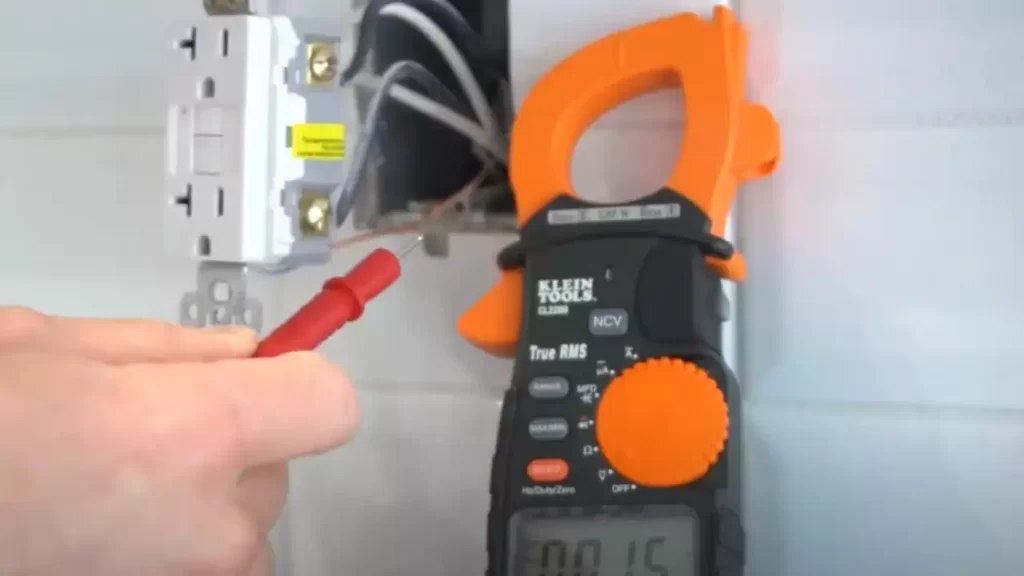
- Double-check that the power is off by testing the outlet with a non-contact voltage tester.
Remember, safety should always be a top priority when working with electricity. If you have any doubts about your electrical skills or would rather leave it to a professional, do not hesitate to seek assistance.
Checking Local Electrical Codes and Regulations
Before proceeding with the installation, it’s essential to familiarize yourself with the local electrical codes and regulations in your area. These codes ensure that the electrical work is done correctly and up to standard. Conduct the following steps:
- Research the specific electrical codes that apply to your location.
- Ensure that the installation process for a 20 Amp outlet aligns with the regulations.
- Pay attention to the requirements for wire gauge, circuit breaker type, and grounding.
- If needed, obtain any necessary permits or approvals.
By adhering to the local electrical codes and regulations, you can ensure the safety and legality of your installation.

Step-By-Step Installation Process
Installing a 20 amp outlet can provide you with the power you need to run heavy-duty appliances and equipment. Here is a step-by-step guide on how to install a 20 amp outlet.
Identifying the appropriate location for the outlet
The first step in the installation process is to determine the ideal location for your 20 amp outlet. Consider the proximity to your electrical panel and the convenience of access. It is recommended to install the outlet in an area that is easily accessible and safe for plugging in devices. Make sure to choose a location with enough space to accommodate the outlet box.
Running electrical wires to the outlet location
Once you have identified the location, it’s time to run the electrical wires to that spot. Ensure that the power to the circuit is turned off at the main breaker before you begin. Use safe wiring practices, such as securing the wires tightly to the wall and using appropriate conduit if needed. Take care to avoid damaging existing electrical cables and be cautious of any hidden hazards behind the walls.
Using appropriate wire gauges
When selecting the wires for your 20 amp outlet, it is crucial to choose the appropriate wire gauge to handle the higher electrical current. For a 20 amp circuit, a 12-gauge wire is recommended. This gauge of wire ensures the safe and efficient flow of electricity through the outlet.
Properly grounding the wires
Grounding the wires is a critical step to ensure the safety of the outlet. Connect the grounding wire to the grounding terminal on the outlet and securely attach the other end to the grounding conductor in the electrical panel. This step helps to protect against electrical shock and prevents potential hazards.
Mounting the outlet box securely
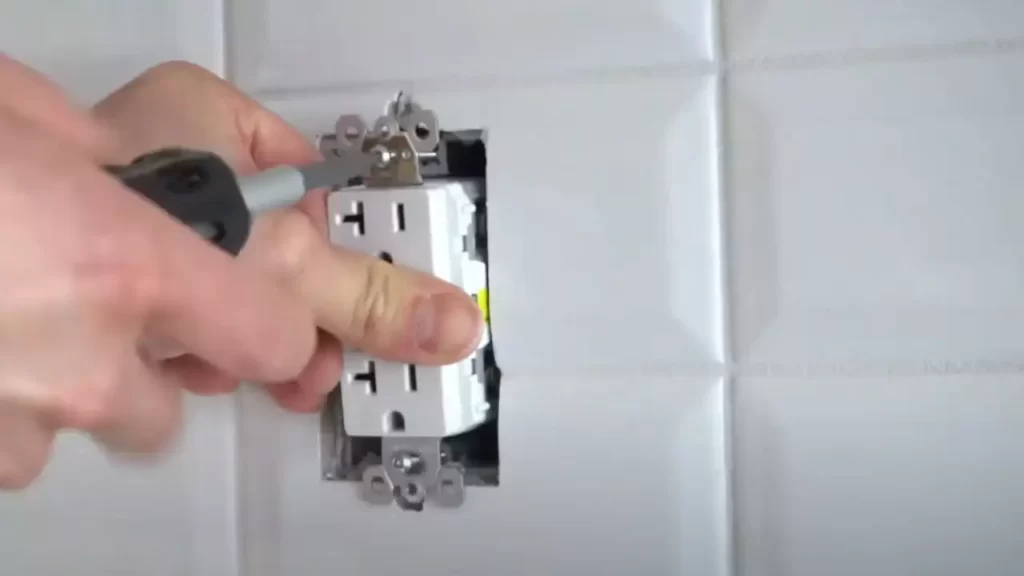
After running the wires and ensuring proper grounding, mount the outlet box securely onto the wall. Use appropriate screws or mounting brackets to secure the box tightly. This step ensures that the outlet is firmly in place and reduces the risk of any accidents or damage.
Connecting the wires to the outlet
Now, it’s time to connect the wires to the outlet. Follow the manufacturer’s instructions for your specific outlet model. Generally, you will strip the insulation off the wires and attach them to the appropriate terminals on the outlet. Make sure to tighten the screws securely to ensure a solid connection.
Testing the outlet to ensure proper functionality
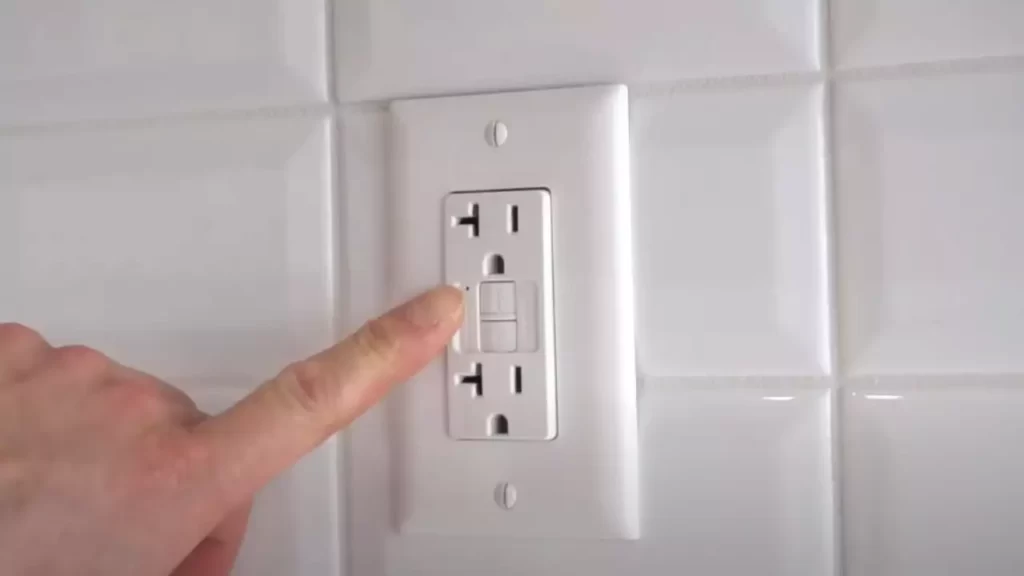
Once you have completed the wiring connections, it’s essential to test the outlet to ensure it is functioning correctly. Turn the power back on at the main breaker and use a circuit tester to confirm that the outlet is receiving power. Plug in a device to verify that it is working correctly. If any issues arise, consult a professional electrician for further assistance.
By following these step-by-step instructions, you can successfully install a 20 amp outlet and enhance the functionality of your electrical system.

Troubleshooting And Common Issues
Installing a 20 amp outlet can greatly enhance the power capacity of your electrical system. However, like any installation project, there can be some common issues that you may encounter along the way. Identifying and fixing these problems is important to ensure that your new 20 amp outlet functions properly and safely. In this section, we will discuss the most common troubleshooting issues that may arise during the installation process.
Identifying and fixing common installation problems
During the installation process, you may come across a few common problems that can hinder the successful functioning of your 20 amp outlet. The key is to be able to identify and fix these problems promptly. Let’s take a look at some of the most common installation problems and how to address them:
Outlet not receiving power
If your newly installed 20 amp outlet is not receiving power, the first thing to check is the wiring connections. Ensure that all the wires are properly connected and securely tightened. It’s important to follow the manufacturer’s instructions and adhere to the correct wire color-coding. Additionally, check the circuit breaker to make sure it is not tripped. If the connections and circuit breaker seem fine, it’s possible that there may be a deeper electrical issue that requires professional assistance.
Outlet not providing the correct voltage
If your outlet is receiving power but not providing the correct voltage, it may be due to faulty wiring or connections. Double-check the wiring and ensure that all connections are tight. If the issue persists, there might be a problem with the outlet itself. Consider testing the outlet with a voltage tester to determine if it is providing the correct voltage. If the voltage is still not correct, it is advisable to seek professional help to troubleshoot and resolve the issue.
Grounding issues
Proper grounding is crucial for the safe operation of your 20 amp outlet. If you suspect a grounding issue, start by inspecting the wiring and connections. Ensure that the grounding wire is securely attached to the grounding screw or terminal. Additionally, check for any loose or damaged wires that could be causing the problem. If you are unsure about the grounding process or suspect a deeper electrical issue, it is best to consult a professional electrician.
Seeking professional help when encountering complex issues
While many installation problems can be easily resolved, there may be complex issues that require the expertise of a professional electrician. If you are unsure about any aspect of the installation or encounter persistent problems, it is always better to seek professional help. Electrical systems can be dangerous, and attempting to fix complex issues without proper knowledge or experience can lead to further complications or accidents. Your safety should always be the top priority.
Remember, troubleshooting common issues during the installation process is essential to ensure that your 20 amp outlet operates safely and efficiently. By addressing these problems promptly and seeking professional assistance when needed, you can enjoy the benefits of your new electrical upgrade without any worries.

Tips And Best Practices
When it comes to installing a 20 Amp outlet, following the right tips and best practices is crucial. Not only does it ensure the safety of your electrical system, but it also guarantees the longevity of your outlet. In this section, we will explore three key areas to focus on: maintaining electrical safety while working with outlets, ensuring proper wire connections, and considering future electrical needs and load requirements. By adhering to these tips and best practices, you can confidently complete the installation of a 20 Amp outlet.
Maintaining Electrical Safety While Working with Outlets
Electrical safety is of utmost importance when it comes to any electrical installation. It is imperative to follow the necessary precautions to prevent potential hazards or accidents. Here are some tips to keep in mind:
- Always turn off the power supply before working on an outlet. This can be done by flipping the corresponding circuit breaker in your electrical panel.
- Use a voltage tester to ensure that the power is indeed off before proceeding with any work.
- Wear protective gloves and safety goggles to safeguard yourself from any potential electrical shocks or flying debris.
- Avoid wearing loose clothing or jewelry that could accidentally come into contact with live electrical components.
- Keep your work area clean and free of any potential tripping hazards.
- If you are uncertain about any aspect of the installation process, consult a licensed electrician to ensure your safety.
Ensuring Proper Wire Connections for Safety and Longevity
Proper wire connections are essential to guarantee the safe and efficient functioning of your 20 Amp outlet. Here are a few best practices to follow:
- Use high-quality electrical wires, rated for 20 Amps, with the appropriate gauge for the distance they will be installed.
- Strip the wire insulation properly, leaving no exposed copper conductors.
- Ensure that all wire connections are tight and secure, using wire nuts or appropriate connectors.
- Double-check your connections to confirm that they are properly aligned and tightened.
- If you are unsure about any aspect of wiring, consult a professional electrician to avoid any potential hazards or electrical malfunctions.
Considering Future Electrical Needs and Load Requirements
When installing a 20 Amp outlet, it is crucial to consider your future electrical needs and load requirements. Here are a few points to keep in mind:
- Assess your current and potential electrical demands to ensure that the 20 Amp outlet can accommodate them.
- Consider the appliances or equipment you may need to power in the future and account for their power requirements.
- Calculate the total load on the circuit to ensure it is within the capacity of the 20 Amp outlet.
- If necessary, consult an electrician to evaluate your electrical system and provide guidance on meeting your future needs while adhering to code requirements.
By following these tips and best practices, you can confidently install a 20 Amp outlet, ensuring electrical safety, proper wire connections, and meeting your future electrical needs.
Benefits Of A 20 Amp Outlet
Enhanced electrical capacity for efficient and reliable performance
When it comes to electrical outlets, it’s important to choose the right one for your needs. Standard 15 Amp outlets may be sufficient for most household appliances, but there are several benefits of opting for a 20 Amp outlet instead. In this article, we will explore the advantages of a 20 Amp outlet over a standard 15 Amp outlet to help you make an informed decision. Let’s dive in!
Understanding the advantages over a standard 15 Amp Outlet
A standard 15 Amp outlet is designed to handle typical household appliances such as lamps, televisions, and phone chargers. On the other hand, a 20 Amp outlet offers a higher electrical capacity, allowing for the use of more powerful devices and appliances. This means you can safely plug in high-powered gadgets like air conditioners, refrigerators, and power tools without overloading the circuit.
By upgrading to a 20 Amp outlet, you will have enough power to support multiple devices simultaneously without the risk of tripping the breaker. This is especially useful in rooms where you may need to use several appliances at once, such as the kitchen or home office.
Catering to high-powered appliances and devices
Are you struggling to find an outlet that can handle your high-powered appliances? Look no further than a 20 Amp outlet. Unlike a standard 15 Amp outlet, a 20 Amp outlet is specifically designed to cater to the needs of power-hungry devices. From electric ovens to washing machines, a 20 Amp outlet ensures that your appliances not only operate at their maximum potential but also remain safe and free from overloading.
Installing a 20 Amp outlet will provide you with the flexibility to power up heavy-duty appliances, making it a valuable addition to your home. Whether you’re an avid DIYer or a passionate home cook, you can be confident that your tools and appliances will always have the power they need to perform optimally.
Enhanced electrical capacity for efficient and reliable performance
One of the main advantages of a 20 Amp outlet is its enhanced electrical capacity. With a 20 Amp outlet, you can enjoy efficient and reliable performance from your devices. Whether it’s a power-hungry vacuum cleaner or a high-speed blender, a 20 Amp outlet ensures that your appliances receive the necessary power supply to operate smoothly.
The increased capacity of a 20 Amp outlet also helps prevent voltage drops, ensuring that your appliances run at their full potential. This means faster charging times for your electronic devices and improved performance for your power tools. Say goodbye to frustratingly slow charging and hello to efficient and reliable power with a 20 Amp outlet.
In conclusion, upgrading to a 20 Amp outlet offers a range of benefits over a standard 15 Amp outlet. It provides the electrical capacity needed to support high-powered appliances and devices efficiently, without overloading the circuit. By choosing a 20 Amp outlet, you can ensure optimal performance and reliability for all your electrical needs.
Important Considerations And Limitations
When it comes to installing a 20 Amp outlet, it’s crucial to be aware of several important considerations and limitations. Understanding these factors will not only ensure a safe and efficient installation but also help prevent any electrical issues down the line. From checking the electrical panel’s capacity to consulting with an electrician for specific scenarios, let’s dive into the key details you need to keep in mind.
Checking the electrical panel’s capacity to handle a 20 Amp Outlet
Before proceeding with the installation of a 20 Amp outlet, it’s essential to verify if your electrical panel can accommodate the increased electrical load. The electrical panel, also known as the breaker box or fuse box, functions as the central hub for distributing electricity throughout your home. Different homes have different electrical panel capacities, which determine the maximum amount of electricity that can be safely used.
To check if your electrical panel can handle a 20 Amp outlet, follow these steps:
- Turn off the main power supply to ensure your safety.
- Locate the electrical panel, usually found in the basement, garage, or utility room.
- Open the panel cover using a screwdriver or the designated latch.
- Look for the main circuit breaker, usually larger and labeled with the rating of your electrical service.
- Check the ampere rating of the main circuit breaker. If it is 20 Amps or higher, you can proceed with the installation. However, if it is lower than 20 Amps, you will need to upgrade your electrical panel to accommodate the higher load.
Understanding the limitations of a 20 Amp Outlet
A 20 Amp outlet has its own limitations, and it’s crucial to be aware of these to prevent any potential issues. While a 20 Amp outlet offers higher amperage compared to a standard 15 Amp outlet, it’s important to note that the overall electrical circuit still has a maximum capacity.
Here are a few key limitations of a 20 Amp outlet:
- The maximum load on a 20 Amp outlet should not exceed 16 Amps to ensure safe and efficient operation. Exceeding this limit can lead to overheating and potential fire hazards.
- It is recommended to use appliances and devices specifically designed for use with a 20 Amp circuit. These devices are safer and more reliable, as they are built to handle the higher amperage.
- Avoid overloading the electrical circuit. If you frequently experience tripped breakers or flickering lights, it may be an indication that the circuit is overloaded. In such cases, consider redistributing the load or upgrading the circuit to meet your power requirements.
Consultation with an electrician for specific scenarios
While this guide provides essential information for installing a 20 Amp outlet, it’s always recommended to consult with a certified electrician for specific scenarios. Electricians possess the expertise and knowledge to assess your electrical system and provide tailored advice based on your unique needs.
Consider reaching out to an electrician for the following scenarios:
- If you have an older home with outdated wiring, an electrician can evaluate if the electrical system is suitable for a 20 Amp outlet.
- If you plan to use multiple high-power appliances simultaneously, an electrician can help determine if your electrical system can handle the increased load.
- If you are unsure about any electrical modifications or if you encounter any difficulties during the installation process, consulting an electrician can provide invaluable guidance and ensure a safe installation.
Remember, the safety of your electrical system and your home should always be a top priority. By understanding the important considerations and limitations of installing a 20 Amp outlet and seeking professional advice when needed, you can ensure a smooth and secure installation process.
https://www.youtube.com/watch?v=DvoDDO55H5A&pp=ygUcSG93IHRvIEluc3RhbGwgMjAgQW1wIE91dGxldA%3D%3D
Frequently Asked Questions
How Much Does It Cost To Install A 20 Amp Outlet?
The cost to install a 20 amp outlet typically ranges from $150 to $400, depending on various factors like location, complexity, and electrical wiring. It’s advisable to hire a professional electrician who can provide an accurate estimate for your specific needs.
Can I Install A 20 Amp Outlet On A 20 Amp Breaker?
Yes, you can install a 20 amp outlet on a 20 amp breaker. It’s important to match the outlet’s amp rating with the breaker’s rating to ensure safety and proper functionality. Always consult a professional electrician for precise installation guidance.
How To Change 15 Amp To 20 Amp Outlet?
To change a 15 amp to a 20 amp outlet, follow these steps: Turn off the power, remove the existing outlet, connect a 20 amp outlet, attach the wires properly according to color, secure the new outlet, and finally, turn the power back on.
Remember to consult an electrician for safety precautions.
What Wire Do I Need For A 20 Amp Outlet?
For a 20 amp outlet, you need to use a wire that is rated for 20 amps. This usually means using a 12-gauge wire, which is thicker and can handle the higher electrical load. It’s important to use the correct wire size to avoid overheating and potential hazards.
Conclusion
Installing a 20 amp outlet is a simple task that can greatly enhance the functionality of your electrical system. By following the step-by-step instructions outlined in this guide, you’ll be able to safely and effectively install a 20 amp outlet in no time.
Remember to always prioritize safety and consult a professional if you’re unsure about any aspect of the installation process. With this knowledge, you’ll have the power to meet your electrical needs with confidence.
